Last Updated on April 7, 2022 by Ellen Christian
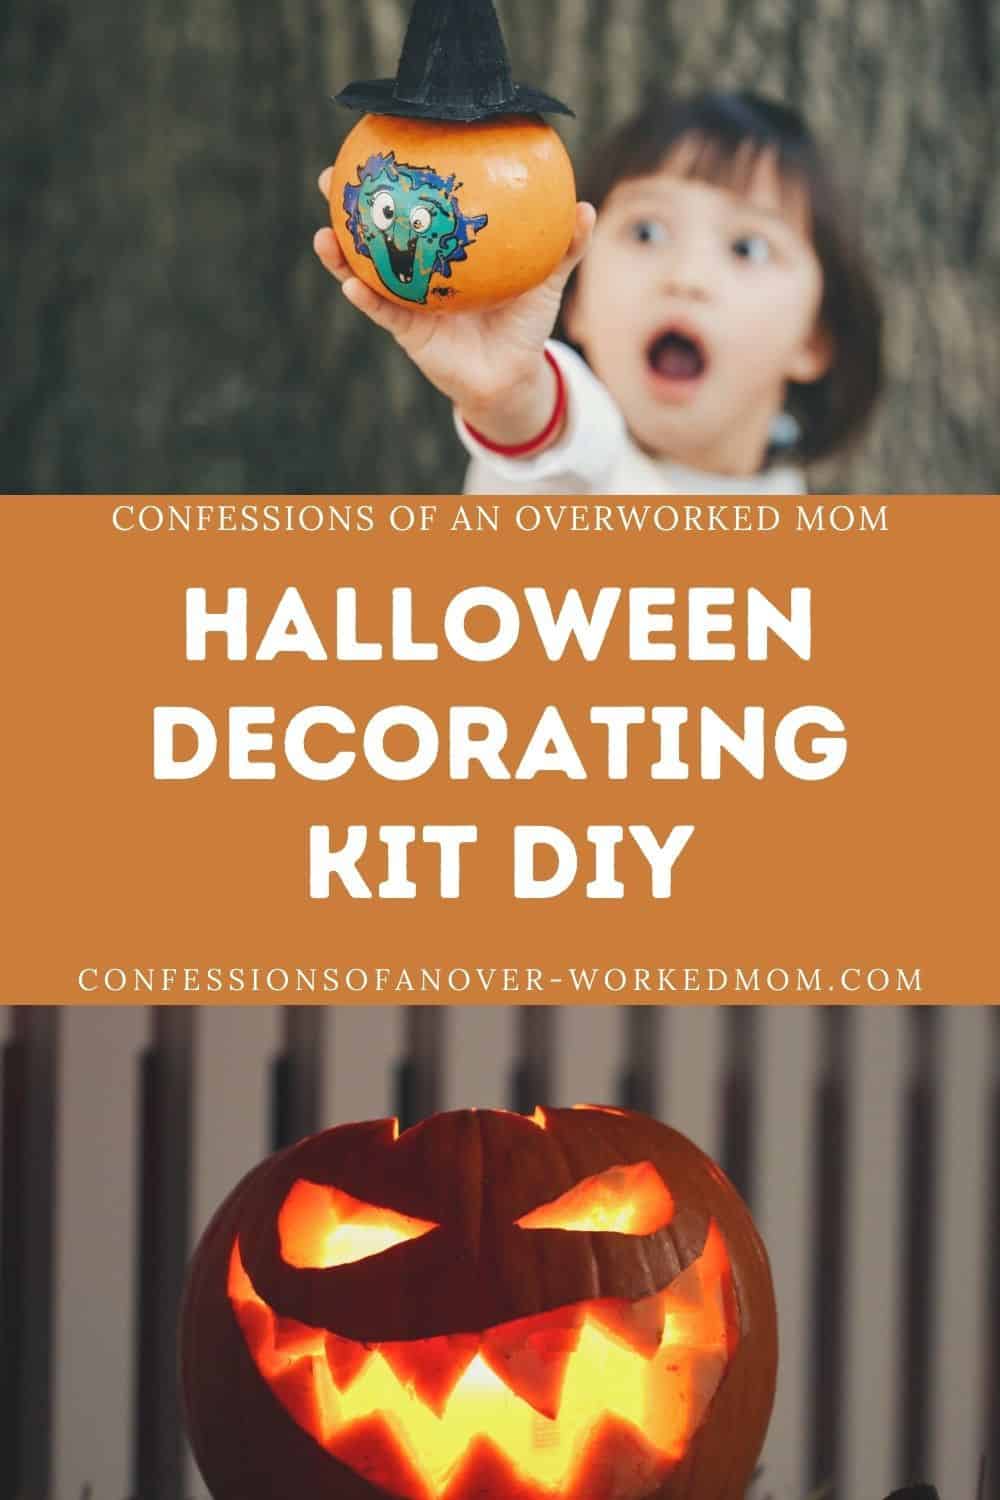
If you’re like me, you probably go to the store each year and buy a Halloween pumpkin carving decorating kit. Check out these tips to make your own pumpkin decorating kit.
Posts may be sponsored. This post contains affiliate links, which means I will make a commission at no extra cost to you should you click through and make a purchase. As an Amazon Associate I earn from qualifying purchases.
I’ve been doing it every year since the kids were little. But, if you’re like me, you probably have to buy a new one each year because either the pieces break or they get lost. This year, put together your own kit from what you already have at home.
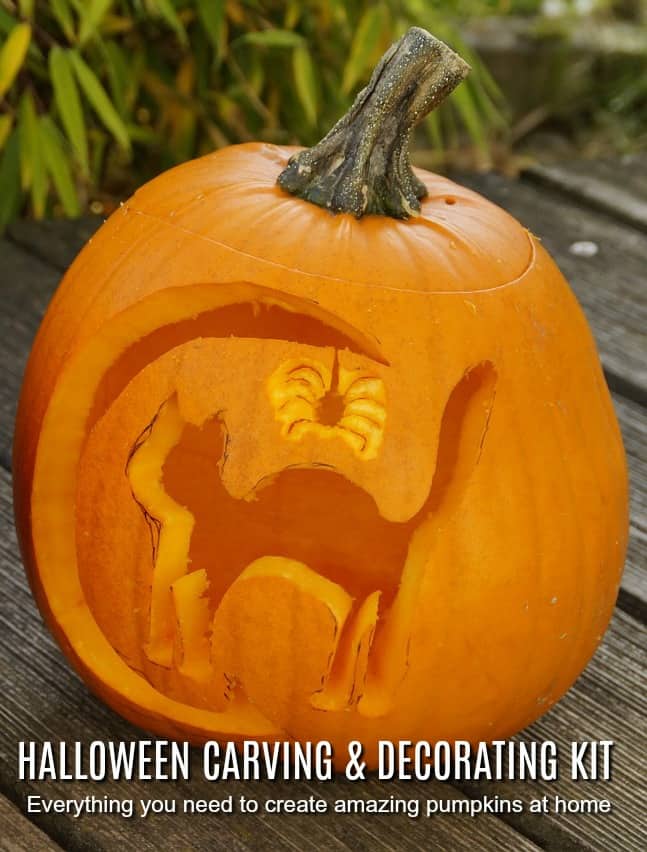
Halloween Pumpkin Carving Kit
Here’s how to put together your Halloween pumpkin carving decorating kit: Purchase or find a small plastic box with a lid (a shoe box will work).
This is your storage container for the pieces in the kit so make sure it will fit back into your closet. Purchase a pencil box, a small tackle box, or even an old cookie tin.
Whatever you use make sure it’s sturdy enough to be handled by kids and that they’ll like using it – look for bright colors! You don’t have to spend much money on this part of the kit if you don’t want to.
Just remember, it has to be sturdy enough to use every year so make sure you get something that will last more than one Halloween season.
Many of the pieces in pumpkin kits are small so you’ll have to gather them up and sort through what you have before your kit is complete.
You’ll also need a tape measure or ruler with inches on one side and centimeters on the other (so both you and your children can understand).
Finally, check your kitchen drawer and pantry to see what you have on hand that would be perfect for decorating pumpkins.
You’ll probably find several items that will fill all your needs, but it may take some searching around.

How to make a Halloween decorating kit
So, what exactly do you need to decorate your pumpkins? A lot will depend on whether you will be carving, painting, using markers, or a little bit of both.
Here’s what I suggest. You can adjust it depending on how you decorate and your child’s age.
- An apron or an old oversized shirt (This apron is so cute.)
- A knife to cut off the top (Please use a safety knife.)
- A strong spoon to scoop the seeds. My preference is an ice cream scoop.
- Dry erase marker (This lets you correct mistakes before you start carving.)
- Halloween Cookie Cutters and a rubber mallet (so much easier than carving)
- Glow in the dark paint
- Sponges and brushes to paint with
- Masking tape (to edge your design)
- A glow stick (safer than a candle)
- Sharpie markers (for decorating)
- Glow in the dark stickers (for little ones to decorate)
- Glitter paint (to paint the stem)
- Oversized googly eyes
It’s best to collect all of these items and keep them in one place so you will have your Halloween pumpkin carving kit ready to go for next year.
More Halloween DIY ideas
- Easy and Quick Dollar Store Halloween Ideas
- How to Make Natural Halloween Makeup
- How to Make Bloody Eyeballs (a natural snack)
- Easy Halloween craft ideas
- DIY non-candy Halloween treats
- Cat safety on Halloween
- Gluten free Halloween candy

Ellen is a busy mom of a 24-year-old son and 29-year-old daughter. She owns six blogs and is addicted to social media. She believes that it doesn’t have to be difficult to lead a healthy life. She shares simple healthy living tips to show busy women how to lead fulfilling lives. If you’d like to work together, email info@confessionsofanover-workedmom.com to chat.


