
Last Updated on November 9, 2021 by Ellen Christian
Do you know how to sterilize soil for seed starting? Spring is here and it’s time to get those seeds and plants into the garden. Start with these tips.
Posts may be sponsored. This post contains affiliate links, which means I will make a commission at no extra cost to you should you click through and make a purchase. As an Amazon Associate I earn from qualifying purchases.
Many people think that gardening has to be an expensive task. It really doesn’t. Most of what my family plants in our garden we start from seeds inside.
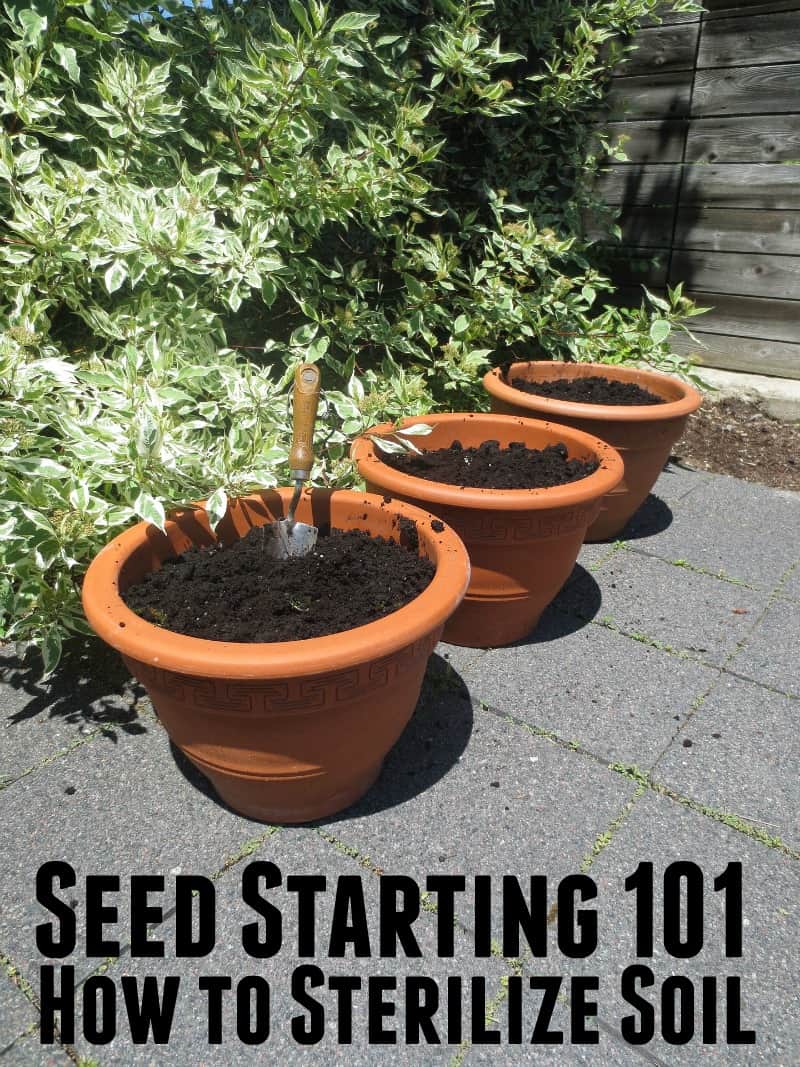
How to Sterilize Soil to Start Seeds
Buying a dozen tomato plants can be expensive however 12 tomato seeds are not. What ends up costing you money is the time that it takes someone else to start the seeds for you. To keep costs down, you can start the seeds yourself in soil from last year’s garden. It’s not difficult at all once you know how to begin.
When you start seeds, you need soil, something to grow it in, sunlight and water. Many people run to the store and start purchasing all of the supplies they need which is why people think that having a garden is so expensive. Really, you have most of what you need at home right now.
You can use a simple eggshell in order to grow seeds. Or you can use a yogurt or pudding cup once emptied and washed out. While it might save space to purchase seed starting trays, it’s not a necessity unless you truly want to buy them.
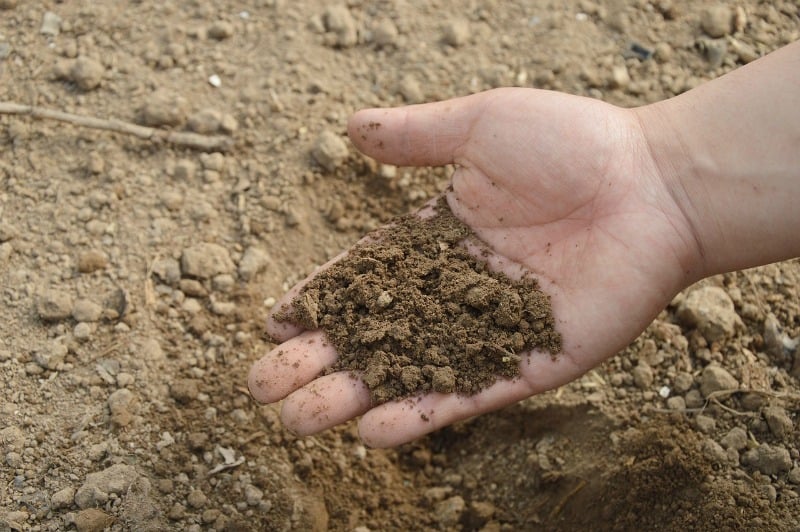
Next, you need to have soil. You don’t need potting soil which can be quite expensive. You can use regular garden soil however you need to make sure that you sterilize it first or what you’ll be growing are all the weeds whose invisible seeds are mixed into your existing garden soil. Here’s what you need to do to kill all those weed seeds, fungi, and bacteria that might be in your garden soil.
Steps to sterilize soil
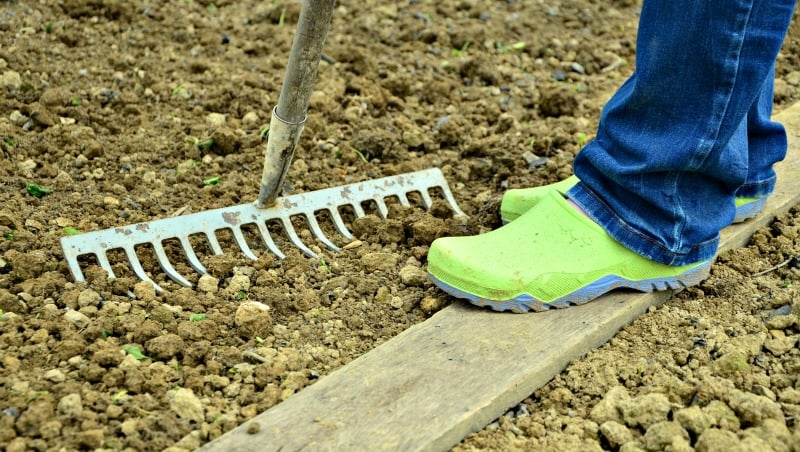
- Bring in the soil on a day that is not too wet. You don’t want mud.
- Spread the soil evenly – not too thickly – on a cookie sheet with sides on it (jelly roll pan).
- Remove any sticks, twigs, big rocks, bark, bugs, etc.
- Place the soil in an oven that is between 180F and 200F degrees.
- Leave it in there for about 30 minutes.
- Remove it and let it cool completely.
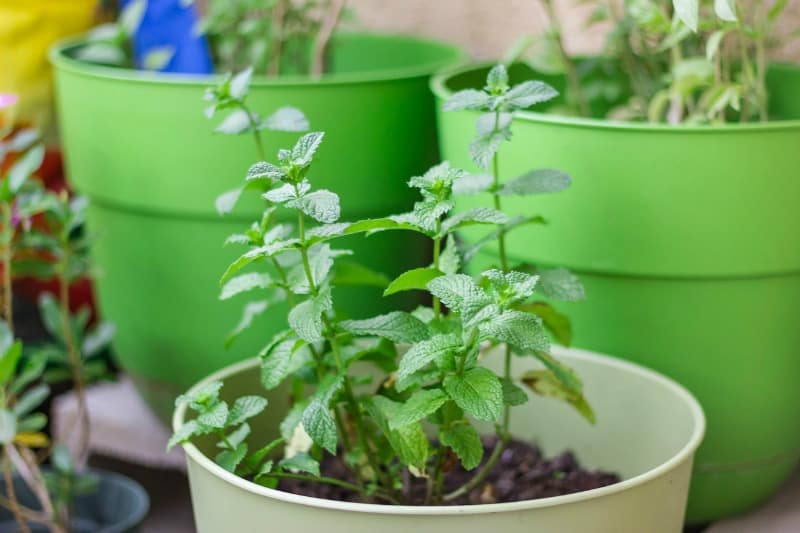
Once the soil is cool, it’s ready to use and you simply need to add seeds, moisten the dirt with water, and put it in a sunny warm spot to germinate. Once your seedling is of the desired height, set it outside for a few hours a day in the sun for a few days to harden it off.
Your plant can then be planted in your window box planters, garden planter, or directly in your garden once the danger of frost has passed for your area. Now that you know how to sterilize the soil, what will you be planting?
How to sterilize soil using the microwave
A microwave can’t kill bacteria, but it is very effective for soil sterilizing. It’s pretty easy to do using a microwave. Just put a bunch of moist soil in a container and microwave it. here’s the catch: you have to keep microwaving it until it starts forming cracks which will grow larger and larger until there is no more moisture left.
How to sterilize potting soil
Fill oven-safe containers with potting soil, sterilize the soil by putting it in an oven set to 325 degrees F for at least one hour. Allow the dirt to cool completely before removing it from the oven and transferring it into pots.
More gardening articles
- How to divide plants
- Beneficial plants for your garden
- How to attract frogs to your garden
- Can slugs drown?
- Quackgrass killer recipe
- How to keep rodents out of the garden

Ellen is a busy mom of a 24-year-old son and 29-year-old daughter. She owns six blogs and is addicted to social media. She believes that it doesn’t have to be difficult to lead a healthy life. She shares simple healthy living tips to show busy women how to lead fulfilling lives. If you’d like to work together, email info@confessionsofanover-workedmom.com to chat.
I would like more ideas on gardening
Hi Betty Jo – I love gardening too! If you look at the top of my site on the menu bar, you will see DIY. If you hover over DIY, there is a gardening section full of articles. I hope you find something you enjoy.