Last Updated on December 2, 2022 by Ellen Christian
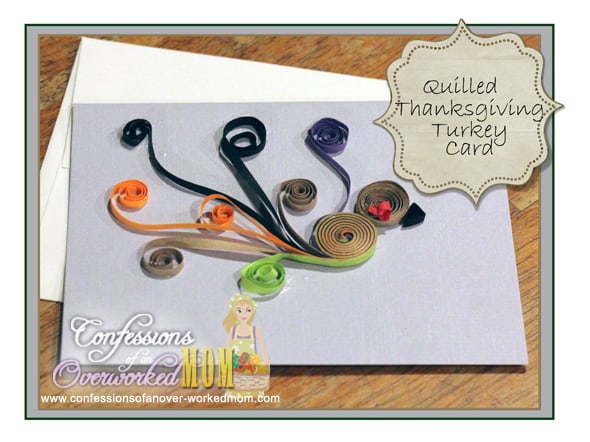
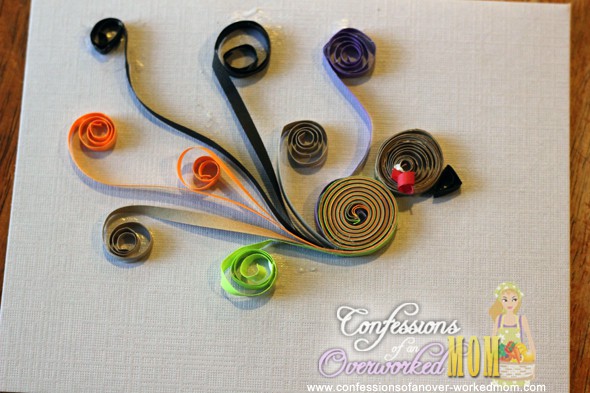
Are you looking for turkey quilling projects? There are lots of quilled turkey Thanksgiving cards but this one is my favorite. Make it here.
Posts may be sponsored. This post contains affiliate links, which means I will make a commission at no extra cost to you should you click through and make a purchase. As an Amazon Associate I earn from qualifying purchases.
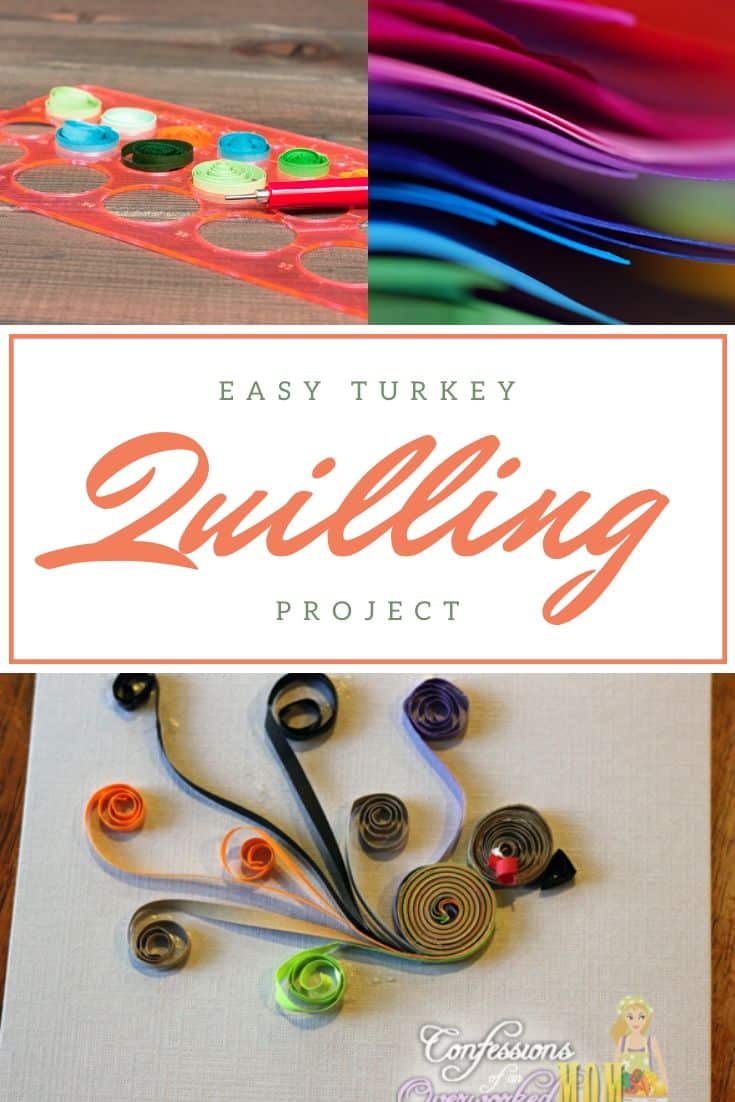
Turkey Quilling Project
I love the way that quilling turns a simple notecard into something special. If you’re not familiar with quilling, keep reading.
I really love working with paper and this turkey quilling project is one of the cutest Thanksgiving craft projects I’ve seen in a long time.
Quilling or paper filigree is a paper art that involves rolling, shaping, and gluing thin strips of paper to create decorative designs.
Quilling has been around since the Renaissance age and can be very simple or amazingly complex. I’ve been quilling for a few years, but my projects are still basic.
So, if you’re new to the craft, there is no reason you can’t do this Turkey quilling project too.
How do you make the rolled paper quills?
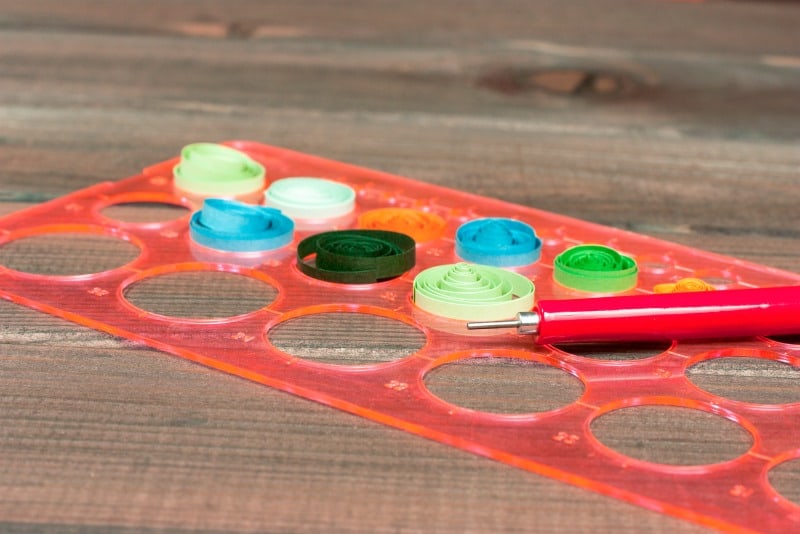
The individual circles of rolled paper are made using a quilling tool. It’s a small metal tool with a nib on one side. You slide a strip of quililng paper into that nib, and you twist the tool until you have a roll the size you need.
What kind of paper do you use for quilling?
There are special 1/8″ wide strips of colored paper used for this turkey quilling project. It’s important that they are all a uniform size. So, you could try to make your own. But, it is so much easier to just purchase a package of strips.
Turkey quilling project supplies
- Quilling papers (1/8″) – at least one brown, black, and red plus 8 other strips of different colors
- Quilling board
- A quilling tool
- White glue that dries invisibly
- Toothpicks
Turkey quilling project directions:
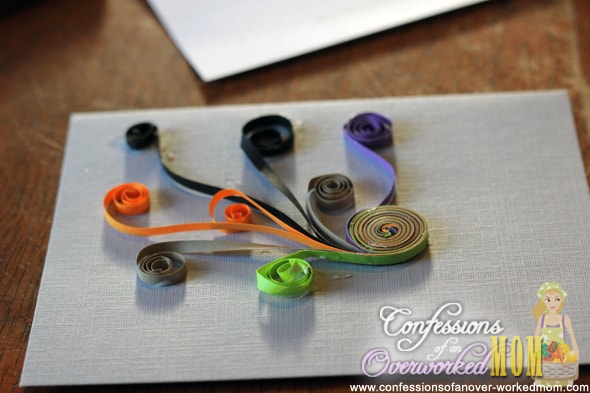
Using your quilling tool, wrap one piece of brown quilling paper around the tool loosely to form the head of the turkey. Glue the end of the strip to the circle to hold it in place and place it on the quilling board to dry.
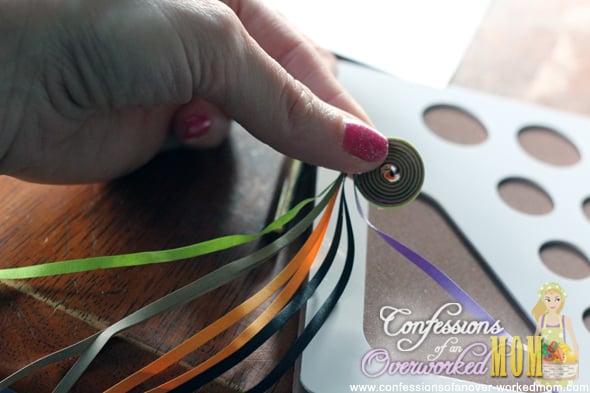
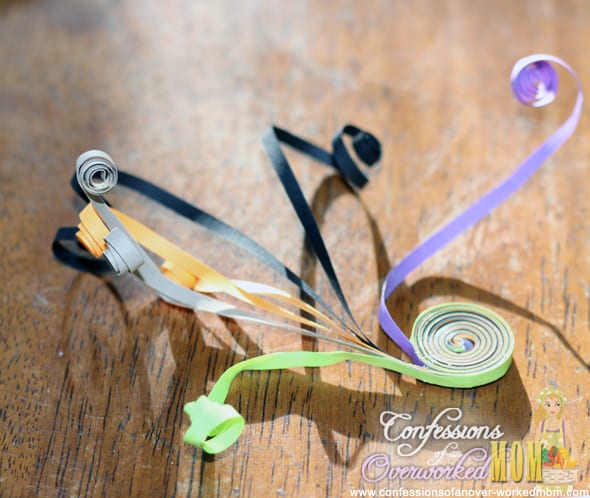
Taking eight strips of quilling paper, wrap them slow to form a circle. Leave several inches of paper hanging at the end. Glue randomly as you’re rolling the strips to help it keep its shape.
Curl the ends of the eight pieces of paper in different sizes and different directions.
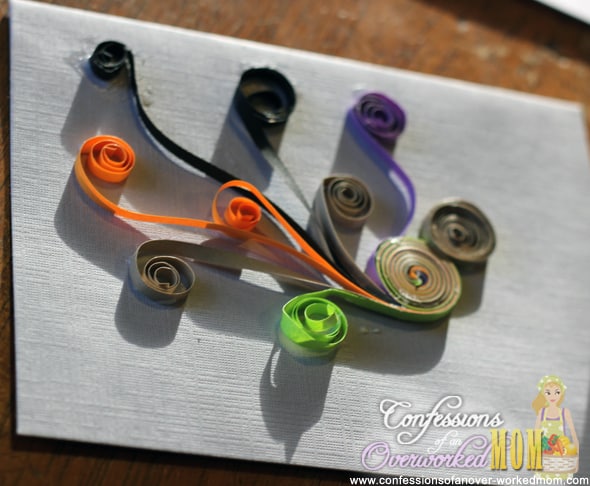
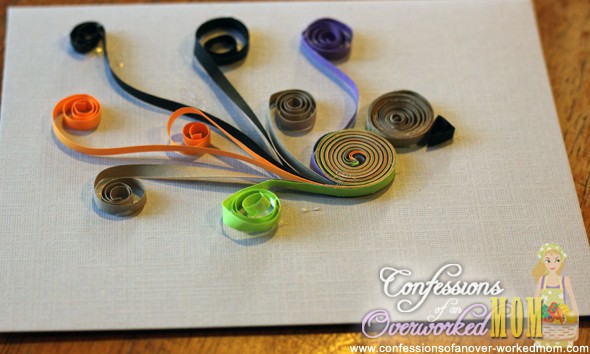
Glue the body of the turkey onto a piece of card stock. Then, carefully glue on the *feathers* randomly.
Glue the head piece near the body piece.
Take a small piece of black quilling paper and form a small circle. Pinch one end to form the beak and then glue the other end to the headpiece.
Take a tiny piece of red quilling paper and curl it loosely for the waddle. That’s all there is to this simple turkey quilling project.
How to finish off the card
So, I simply did this turkey quilling project on a plain notecard to show you how it is done. But, if you want to make it a little bit fancier, you can layer different colors of notecards on top of the plain notecard for visual interest. Check out the technique when I made this spring garden card. You can use a ribbon labeler to add a saying to your card, as I did here.
Thanksgiving card messages
Some people like to write a message or poem inside their Thanksgiving card rather than write a note. If you’re looking for Thanksgiving card messages, here are a whole bunch that you can choose from.
Just check out this post. Or, you can always write a simple message to friends and family instead.
Other quilling projects
If you really enjoy this turkey quilling project, you might want to try this cat quilling card that I made for Valentine’s Day a few years ago. Or, you might want to try this holiday place card I made. You can set it on everyone’s dinner plate at Thanksgiving. Check out the video above for a few more fun ideas.
Other types of papercrafts
If you enjoy papercrafts like this turkey quilling project, there are many different techniques that you can learn. Have you ever considered teabag folding? Or, you might want to try origami. You could learn to make these butterflies and attach them to your notecards.

Ellen is a busy mom of a 24-year-old son and 29-year-old daughter. She owns six blogs and is addicted to social media. She believes that it doesn’t have to be difficult to lead a healthy life. She shares simple healthy living tips to show busy women how to lead fulfilling lives. If you’d like to work together, email info@confessionsofanover-workedmom.com to chat.


Oh, the holiday cards that could be made with this! I’ve never tried quilling. Your card is gorgeous.:) Thanks for linking up to Inspire Me Wednesday.
That is so neat! I have always wanted to try quilling but never had. May have to give it a try now!!
How neat! I would put that as a work of art on my wall! Thanks for showing me something new (and awesome!!)
That looks really cool! I’ve never done any quilling before
Cute! Great idea!
http://www.tenderallure.com/
How fun! Love simple crafts like this. Thanks for sharing.
This is so cool and simple, definitely will try with the kids. Thanks for sharing this idea.
I’m almost embarrassed to admit that I didn’t know the word for this craft – quilling! I just learned something new. I thought that was called ‘rolling paper craft thing’ 🙂 Your card is beautiful! What a neat craft, hobby and creation! Loved the detailed directions of how to make it!
Awesome!
So elegant and simple.
-r
That’s pretty cool looking. I have never even heard of quilling before! Interesting technique. I wonder if it’s too involved for a 7-year-old to do?
You could probably start a 7 year old off with a simple craft using slightly wider strips of paper.
Here’s a perfect example of “ya learn something new everyday” I had no idea about quilling. I’ve seen projects similar on pinterest using recycled toilet paper tubes.
I wish I had the patience for this, it’s super cute. You’d see it in a store for $7+
That is adorable!! I started making cards again recently, but clearly I need to up my game! Thanks for the inspiration!
I love the pictures it is a great one. I can’t wait to try it
I’ve always seen this type of craft, but never knew about quilling – learn something new every day!! Great post!!
This is so cute and now I have something to make with Prince!
Its beautiful! Looks like alot of work and patience needed 🙂
I love quilling but have not done it for several years now. Looks like there are some great tools to use now. I used white glue and toothpicks and cut my own strips!!! Love the turkey would be a great placecard for Thanksgiving!!!