Last Updated on February 14, 2024 by Ellen Christian
Looking for a fall centerpiece DIY, learn how to make a simple fall centerpiece with candles and a few simple supplies. Try it today.
Posts may be sponsored. This post contains affiliate links, which means I will make a commission at no extra cost to you should you click through and make a purchase. As an Amazon Associate I earn from qualifying purchases.
Simple Fall Centerpiece in 5 Minutes or Less
I’ve been looking for a gorgeous fall centerpiece to use for Thanksgiving, but I haven’t found anything I like. I didn’t want to buy something and have to store it all year. I’m trying to limit the number of new things I buy and store for holidays.
As I was searching on Pinterest, I saw a cute project where they filled a glass jar with acorns and added a candle. I decided to remake it into something a bit different since I have no acorns.
I’m part of a group of bloggers that gets together once a month to recreate something we find on Pinterest to make it our own. You can find the original pin here. The original pin filled a glass vase partway with acorns and then set a votive candle in the middle of the vase.
I like the way it looks but I’d worry about the candle’s safety as it burns down. Plus, I don’t have any acorns.
What do I need to make this DIY fall centerpiece?
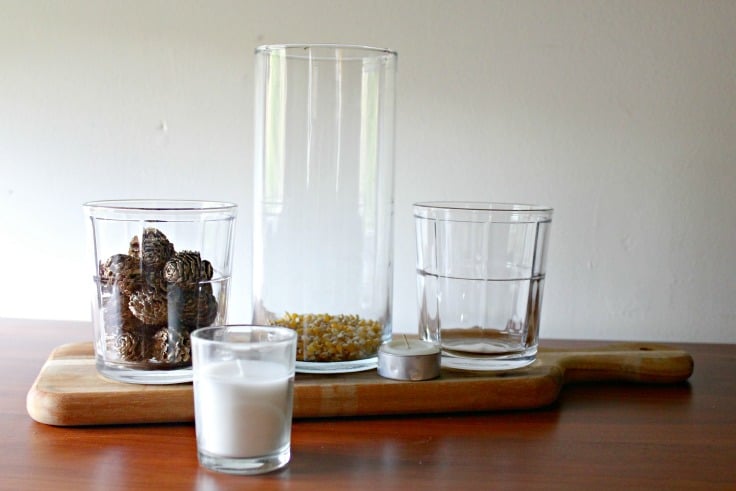
- One to three glass jars, Mason jars or clear flower vases
- Pinecones, acorns, popcorn, tiny rocks, plastic apples, etc.
- One to three clear glass votive holders, tea light candles, etc.
- One to three votive candles in ivory, white, cream, or fall colors
- Miscellaneous pine cones, leaves, mini pumpkins, etc.
How to make a fall centerpiece for your table
- You can use as many glass jars as you like for your centerpiece.
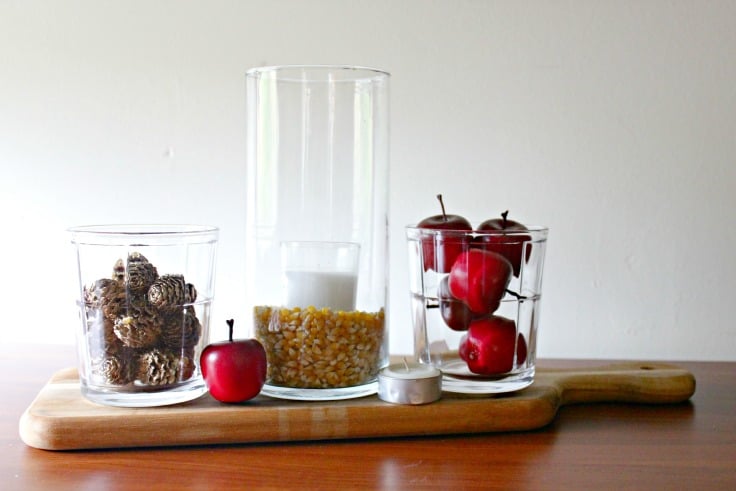
- Fill each one about one-third full of whatever filler you like.
- Carefully place a votive in a votive holder in the center of the vase and press down slightly to make it secure.
- Arrange things tastefully on a cutting board, tray or directly on the table.
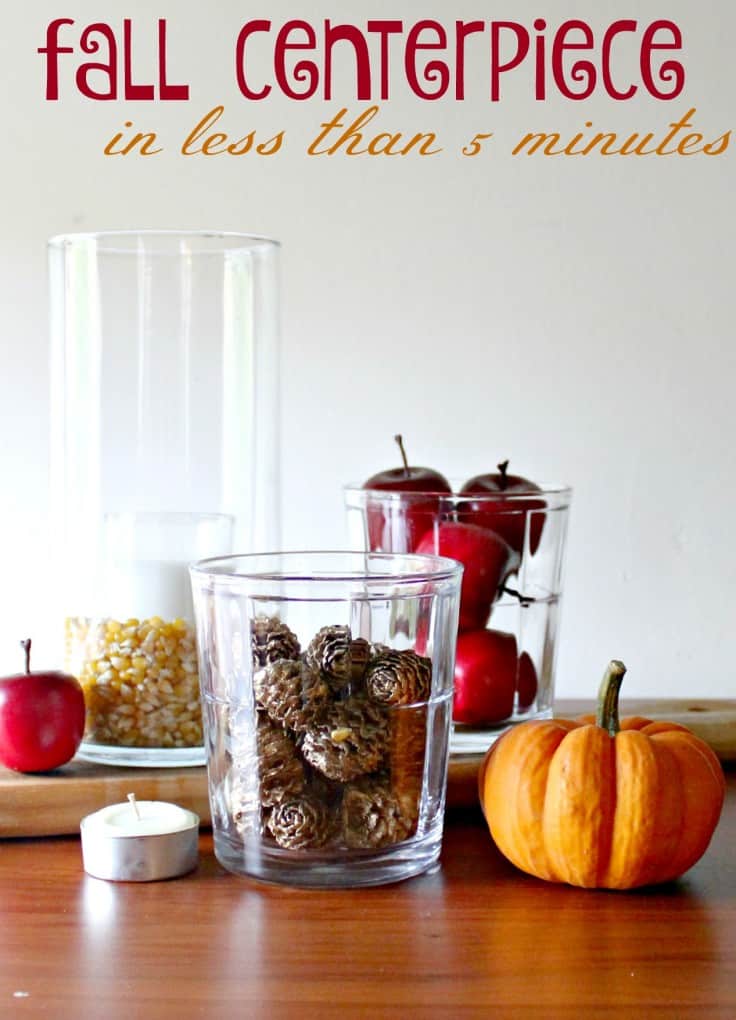
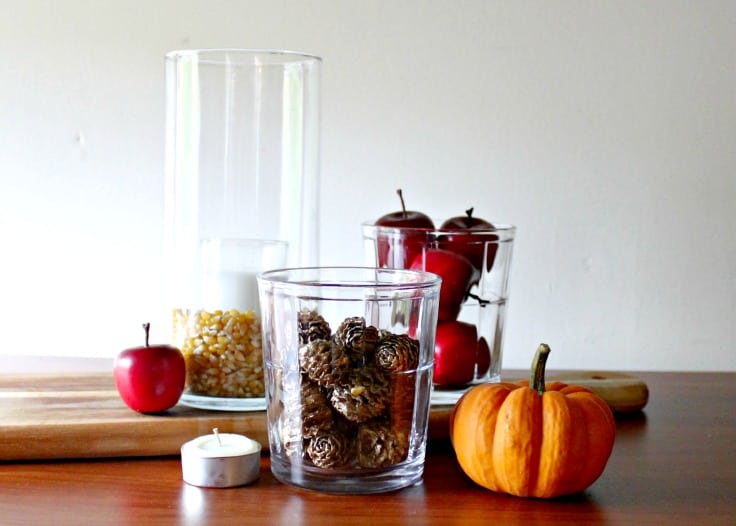
Honestly, this fall centerpiece took me less than five minutes. I used a clear vase and two drinking glasses as the holders and a cutting board as the base.
Then I hunted through my craft box and grabbed anything that looked even remotely like fall. I moved things around a few times until I got it to look the way I wanted it to.
If you’d like to set this on your mantle or against the wall, you could place it in front of a framed print. One of these free watercolor printables for fall would be just stunning.
More holiday craft projects

Ellen is a busy mom of a 24-year-old son and 29-year-old daughter. She owns six blogs and is addicted to social media. She believes that it doesn’t have to be difficult to lead a healthy life. She shares simple healthy living tips to show busy women how to lead fulfilling lives. If you’d like to work together, email info@confessionsofanover-workedmom.com to chat.


This is beautiful and simple to make
Thank you so much!
These are beautiful! I really love the corn, it’s something I never would have thought of, but looks great!
Thanks so much, Sarah!
This is so beautiful! I love how simple and elegant it is. I have a bunch of pinecones under a tree in my back yard that I would love to use for this.
Thanks, Mindy. That would definitely work!
So simple yet so cute. Sometimes we have things but dont know how to put it together
That’s very true!
I love this! It is so simple and elegant. And so easy to make! Perfect for Thanksgiving dinner when you have no time to decorate because you are cooking all day!
Thank you! It definitely would be easy for a busy holiday like Thanksgiving!
Wow! This is completely and utterly stunning, the simplicity is just perfect!
Thanks so much, Dawn. Simple is good in my book!