
Last Updated on June 13, 2023 by Ellen Christian
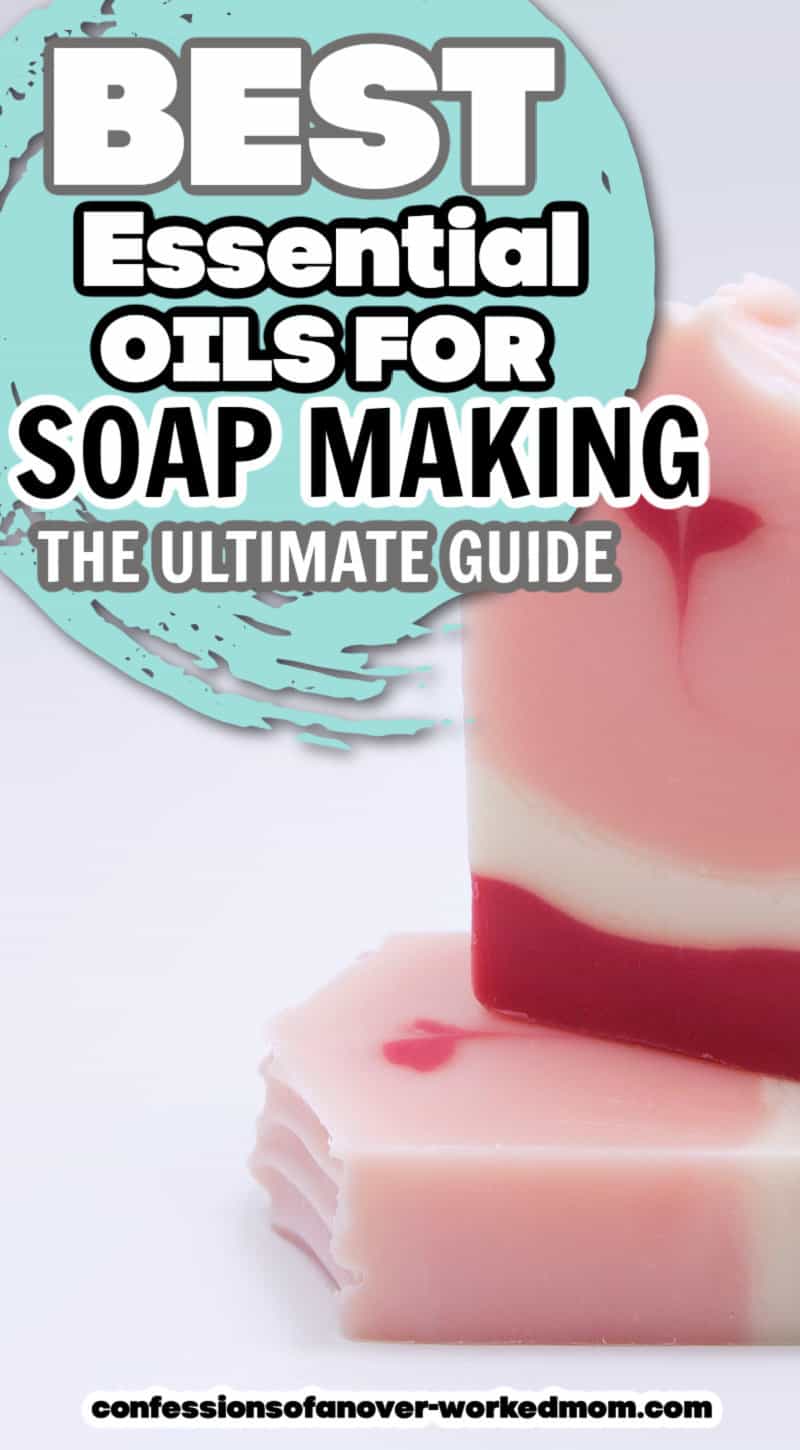
Soap making is a fun hobby, but most soap makers don’t know what essential oils to use for their soaps. Check out the best essential oils for soap making.
Posts may be sponsored. This post contains affiliate links, which means I will make a commission at no extra cost to you should you click through and make a purchase. As an Amazon Associate I earn from qualifying purchases.
Most people think that essential oils are just used to make perfume or aromatherapy products. However, there are many other uses for these aromatic compounds like adding them into your cold process or melt and pour soap recipe.

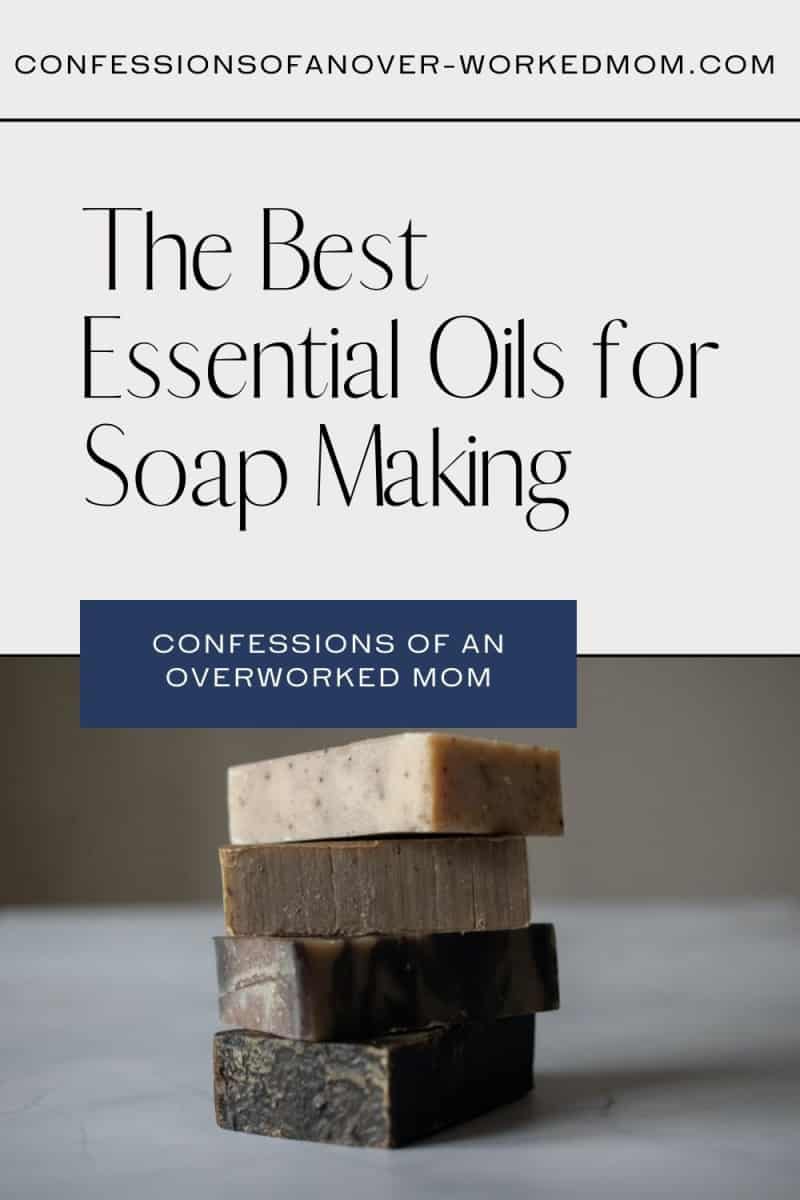
Best Essential Oils for Soap Making
There’s a lot of misinformation out there about which essential oil you should be using in your soap recipes, and it can be hard to find the right information online. That’s why I’ve created this list of the best essential oils for soapmaking with my top 5 recommendations as well as some helpful tips on how much and when you should add each oil during the process!
(Note: If you’re just starting out with essential oils, I recommend reading one of these essential oil books for beginners.)
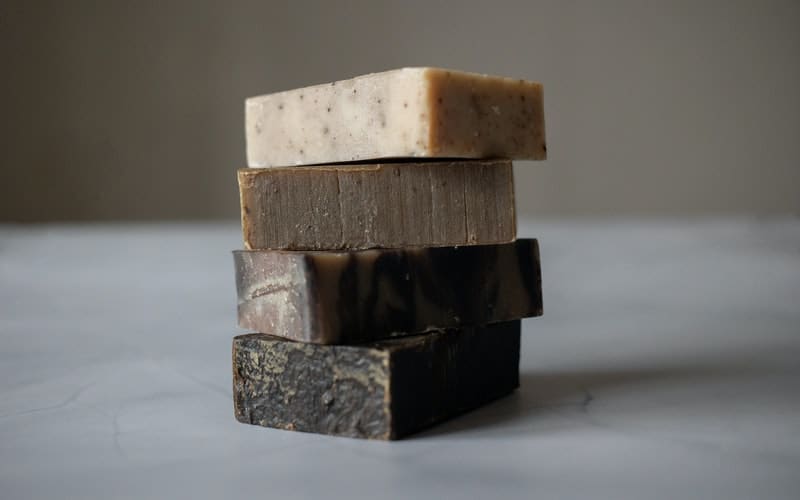
If you’re looking to learn how to make homemade soap, then I’ve got just the soap recipes for you! My collection of soap recipes is filled with unique ideas and combinations as well as several exclusive recipes you won’t find anywhere else. Not only will you be able to make soaps from scratch, but the possibilities are practically limitless.
Why Do You Need Essential Oils in Soap?
Most of the recipes online use a lot of essential oil for soap, but this is actually not necessary. In fact, if you add too much oil into the recipe, your soap might not set up. Plus they can be very irritating to some people’s skin and slow down how quickly your soap bars dry out between uses.
However, essential oils can definitely enhance your special soaps. Even a little bit of highly concentrated oil will make a big impact on your finished product! Essential oils have been used for thousands of years for their medicinal and therapeutic properties, but more recently they have also been used to add a strong scent or skincare benefits to soap.
Some oils can be a natural deodorizer (like tea tree oil), can speed up the process of saponification (like peppermint essential oil), and others are known to have antibacterial properties that will help keep your soaps clean.
If you love the scent of essential oils, get this free essential oil diffuser blends sheet for new scent combinations.
How Much Essential Oil to Use in Soap
If you want a strong scent, add 0.7 ounces of fragrance or essential oil per pound for cold process soap and 0.3 ounces per pound for melt and pour soaps. The number will vary based on the type of soap that is used (cold vs hot).
Note that this is the maximum amount you should be using, but if your skin is sensitive you might want to add even less. After all, essential oils have a high concentration of volatile compounds which can irritate some people’s skin.
You also don’t have to buy expensive essential oils for soap making. The vast majority of these oils are fragrance oils that only cost a few dollars per bottle. For example, you can get 1 ounce of tea tree oil for just $6.99 which is plenty for many batches of soap.
Or, you can buy a set of oils for the best price. I love this one.
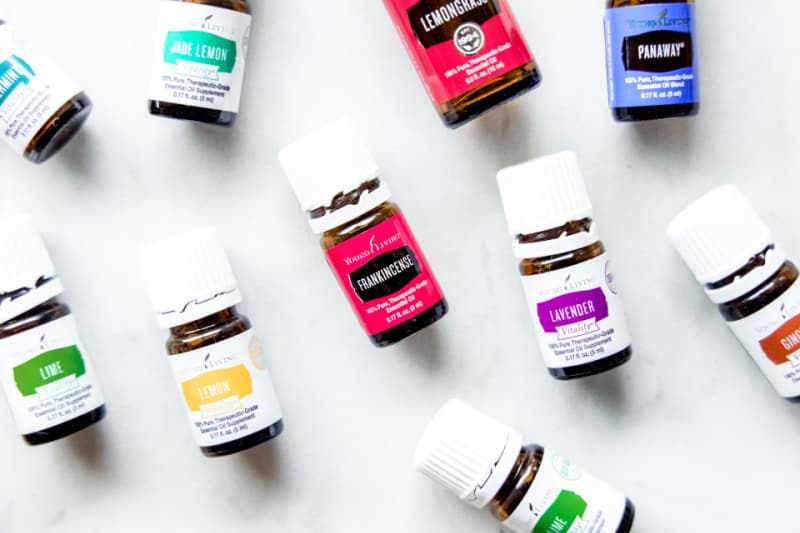
Types of Essential Oils to Use in Soap
Lavender Oil – This is one of the most popular essential oils used in soap! It’s known for its great calming effects on the body and is great for your skin. I recommend using lavender oil in the base of your recipes because it will seep out into your finished bars.
Tea Tree Oil – This powerful essential oil has antibacterial, antifungal, antimicrobial, and antiviral properties that are ideal for face soap or acne products. However, be sure to avoid using pure tea tree oil directly on your skin!
Peppermint Oil – This invigorating scent is perfect for soap bars that you want to wake you up in the morning. It’s also great for muscle aches and pains because it can help soothe aching muscles and reduce inflammation.
Eucalyptus Oil – Like tea tree oil, this essential oil is also known for its skin-cleansing properties. It can help treat acne, eczema, psoriasis, ringworm, and even athlete’s foot!
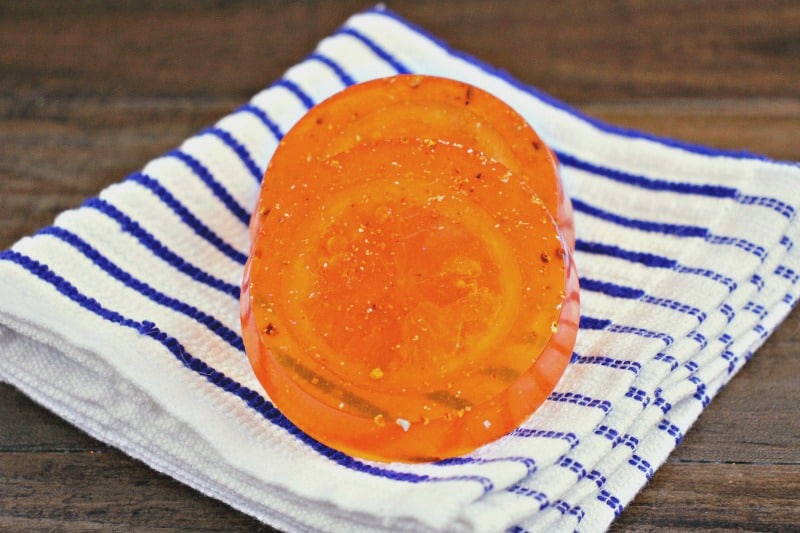
Citrus Oils – Scented with lemon, orange, or grapefruit oils, these rejuvenating scents are perfect for soap bars that you want to uplift your mood or give you energy.
How to Add Essential Oils into Soap
Once your soap has reached a light to medium ‘Trace’, you can add essential oils. Some say that if added too early, the scent doesn’t make it through the process.
A light trace is similar to runny honey, medium is thicker than custard but not as stiff as for it to hold its form and a thick one holds its form.
You may want to get a copy of this soapmaking book for beginners.
Notes about Adding Essential Oils in Cold & Hot Process Soap
When adding essential oils in Cold and Hot Process Soap, it’s extremely important to make sure that they’re fully mixed and there are no “hot spots” remaining before you pour them into your molds. If there are any “hot spots,” then the soap will burn anyone who uses it, which can lead to serious burns or rashes.
Drying Time When you first pour the hot soap base into your mold, it will be extremely runny and mushy – similar to cooked oatmeal. As it starts to cool throughout the day, it’ll start to harden and become much more solid like regular store-bought bars of soap. Be sure not to move the soap around while it’s still wet or else you might ruin the delicate layers that are starting to form on top.
During this stage, it can take anywhere from 4-24 hours for your soaps to fully harden before they’re ready to be removed from the mold. If they’re still extremely mushy after 24 hours then leave them in the mold for a few more hours or overnight. If they’re still very soft after several hours, then leave them in there longer to let them harden further.
Notes about your DIY Soap Base
Now all you need to do is remove it from the mold and cut it into bars. To do this, you can use a silicone baking mold or any other flexible soap mold that you might have.
The ideal drying time for your homemade soap is 4-6 weeks before using it to let the hardening process occur properly. Do not attempt to use your soaps until they’ve fully hardened and cured! If you use them too soon, then they won’t last nearly as long and could possibly melt. The longer you wait to use your DIY soaps, the better they’ll become. It gives them plenty of time to harden and cure.
I’ve shared several of my favorite soap recipes in this soap-making book. Get a copy today to try my favorite recipes.
Soap making recipes
You may want to try these soap recipes.
- Flax soap with orange
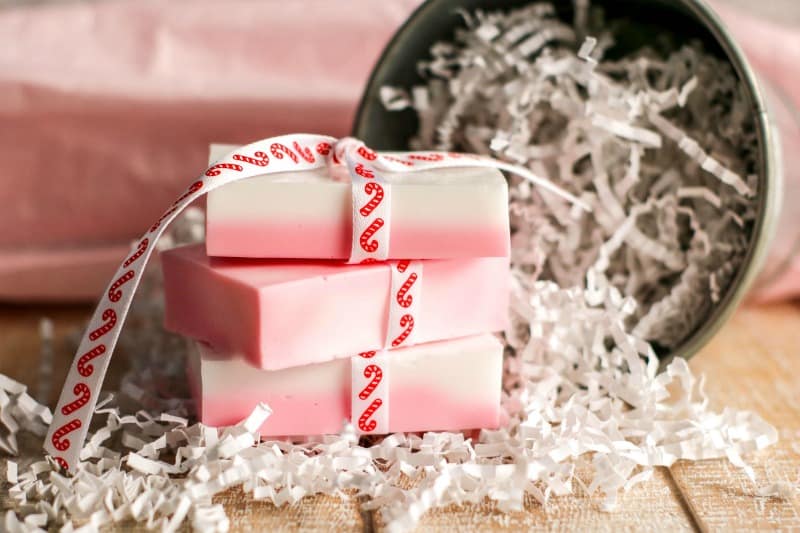
- Peppermint soap recipe
- Lemon poppy seed soap
- Orange peel soap recipe
- DIY soap recipes

Ellen is a busy mom of a 24-year-old son and 29-year-old daughter. She owns six blogs and is addicted to social media. She believes that it doesn’t have to be difficult to lead a healthy life. She shares simple healthy living tips to show busy women how to lead fulfilling lives. If you’d like to work together, email info@confessionsofanover-workedmom.com to chat.