Last Updated on August 3, 2022 by Ellen Christian
Looking for a DIY Christmas gift tags idea? Learn how to make your own gift tags that double as DIY personalized Christmas ornaments.
Posts may be sponsored. This post contains affiliate links, which means I will make a commission at no extra cost to you should you click through and make a purchase. As an Amazon Associate I earn from qualifying purchases.
I love making my own Christmas gifts especially when the projects are easy. Have you thought about making photo jewelry this year?
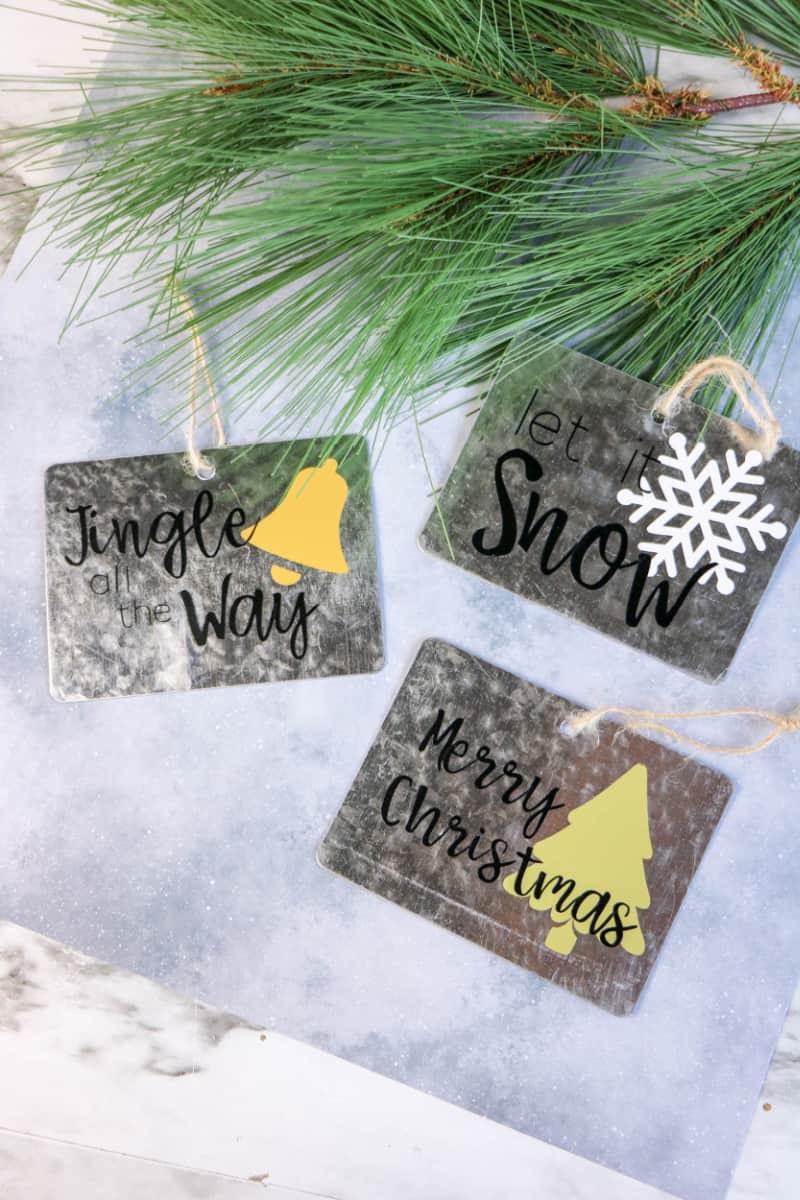
DIY Christmas Gift Tags Idea
Wrapping paper and gift tags can get really expensive if you aren’t careful. And, let’s not even talk about the impact of all that extra paper on our landfills and recycling centers. Thankfully, there are ways that you can make your own.
These were made using a Cricut with Cricut Design Studio. You may be able to make one another way, but I am not sure how. Keep reading for the directions.
Grab a Cricut and your accessories right here.
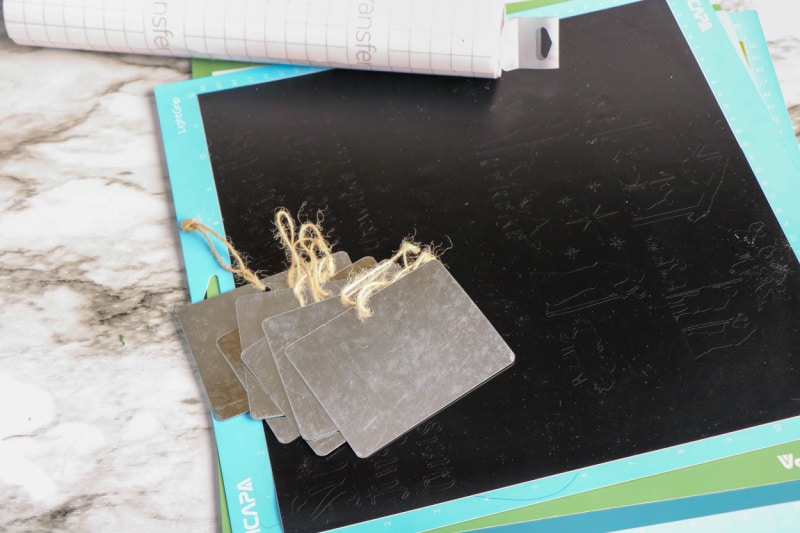
What do I need to make this project?
- Cricut
- Galvanized gift tags (you can find these at Hobby Lobby)
- Permanent vinyl
- Weeding tool
- Transfer tape
- Ribbon or jute
- Scissors
- Christmas elements clip art (download it and open the zip file)
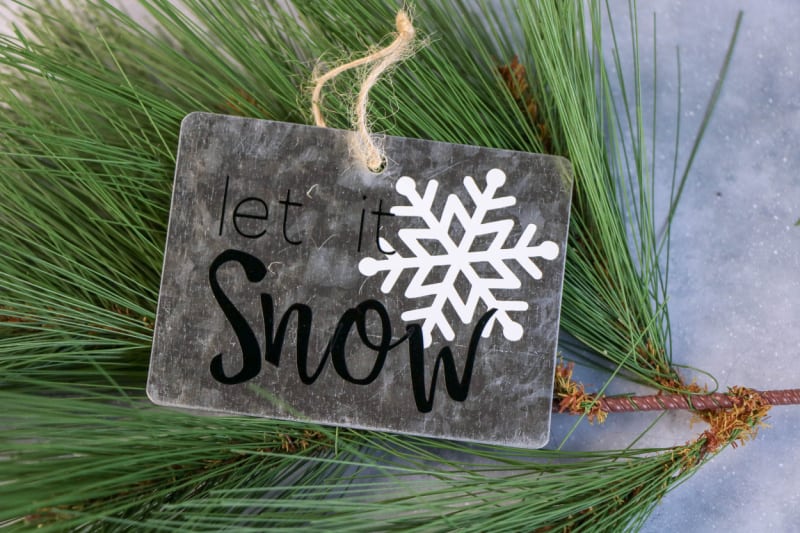
DIY Christmas gift tags with Cricut
The clip art in this project is applied to small galvanized steel ornaments. You can use them as gift tags on your presents or gift bags. And, you can use them as ornaments on your Christmas tree the following year.
If you don’t have the galvanized blanks, you can probably apply the clip art to a small wooden blank or possibly a clear glass ornament. You will need to experiment to see how it works on what you have available.
Grab a Cricut and your accessories right here.
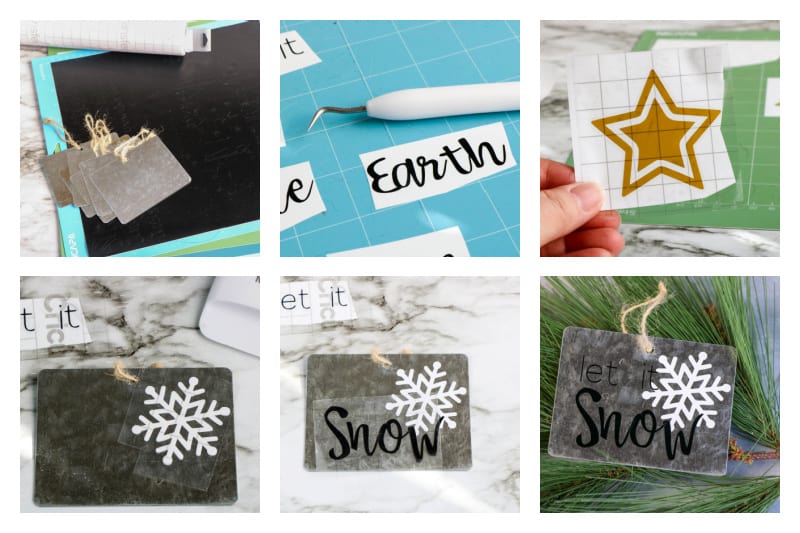
How to make gift tags
I’ve provided the designs that you need to use. So, all you have to do is follow these step by step directions. Scroll down for more details.
- Create a new design in Cricut and upload your favorite Christmas elements clip art. Find them below.
- Add your words and arrange them the way you like it.
- Cut out the text and images from vinyl.
- Use transfer tape to place it on your ornament.
- Add the ribbon and cut if necessary.
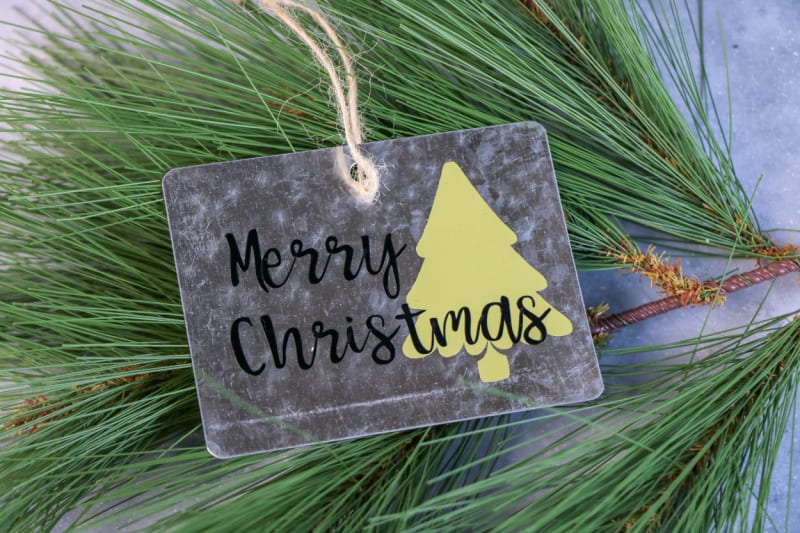
Multipurpose DIY Christmas gift tags
You can use them as gift tags on presents. Or, you can hang them on the tree like Christmas ornaments. Why not try adding them to a Christmas stocking so everyone knows which one is theirs?
If you change out the text for other words, there are many different ways to use these fun tags.
Check out my thoughts on the Cricut Mini Cutting Machine.
What else can I make with my Cricut?
There are so many different things that you can make with your Cricut. Have you seen these Mason storage jars?
Or, see all the Free Projects in Cricut Design Space. Grab a Cricut and your accessories right here.
More Christmas projects
DIY Christmas Gift Tags with Cricut

Looking for a DIY Christmas gift tags idea? Learn how to make your own gift tags that double as DIY personalized Christmas ornaments.
Materials
- Galvanized gift tags
- Permanent vinyl
- Weeding tool
- Transfer tape
- Ribbon
- Scissors
- Christmas elements clip art
Tools
- Cricut
Instructions
- Open the Cricut Design Studio and create a new project.
- Upload your favorite Christmas elements clip art to the Cricut Design Studio.
- Insert a text box and type your desired word/s. Select your favorite font. (For this project, we used Babette and Dear John.)
- Arrange the text and images as desired.
- Click and drag to select the elements for each ornament. Check the size of your design to the width and height of the ornaments. Adjust is needed to fit.
- Cut the text and images from vinyl.
- Weed the excess vinyl away and then use transfer tape to move the word to the ornament. Press firmly or swipe over the transfer tape with a scraper to make sure the vinyl adheres to the ornament. Pull the transfer tape away.
- Cut a length of ribbon approximately 6 inches long. Thread the ribbon through the loop opening on the ornament and tie a knot in the ribbon for hanging. Trim any excess ribbon if needed.

Ellen is a busy mom of a 24-year-old son and 29-year-old daughter. She owns six blogs and is addicted to social media. She believes that it doesn’t have to be difficult to lead a healthy life. She shares simple healthy living tips to show busy women how to lead fulfilling lives. If you’d like to work together, email info@confessionsofanover-workedmom.com to chat.

Such a cute project. Love your creativity. Thanks so much for sharing at Love Your Creativity.
Thanks for stopping by!