Last Updated on December 28, 2021 by Ellen Christian
Looking for a teabag folding Valentine’s Day card? Check out this easy foldable Valentines Day card and learn more about t bag folding.
Posts may be sponsored. This post contains affiliate links, which means I will make a commission at no extra cost to you should you click through and make a purchase. As an Amazon Associate I earn from qualifying purchases.
Teabag Folding Valentines Day Card
Making a Teabag Folding Valentines Day Card is a great way to show that special person in your life how much you love them. When I first heard the phrase teabag folding, I thought it was some weird way of re-using the bags that tea came in.
In fact, many years ago, that is what was used when someone did a teabag folding craft. Today, teabag folding refers to the art of folding small, colorful tiles of paper into creative shapes. I tend to do this when I create my own cards for holidays. Since Valentine’s Day is right around the corner, I thought I’d show you how to make them.
Supplies for teabag folding
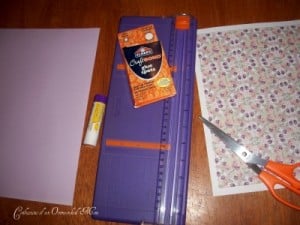
- 1 sheet of 12 teabag tiles
- personal paper trimmer and/or scissors
- glue stick
- card stock
- glue dots
How to do tea bag folding
1. Find a tiled paper that you like. You can purchase pre-printed papers if you like but I generally print free teabag folding tiles. I chose a pretty tile with some pink in it for Valentine’s Day.
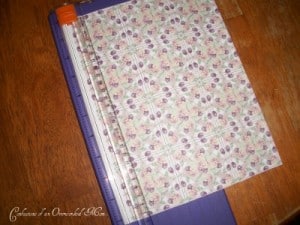
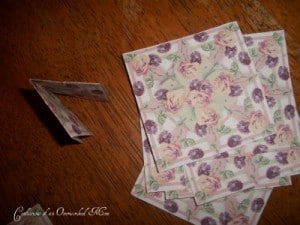
2. Carefully cut out each tile. I use a personal paper trimmer because it cuts the tiles out more evenly than I can by hand but you can certainly use scissors.
3. You will need twelves squares to create the card I’m making.
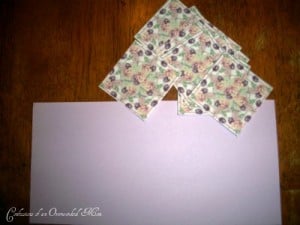
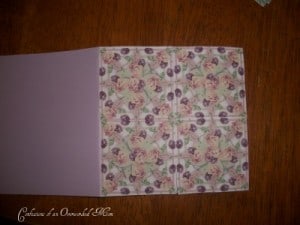
4. Take one piece of cardstock and cut it to be 5″ x 10″ . Fold it in half. That will be your card base.
5. Take four of the teabag tiles and glue them two on top and two on the bottom to the front of your folded cardstock. That will be your card front.
6. Fold each of the remaining eight teabag folding tiles in half and then in half again (in quarters).
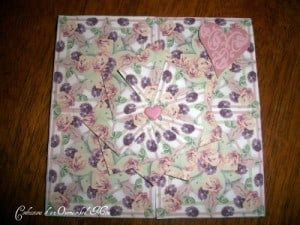
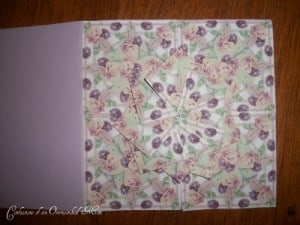
7. Set the first square on the table so it looks like a diamond. Place the second square at a slight angle and use a tiny piece of double-sided tape or a glue dot to attach it to the first square. Continue placing all the squares until you have a rosette.
8. I used a heart-shaped brad in the center of the rosette. You can use a pom pom or leave it blank if you’d rather. I added in a scrapbooking heart in the upper right-hand corner. You can use a sticker if you’d rather.
More Valentine’s Day crafts
- Making butterflies with paper
- Cute Valentine’s Day cards
- Valentine Origami Boxes
- Cat quilling Valentines Day Card

Ellen is a busy mom of a 24-year-old son and 29-year-old daughter. She owns six blogs and is addicted to social media. She believes that it doesn’t have to be difficult to lead a healthy life. She shares simple healthy living tips to show busy women how to lead fulfilling lives. If you’d like to work together, email info@confessionsofanover-workedmom.com to chat.

These are so cute!!!
Thanks so much!