Last Updated on December 19, 2023 by Ellen Christian
I really love spring but it is taking entirely too long to arrive this year. I decided that I would learn how to paint a ceramic flower pot and fill it with flowers to bring a bit of spring inside.
Posts may be sponsored. This post contains affiliate links, which means I will make a commission at no extra cost to you should you click through and make a purchase. As an Amazon Associate I earn from qualifying purchases.
How to Paint a Ceramic Flower Pot
One reason that I like ceramic pots is because they weigh more than plastic. As your plant gets larger, it may get top heavy and if you plant in a plastic pot, it may tip over with the extra weight.
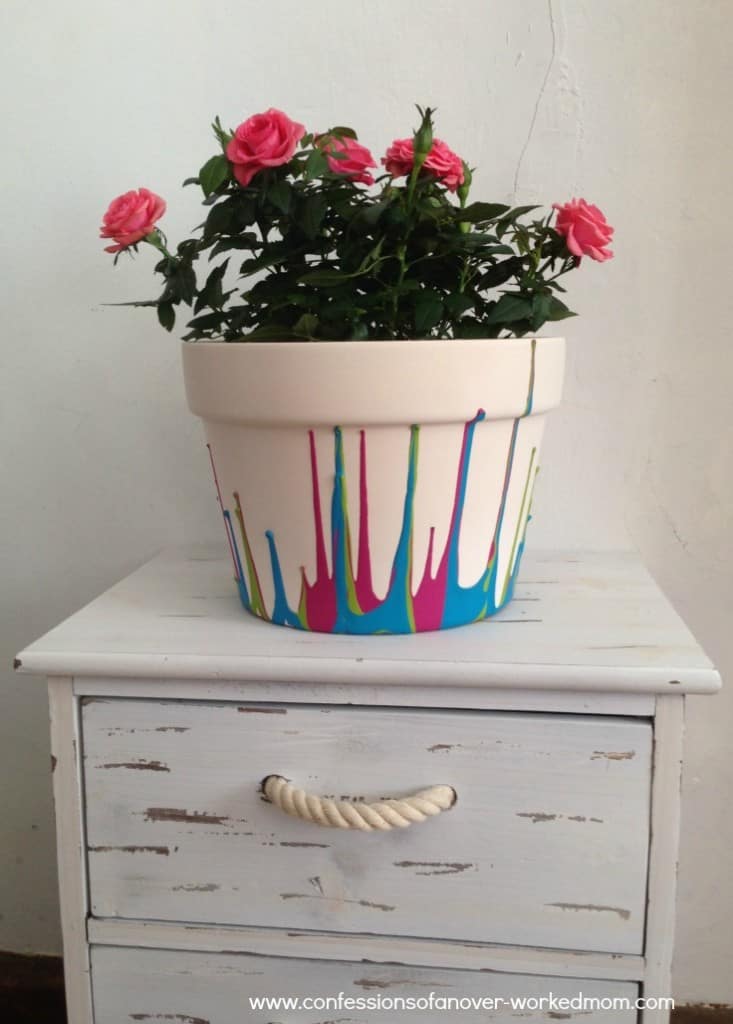
That doesn’t happen with a ceramic pot. I chose a white ceramic pot so that the colors I painted with would show up bright and vibrant. Darker clay pots don’t give that same vibrant look in my opinion.
I’ll be using my ceramic flower pot inside so I didn’t have to worry about weatherizing it to keep it safe from the elements. The ceramic pot I chose is 7″x10″ so it’s large enough to fit a variety of different flowers in it.
This would make a beautiful gift for Easter, spring or even Mother’s Day. I love the way it looks on top of this three drawer chest.
Because I am far from an artist, I wanted to go with a design that didn’t require a lot of painting talent. I can’t paint and when I try, it’s not pretty.
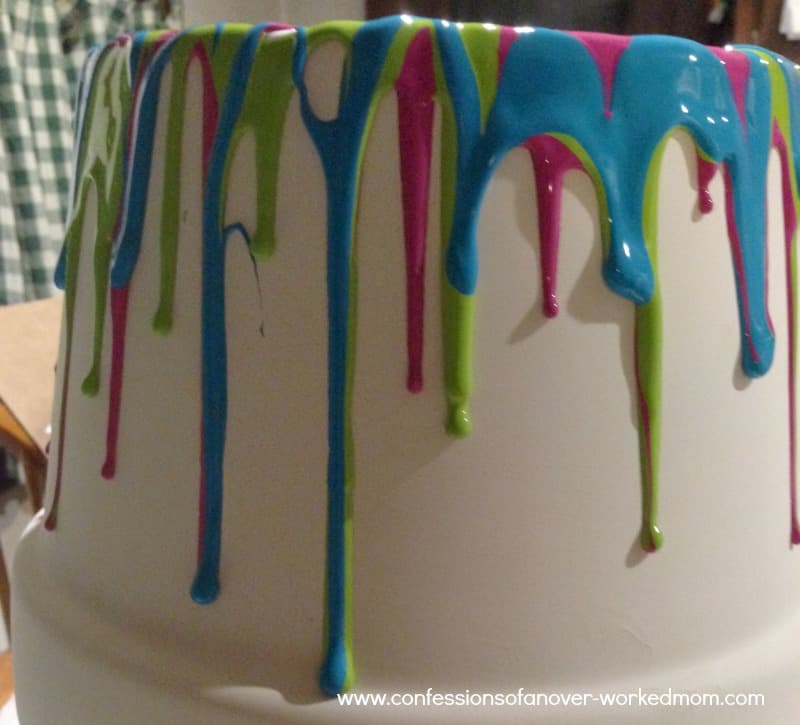
Thankfully, this drip design is something that anyone can do. All you need is a variety of different colored acrylic paints.
Painting ceramic pots
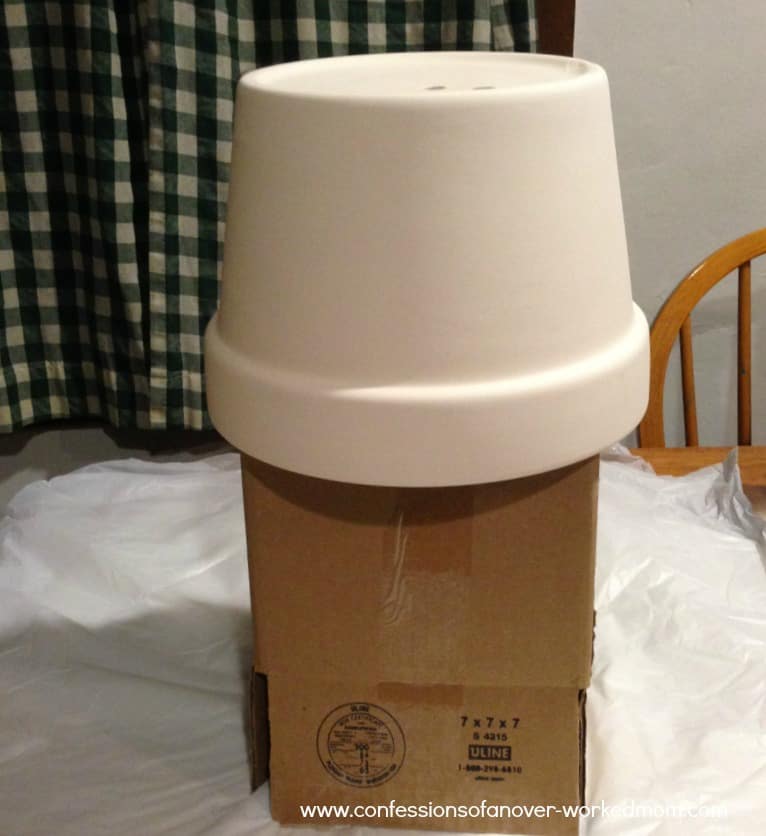
Lay down newspaper or a drop cloth over your work surface. Prop your ceramic flower pot upside down so that the top edge of the flower pot is not touching your work surface. You don’t want the paint to dry with it attached to something.
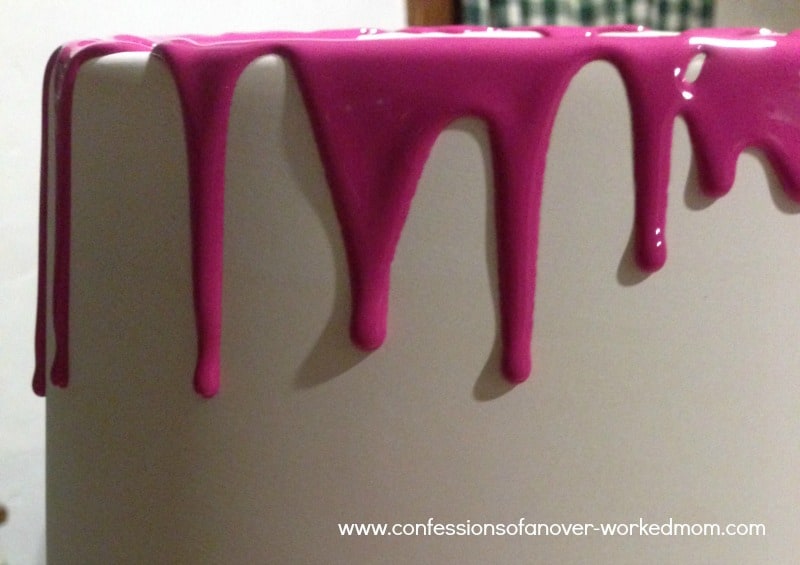
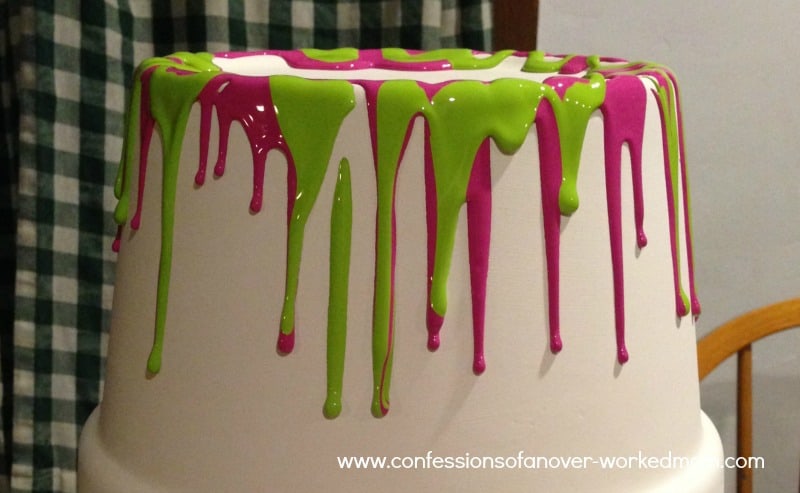
Start dripping the first acrylic paint around the bottom edge of the ceramic flower pot. It will drip down the side to create an interesting design. Continue dripping different colored acrylic paints around the edge until the ceramic pot has the design you want.
You can use as many or as few colors as you like and fill in more or less of the ceramic pot with your design. It’s all about personal preference.
Let the pot dry completely and then fill it with our favorite flowers. Because this pot is not glazed, I left the plastic flower pot on that the flower came from to protect the ceramic pot. You can always finish the entire thing with a clear spray varnish if you want to place the plant in it directly or use it outside.
What type of flowers would you put in your ceramic pot?
Why not learn how to distress a flower pot and fill it with full sun flowers?

Ellen is a busy mom of a 24-year-old son and 29-year-old daughter. She owns six blogs and is addicted to social media. She believes that it doesn’t have to be difficult to lead a healthy life. She shares simple healthy living tips to show busy women how to lead fulfilling lives. If you’d like to work together, email info@confessionsofanover-workedmom.com to chat.

Very cool, dripped paint!
Thanks, Rose. I like the way it turned out!
That looks really cute and it is easy to match the colors of your room when you make it!
Thanks, Diane! That would definitely work!
This is so cute! I love the dripped look! The colors you chose are so pretty and bright!
Thank you so much, Sarah. That was my hope!
That is so pretty. This would be a perfect Mother’s Day gift.
It definitely would be, Carlee!
I love your painted pot. This would be a great mothers day gift idea that even my kids could help make. Your flowers are pretty there too.
Thanks, Nicole. I tried to find flowers that would match the paint LOL
This turned out really nice! I’ve been looking for some fun ways to decorate pots with the kids,.
Thanks, Amanda. This would definitely work!
That is really cool! My mom has a bunch of planters laying in the garage from yard sales. I will have to decorate a few of them up!
Definitely a great way to give them a new look!
Ellen, that’s gorgeous and I can’t believe how simple it is. It definitely looks so springy and has me even more hopeful for sunny skies and warmer weather!
Thank you, Glenda! I am hoping spring arrives here too but we just got more snow last night 🙁
That is such a cool looking flower pot. I love simple but cute crafts like this.
Thanks, Pam. It was very easy to do!
What a fun and simple project!! Thanks for sharing!
Glad to share, Emily! Hope you give it a try.
Wow… I could handle that!! LOL And it turned out so cute! I love it!!!
Thanks, Jennifer! You definitely could do this!
What a cute & easy idea! I love the colors you used.
Thanks, Mindy! I thought they were bright and cheerful.
What a fun way to brighten up your home for spring. I bet it would also look great on a patio, porch or deck.
It definitely would, Catherine, as long as it was protected from the elements.
Totally pinning this on a teen craft board! Looks like a craft even this #uncrafty lady could do. I really like your chest the flower pot is displayed on, too!
Thanks so much, Michele! I love the little chest too. Very cute!
I love how this turned out.. the colors are my favorite..thanks for sharing.. would look great in my office, will give it a try, bet the kids would love to help, too…
It would definitely be something that the kids could help with! Maybe get them each their own pot.
Those are super cute. I would put some aloe plants in my pots. I am horrible at keeping flowers alive. lol. But aloe… that I can do.
Aloe is a great idea. I don’t have very good luck with it though. I need to try again.
I seriously love that flower pot! IT looks so festive and chic! I Definitely want to give this a try!
It’s super easy, Amber. Definitely try it.
Such a cute idea, totally perfect for spring! Thanks for sharing!
Thanks, Dawn. Now if spring would just get here!
I love it! What a cute and creative flower pot. I can’t wait to make a few of my own to set around my deck this summer.
Thank you so much, Tonya! Glad you like it!
This is such a non traditional, and artistic way to paint a flower pot that totally works! My kids would love for me to do this!
Even a non artist like me can manage it!
So simple and super cute, I love this. I will make one for my office. 😀
Definitely! Great way to bring color to your office!
Very pretty flower pot! I love the paint-dripped style.
I think it created a unique look that was very easy for me to do!
Ellen, I love how you had the paint drip down over the sides; loving this look!
Thanks, Mel! It was super easy to make too!
I love the colors and how it turned out! Very fun to make and a great craft for the kids to get in on!
Thanks, Dawn! The kids could definitely help out too!
So colorful and fun and easy to make! LOVE IT!
Thank you so much, Sofia. It really was!
That looks so FUN to make. I like that they are easy to customize for gifts just by choosing different paint colors. Love it!!
You definitely could do that, Jen!
That turned out nice. Simple and yet pretty. Love the colors you picked !
Thanks so much! They reminded me of spring.
I love this look! It is so classic, yet so stylish. I will have to try this craft myself, I am sure it will be great.
Thanks, Susan. It was really easy to do & you could do it for any color scheme.
i’d put something that flowers in. and i LOVE the colors you used for your ceramic pot, ellen.. pretty!!
Thanks so much, Brett. I was going for happy spring!
That looks great Ellen – looks easy to do and like one of those that you pay a fortune for at the home stores. I love it. Pinned & Tweeted!
Thanks so much, Jamie! It was really easy to do & I love the way it turned out.