
Last Updated on September 28, 2026 by Ellen Christian
Acrylic paint has a nasty habit of drying out at the worst possible moments. You step away for twenty minutes to answer the door, and when you come back, half your palette has turned into a rubbery crust that’s beyond saving. It’s frustrating, it burns through your supply budget, and it breaks your creative rhythm in ways that are genuinely hard to shake off. The good news is that keeping your paints workable session to session isn’t complicated – it just takes a few specific habits and the right setup. Most artists assume their paint simply “went bad,” when really the culprit was air exposure, wrong storage, or a studio that ran too warm and too dry. This article covers why acrylics dry so fast – and exactly what you can do about it, whether you paint every day or only on weekends.
Posts may be sponsored. This post contains affiliate links, which means I will make a commission at no extra cost to you should you click through and make a purchase. As an Amazon Associate I earn from qualifying purchases.
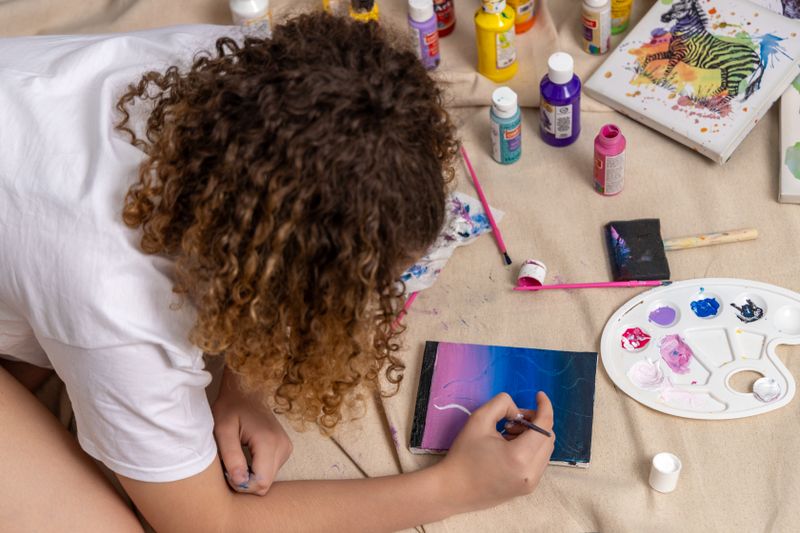
Why Acrylic Paint Dries Out Between Painting Sessions
Acrylics dry through evaporation, not chemical curing the way oil paints do. That single distinction changes everything about how you should treat them. The moment paint hits open air, the water content in the binder starts leaving – which means any paint left exposed on a palette, on a brush, or in a loosely capped tube begins losing workability almost right away. For anyone who’s explored https://usa.figuredart.com/ as an entry point into acrylic work, this drying behavior can feel like a constant obstacle; the pots that come with those kits are especially vulnerable because they often lack the tight-seal lids that professional tubes provide. But once you understand the specific triggers – air, heat, and light, you’ve got a real framework for preventing the problem rather than just reacting to it every time your paint goes stiff mid-session.
How Air Exposure Ruins Your Paint Faster Than You Think
Air is an enemy of wet acrylic, and the surface area you expose matters more than most people realize. A squeeze of paint on a flat open palette is losing moisture from every edge and across its entire top surface all at once. In a warm room with low humidity, that process takes minutes – not hours. Artists working on large sections of a canvas, leaving portions of their palette untouched for even half an hour, will come back to paint that no longer blends properly. The fix is simple but easy to overlook. Lay plastic wrap directly over your palette, pressing it down so it contacts the paint with as little air gap as possible. This slows evaporation dramatically and buys you real time. You can also spritz a fine mist of water over the surface before covering it – that added moisture delays drying further, even in a warm studio.
Temperature and Light as Silent Culprits
Heat speeds up evaporation, so your studio environment plays a bigger role in paint freshness than most tutorials bother to mention. A palette parked near a sunny window or directly under bright studio lights dries out far faster than one kept in a cooler, shadier corner. Direct sunlight is especially rough because it raises the surface temperature of the paint itself, accelerating moisture loss without any extra air movement needed. Honestly, even moving your palette a foot or two away from a strong light source can extend its workable life by ten to fifteen minutes per session, and across a long afternoon of painting, that adds up. Keep your workspace between 65 and 75 degrees Fahrenheit when you can, and don’t leave open tubes near radiators, heat vents, or windows that catch strong afternoon sun. These small positional changes cost nothing and pay off every single time you sit down to work.
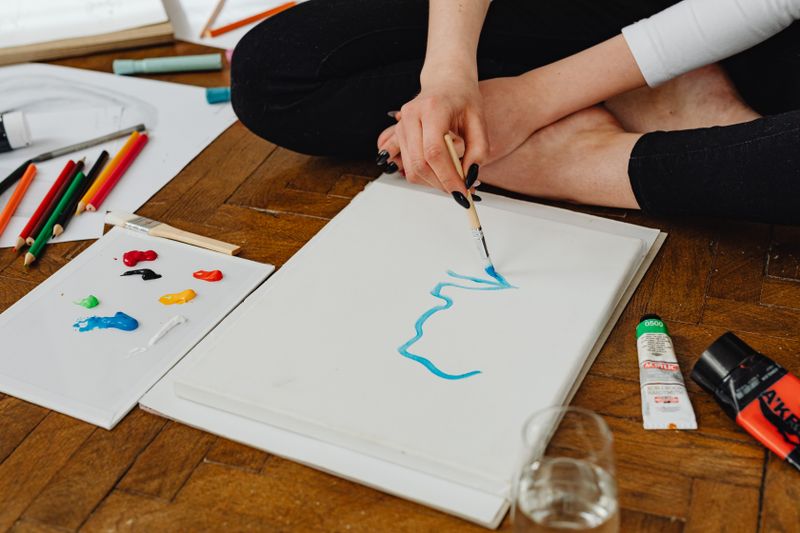
Practical Methods to Keep Acrylic Paints Fresh for Your Next Painting Session
Knowing why acrylics dry is useful. Knowing what to actually do about it is what keeps your colors workable. Experienced painters rely on a handful of methods, each targeting a different phase of the process, from active palette management mid-session to long-term storage when you’re done for the week. Some of these tools cost very little; others require nothing more than changing a small habit. The trick is consistency. One good session where you mist your palette and cap your tubes properly doesn’t undo three previous sessions where you left everything open. Treat paint preservation as a routine part of your process rather than an emergency measure, and you’ll spend far less money replacing dried-out tubes over the course of a year.
Stay-Wet Palettes and Misting Routines
A stay-wet palette is one of the most effective tools an acrylic painter can own. It works by keeping a layer of damp membrane paper between your paint and a water reservoir below, maintaining moisture from underneath rather than depending on the air above not to steal it. Several brands make solid versions ranging from around $10 to $25. The membrane paper matters – it must be designed for this purpose, since regular paper will either dissolve your paint or dry out too fast to help. Alongside a stay-wet palette, a small misting bottle is the cheapest upgrade with the biggest return. Spray your palette lightly every twenty to thirty minutes during a session. Don’t soak it – a fine mist is all you need to restore surface moisture without diluting your colors. Between these two tools, most artists can work two to three hours without significant paint loss.
RELATED: Easy Glass Painting Ideas
Proper Tube and Jar Storage Habits
How you store paint after a session matters just as much as how you handle it during one. Tubes should be rolled up from the bottom as you use them, pushing paint toward the cap; the cap itself should be wiped clean before sealing, so no dried residue stops it from closing properly. A cap that can’t seat fully lets air creep in over time – and even a small gap is enough to dry out the paint near the opening. For jar-style paints, wipe the rim before putting the lid back every single time. If dried residue builds up around the rim, the lid won’t seal. You can also press a thin layer of petroleum jelly around the inside edge of the lid to create a better barrier; this works especially well for colors you don’t reach for every session. And store everything away from direct light, somewhere cool and dry – checking tubes periodically for hardening near the cap so you can catch it before it works its way deeper in.
Conclusion
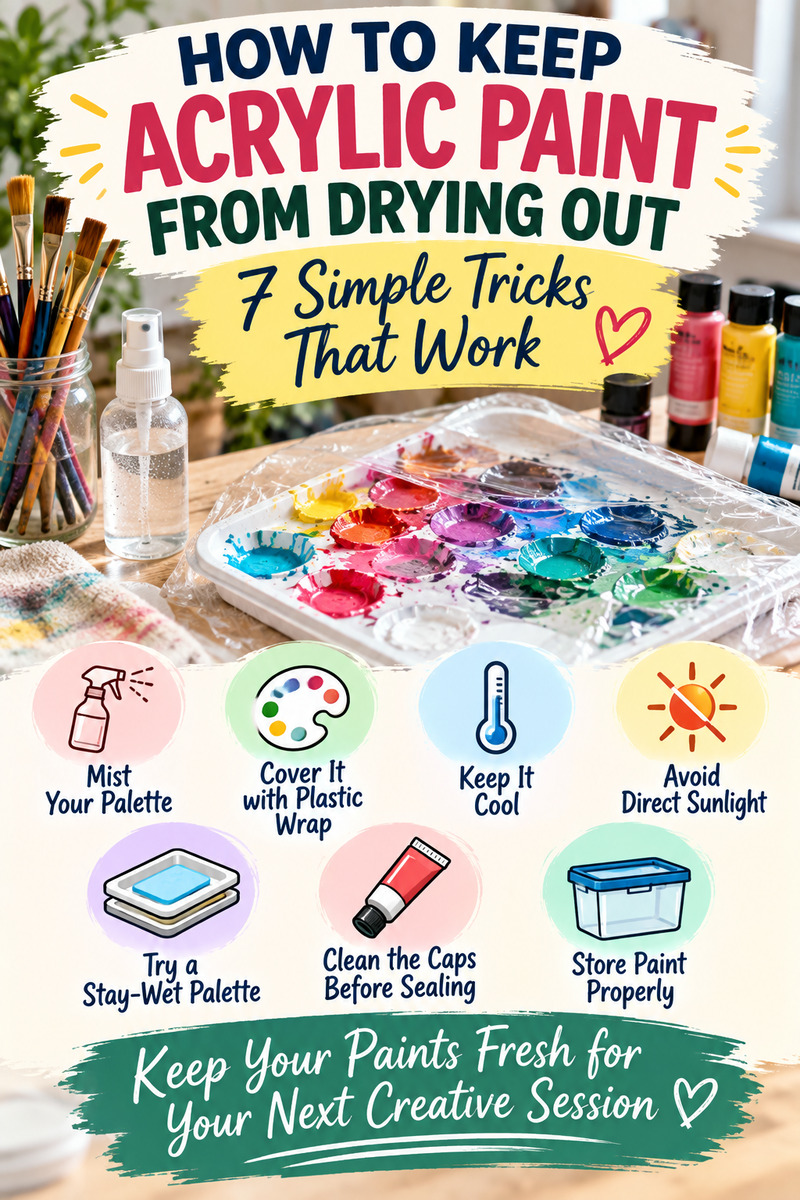
Keeping acrylic paints fresh comes down to managing three things: air exposure, temperature, and how you seal your supplies when you’re finished. Cover your palette with plastic wrap or use a stay-wet palette during sessions, mist it regularly, and position your workspace away from direct heat and sunlight. When you wrap up, wipe your tube caps and jar rims before closing them, and store everything somewhere cool and out of the light. None of these steps are hard. They just need to become a habit. But once they do, you’ll notice the difference quickly: fewer ruined piles of paint, less money going toward replacements, and sessions that flow better because you’re not constantly stopping to compensate for colors that have already dried past the point of usefulness.

Ellen is a busy mom of a 29-year-old son and 33-year-old daughter. She owns nine blogs and is addicted to social media. She believes that it doesn’t have to be difficult to lead a healthy life. She shares simple healthy living tips to show busy women how to lead fulfilling lives. If you’d like to work together, email info@confessionsofanover-workedmom.com to chat.
