
Last Updated on September 26, 2026 by Ellen Christian
I enjoy making personalized gifts, so I was excited to try the xTool M2. It combines color printing with laser engraving and cutting, which gives me several ways to create custom projects in one machine.
Posts may be sponsored. This post contains affiliate links, which means I will make a commission at no extra cost to you should you click through and make a purchase. As an Amazon Associate I earn from qualifying purchases.
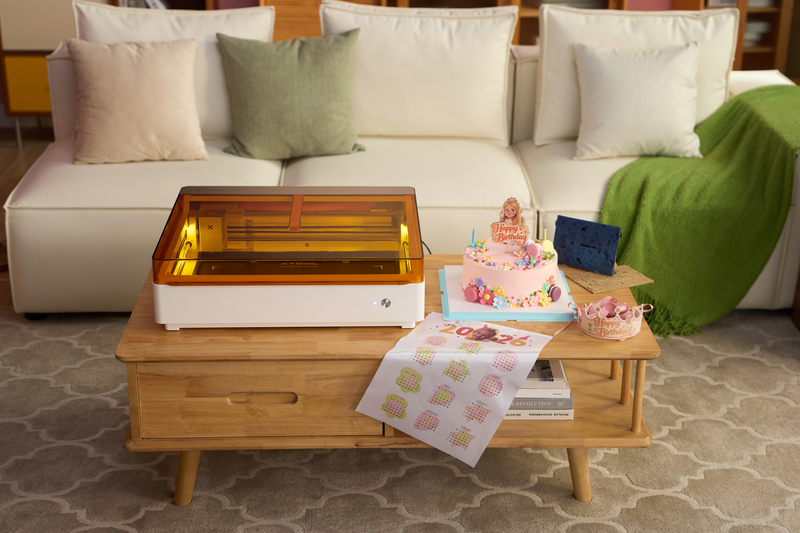
What comes with the xTool M2?
My package included I received the xTool M2 Deluxe Bundle, a separate M2 Material Kit, and a pack of multicolor MDF boards. The M2 is available with different modules, so it’s worth checking exactly what is included in the package you’re considering.
The machine measures about 24 by 22 inches, so it needs a dedicated spot with room for the ventilation setup. I placed mine on its own table in my livingroom. Check it out here.
Setting up the xTool M2
Getting started took me about an hour. The part that was easiest was physically setting it up, while updating the software, etc. took a little more figuring out. I connected the machine to my computer and used xTool Creative Space (XCS) to prepare my first design. Keep in mind you will need WiFi to run this.
As someone with very little laser engraving experience, I found the instructions a little confusing. If I could give another beginner one setup tip, it would be expect a bit of a learning curve.
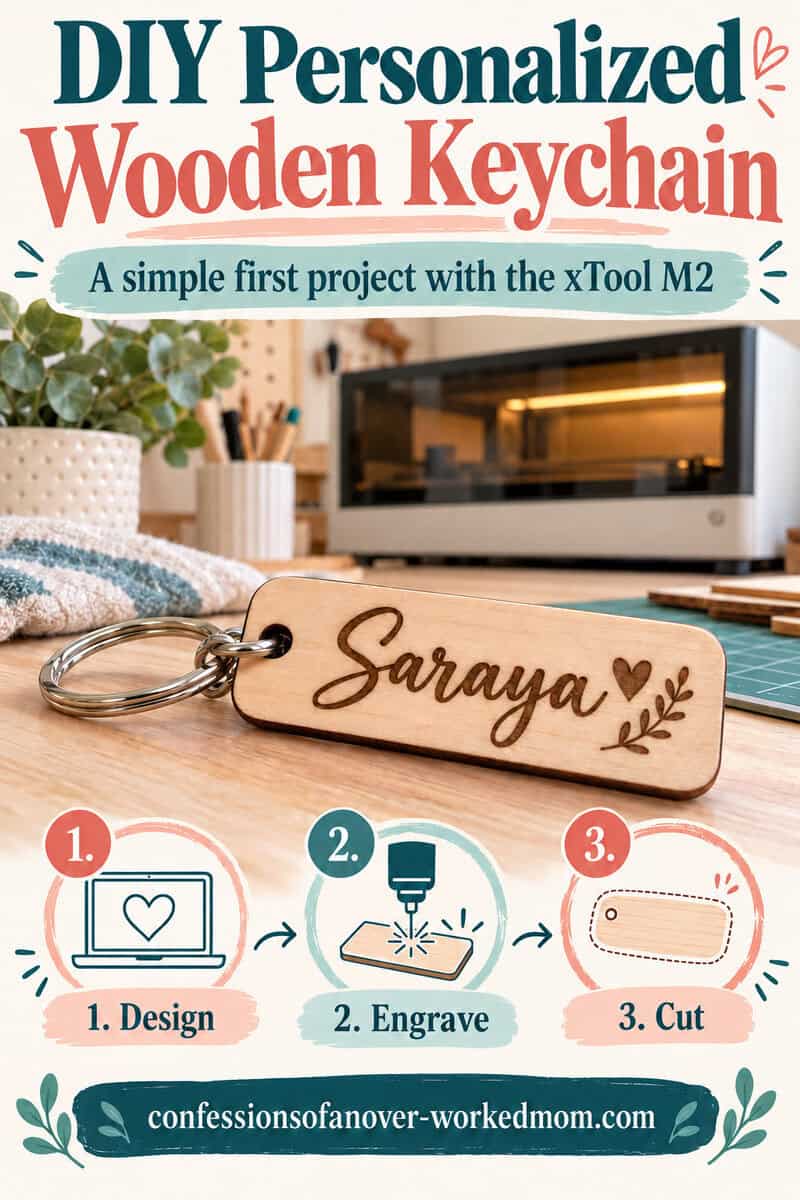
My first project: Wood Keychain
For my first test, I made a wood keychain. That is the recommended first project and it seemed quite simple. It uses the materials included in the starter bundle and only takes about 5 minutes to design. I wanted to see how easy it was to position the design, choose the settings, and get a finished result I’d be happy to give someone.
To make a personalized wooden keychain with the xTool M2, you start by placing a piece of 3 mm basswood plywood in the machine, securing it, and closing the lid. In xTool Studio, refresh the camera view so you can position your design on the wood, then measure the distance to the material for proper focus. Choose the matching basswood settings and test them on a scrap piece. Next, add a name set to Engrave, draw an outer shape set to Cut, and add a small cutout for the keyring, leaving enough wood around the hole to keep it sturdy. Finally, use Framing to check the placement, click Process and Start in the software, and press the button on the M2 when prompted. Stay with the machine until it finishes.
RELATED: Cricut Mini Cutting Machine
What took some practice
There was a learning curve with using the software. I also had to do test cuts and adjust the settings. That’s useful to know if you’re buying your first laser machine: allow time and some extra material for practice projects.
What can you make with the xTool M2?
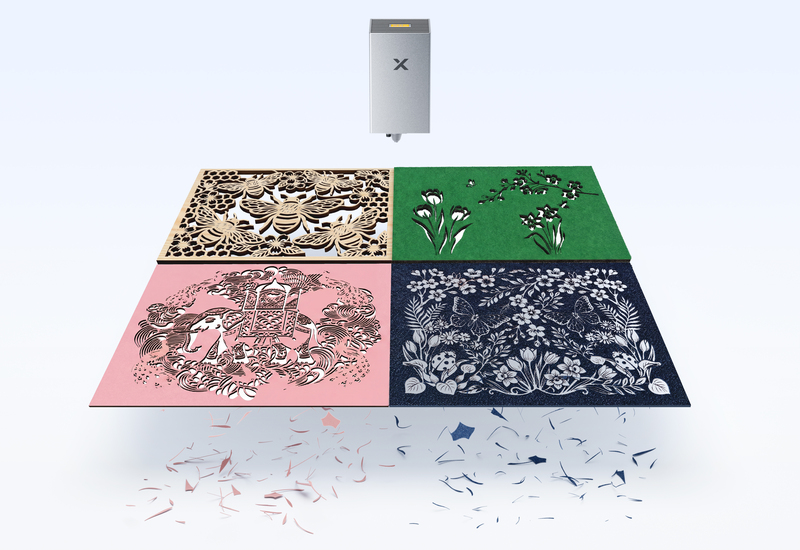
The mix of color printing, laser cutting, and engraving makes the M2 interesting for personalized gifts and home projects. Depending on the modules and appropriate materials you have, project ideas include gift tags, ornaments, small signs, labels, and decorations.
I’m especially interested in trying [two or three projects you genuinely plan to make]. I’ll add photos and notes here as I complete them.
Always confirm that a material is suitable for the operation you’re using. Ordinary PVC or chlorine-containing vinyl, for example, should not be laser cut or engraved.
Is the xTool M2 worth it?
For me, the deciding factors are how much you plan to use it and what the cost is per project. After making a few projects, I think the M2 is best suited to to someone who will use this for a small business or small craft studio rather than a hobbyist who may not use it as much to justify the cost.

Ellen is a busy mom of a 29-year-old son and 33-year-old daughter. She owns nine blogs and is addicted to social media. She believes that it doesn’t have to be difficult to lead a healthy life. She shares simple healthy living tips to show busy women how to lead fulfilling lives. If you’d like to work together, email info@confessionsofanover-workedmom.com to chat.
