
Last Updated on October 14, 2026 by Ellen Christian
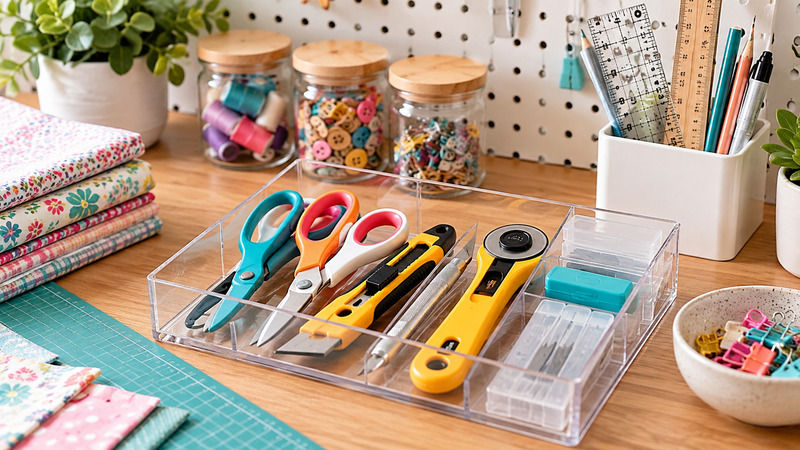
A small craft room can hold a wide range of sharp tools, from rotary blades to scissors to craft knives. When these tools lack a set place, they drift into fabric bins or project boxes. A hand that reaches into a crowded bin may brush against an exposed edge.
Posts may be sponsored. This post contains affiliate links, which means I will make a commission at no extra cost to you should you click through and make a purchase. As an Amazon Associate I earn from qualifying purchases.
A clear layout solves much of this problem. The sections below cover practical storage zones with simple labels. They also cover basic care habits plus a few shared house rules. Each idea aims to keep sharp tools easy to find as well as easy to put away.
Common Reasons Sharp Tools Disappear
Sharp tools tend to disappear for a few predictable reasons. A crafter in a hurry may drop a knife into the nearest project bin. A family member may borrow scissors, then leave them in a kitchen drawer. Spare blades may stay inside old boxes that end up on a back shelf.
Each of these cases points to a gap in the room layout. A tool with no fixed home will end up wherever a hand last set it down. The good news is that a layout gap is simple to correct. A free afternoon with a tape measure plus a few small containers can give every tool a proper place.
Every Tool Needs One Clear Home
A craft room works best when each tool has a single home. That home should sit in plain view at standing height. Access to it should take one simple motion, such as a reach into an open tray. A home close to the main work surface also helps, since a tool stored across the room invites shortcuts at the end of a long session.
Sharp tools belong away from loose fabric. A blade on the same table as folded yardage can catch a sleeve or the corner of a cloth. A separate tray or shelf for blades keeps the two apart. Good overhead light near the work surface helps as well, since tools in a bright area are simple to spot at a glance.

Four Storage Zones for a Small Craft Room
A full wall system is unnecessary for a small room. One shelf or one drawer split into four zones can keep every sharp tool in view.
If you’re working with limited space, these ideas for organizing art supplies can help you make better use of drawers and small storage areas.
- An active tray for the few tools in use on nearly every project, open with no lid
- A retired drawer for dull blades or broken handles kept out of daily use
- A blade supply tin with a closed lid, stored upright on a stable shelf
- A small section for rulers with pencils, placed beside the active tray
The active tray is a natural spot for a safety knive, a tool with a blade that retracts or stays shielded when it is set down. A shielded blade adds a layer of protection when someone reaches into the tray without a careful look. Each zone works best with a plain label on the front edge, so the contents stay clear to anyone in the room.
Clear Labels Help Every Household Member
A label serves as a quiet safety feature in a shared space. It tells a partner or a teenager what sits in a bin before the lid comes off. That brief pause can help prevent an unexpected brush with a blade.
Plain masking tape with a marker works well for this job. It takes seconds to apply. It holds up to daily use, with a simple swap whenever a zone changes. Fancy printed labels may look neat, yet they take extra time to make.
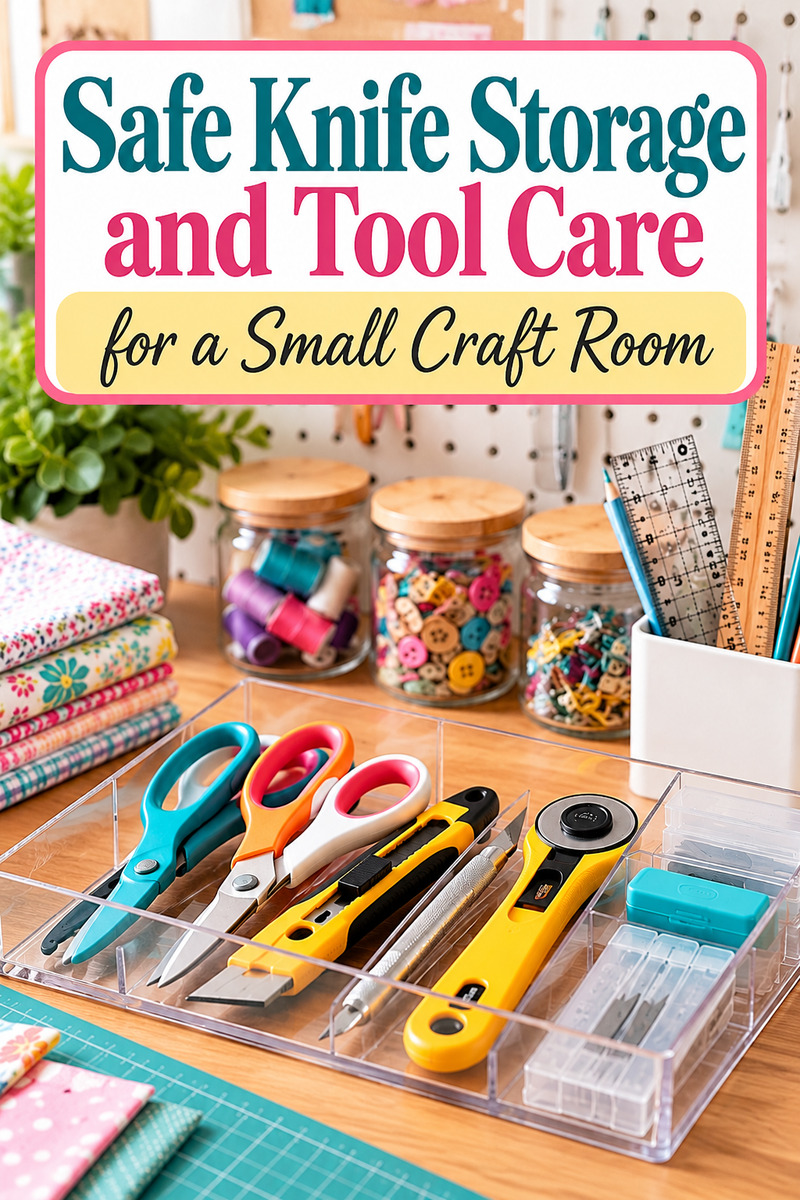
A shallow tray adds a second layer of visibility. Its full contents show at a glance, which leaves few places for a stray blade to hide. Tool cases belong on top of fabric stacks, never underneath them. A case tucked below a pile for a moment can stay buried for months.
Simple Care Habits for Sharp Tools
Manufacturer care notes are the best guide for each tool in the room. Blades should stay retracted or covered while in storage. This habit matches general hand tool guidance from the Canadian Centre for Occupational Health and Safety, which also calls for tools kept free of dirt or moisture. A clean, dry tool tends to last longer in a drawer. Dust or adhesive left on a tool can make its slider or lock feel stiff over time.
A short care routine at the end of each session keeps this manageable. A quick wipe with a dry cloth plus a check of the lock covers the basics. Any tool with a loose lock or a stiff mechanism should leave the active tray until it is repaired or replaced according to the maker’s guidance.
A Clear Bench Protects the System
Storage systems tend to break down through project creep. Each new project brings fresh materials onto the bench. Tools then get set down beside fabric or paper with no clear path back to the tray.
A simple limit on open projects helps hold the line. Two active projects on the bench is a practical cap for a small room. Other projects can wait in labeled boxes on a shelf, with their tools returned to the tray first. A quick bench clear at the end of each session supports every other habit in this guide.
Shared Rules for a Family Craft Room
A new layout helps only when the household knows where things live. A short walkthrough of the shelves can show everyone the system in a few minutes. A few shared rules keep it in place after that.
- Sharp tools return to the active tray after each use
- Blades stay off the ironing board or kitchen counter
- Household scissors keep their own spot outside the craft tray
- Children check with an adult before they open the blade tin
Lost tools point to a gap in the layout, with no single person at fault. A clear home for each item removes much of the guesswork from a shared room.
Sharp tools with no set home create clutter as well as risk in a small craft room. The most practical first step is one shelf at standing height with an open, labeled tray for active tools. A brief walkthrough then helps every household member learn where each blade belongs. With that base in place, the room can stay calm from one project to the next.

Ellen is a busy mom of a 29-year-old son and 33-year-old daughter. She owns nine blogs and is addicted to social media. She believes that it doesn’t have to be difficult to lead a healthy life. She shares simple healthy living tips to show busy women how to lead fulfilling lives. If you’d like to work together, email info@confessionsofanover-workedmom.com to chat.
