
Last Updated on October 5, 2026 by Ellen Christian
Every year when autumn comes, there are gardeners who are determined to clean their gardens. Equipped with pruning shears, thick gloves, and some yard waste paper bags, it seems that all they need to do is just have a relaxing Saturday afternoon cleaning the garden beds before winter.
Posts may be sponsored. This post contains affiliate links, which means I will make a commission at no extra cost to you should you click through and make a purchase. As an Amazon Associate I earn from qualifying purchases.
However, reality hits soon enough.
As soon as one starts pulling the dead annual plants, pruning overgrown perennials, raking lots of wet leaves, and chopping dead branches of the trees, a small innocent heap on the lawn turns into a huge pile of yard waste in a matter of minutes. Very soon one realizes that it is impossible to solve the problem by means of weekly curbside pickup.
If autumn garden cleaning always leads to a bigger job than planned, there is nothing strange in it. It is not necessary to get rid of a garden clean-up on your weekends or to be left with your driveway full of wet paper bags for weeks to come. Here is a step-by-step guide to cleaning up your autumn garden without getting overwhelmed.
How Do You Break a Big Yard Cleanup Into Stages?
What almost all gardeners do wrong when cleaning up their gardens in autumn is trying to finish everything within just one day. This way will lead to muscle ache, unfinished work, and frustration. However, dividing this process into three stages and taking several weekends for cleaning your garden will help you cope much more easily.
Stage 1: Perennial Pruning and Bed Prep
Begin with getting rid of dead vegetable plants, annuals, and perennial plants which will collapse after the first freezing period. It is great to leave some healthy seed heads for wintering birds, but any withered and rotten plant must be cleaned at once.
Stage 2: Tree and Shrub Trimming
In this stage, you should trim overgrown bushes, dead wood and branches that hang low. Pruning trees and shrubs before winter storms is necessary to protect your house and fences from them, but this stage usually involves creating physical yard waste.
Stage 3: Leaf Collection and Final Lawn Care
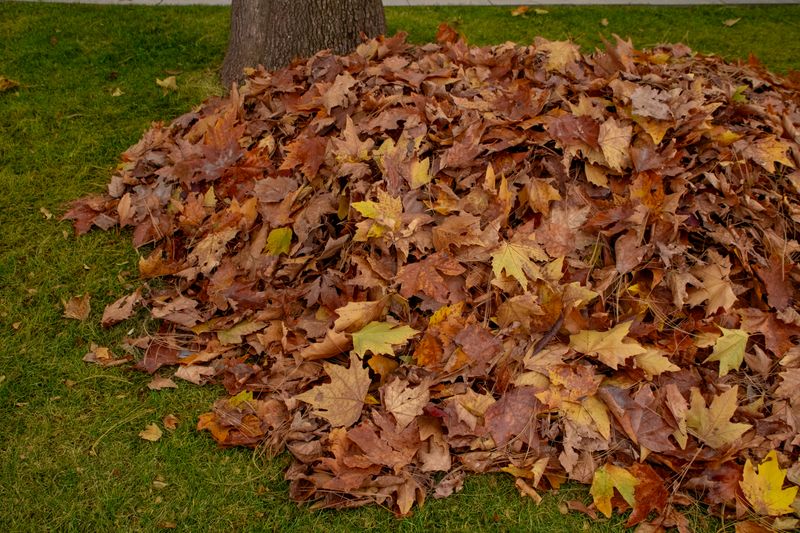
Raking heavy leaf fall and mowing the lawn should be done on the last stage. It is possible to use a mower for turning stray leaves into fertilizer, but large leaf mats which cover your flower beds need to be removed.
What Should You Compost vs. What Has to Go?
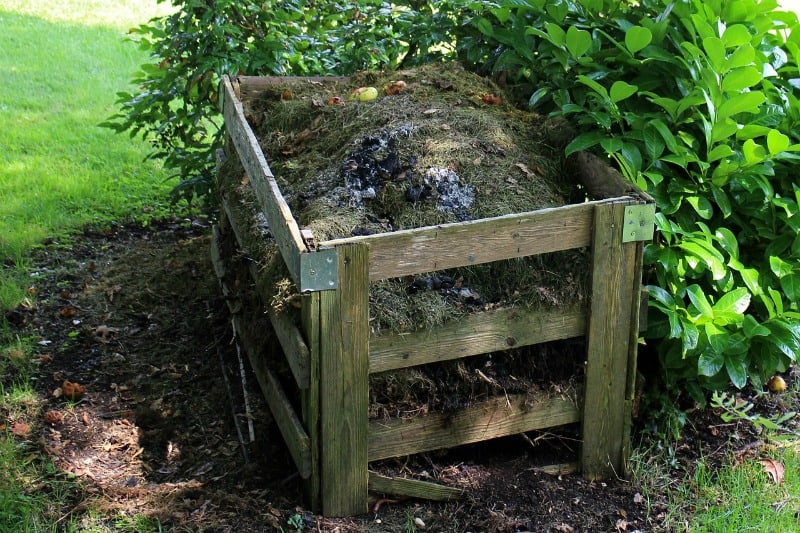
However, not all yard waste should be added to your personal compost bin. Adding the wrong materials will simply infect the soil again next year.
What Stays for the Compost Heap:
- Healthy annual plants and soft green cuttings.
- Shredded tree leaves (these are great for composting during the winter season since they make terrific nutritious mulch).
- Good plant material like vegetable stalks and herb cuttings from raised beds.
What Needs to Be Hauled Away:
- Diseased Plant Material: Diseased tomato vines and peonies with mildew must never be placed in the compost pile.
- Invasive Weeds with Seed Heads: Most normal compost piles don’t generate enough heat to kill weeds.
- Thick Branches and Heavy Root Balls: They take forever to decompose naturally and take up lots of room.
RELATED: 4 Fall Maintenance Tips Your Yard Needs
How Do You Know When a Project Has Outgrown the Curb?
Most curbside services have limitations regarding weekly yard waste. Some may allow only four to five bags of yard waste, while others may require cutting down branches to very small bundles.
In cases where a whole flower bed, a huge tree, or landscape needs to be removed, waiting for the weekly collection of bags can mean a month’s worth of yard waste lying around in the driveway.
In cases where there are many bags full of yard waste, piles of loose branches, and lots of soil and sod, the project has exceeded the capacity of curbside pickup. At this point, a proper disposal container becomes necessary.
What Should You Expect When Renting a Yard Waste Bin?
Rather than continually driving to the nearest landfill or placing tearable paper bags along the perimeter of your property, the easy answer is to simply order a yard waste bin.
When organizing a major seasonal cleanup, looking into local options like a bin rental milton service through Hersey Bins simplifies the heavy lifting. Instead of guessing how many bags will be needed or worrying about municipal pickup schedules, having a dedicated container placed directly on the driveway allows waste to be tossed away as the work happens, keeping lawns clean and workspaces safe.
Understanding Pricing and Sizing
The costs associated with rental services are mainly dependent on two factors; bin volume (in terms of cubic yards) and weight capacity limitations.
- Smaller Bins (4 to 10 Yards): Most appropriate for heavy debris such as soil, sod, root balls or broken bricks from old garden borders.
- Medium to Large Bins (12 to 20 Yards): Most appropriate when it comes to volume and depth needed for light bulky debris such as branch piles, shrubbery cuttings, leaves and clean-up during various seasons.
Hersey Bins offers various bin sizes which make it easy to select a bin of the required size for the garden project.
How Do You Load a Rental Bin Efficiently?
It is essential to consider the method of packing the container for yard waste in addition to the materials you decide to pack inside:
- Trim Down Large Limbs: Reduce the size of large branches into four feet and pack them in the bottom of the container.
- Put Heavy Items at the Bottom: Pack heavy items like sod, soil, and the root ball of the plant at the bottom of the container.
- Fill in the Air Gaps: Pack the air spaces among the woody plants with leaves and annuals.
- Keep the Top Level: Avoid filling the container with debris more than its top level to cover it with the help of a tarp while transferring.
By cleaning up the garden in two fall weekends, organizing the green waste and hiring a container when necessary, anyone can be sure that his or her lawn will have a perfect spring without wasting many weekends by filling up the yard waste bags.

Ellen is a busy mom of a 29-year-old son and 33-year-old daughter. She owns nine blogs and is addicted to social media. She believes that it doesn’t have to be difficult to lead a healthy life. She shares simple healthy living tips to show busy women how to lead fulfilling lives. If you’d like to work together, email info@confessionsofanover-workedmom.com to chat.
