
Last Updated on January 4, 2023 by Ellen Christian
Check out these simple garden plant labels. With my brand new raised garden beds planted, I really wanted some cute garden plant labels to label each of my plants. I looked at some of the garden plant labels at the store but they were fairly pricey.
Posts may be sponsored. This post contains affiliate links, which means I will make a commission at no extra cost to you should you click through and make a purchase. As an Amazon Associate I earn from qualifying purchases.
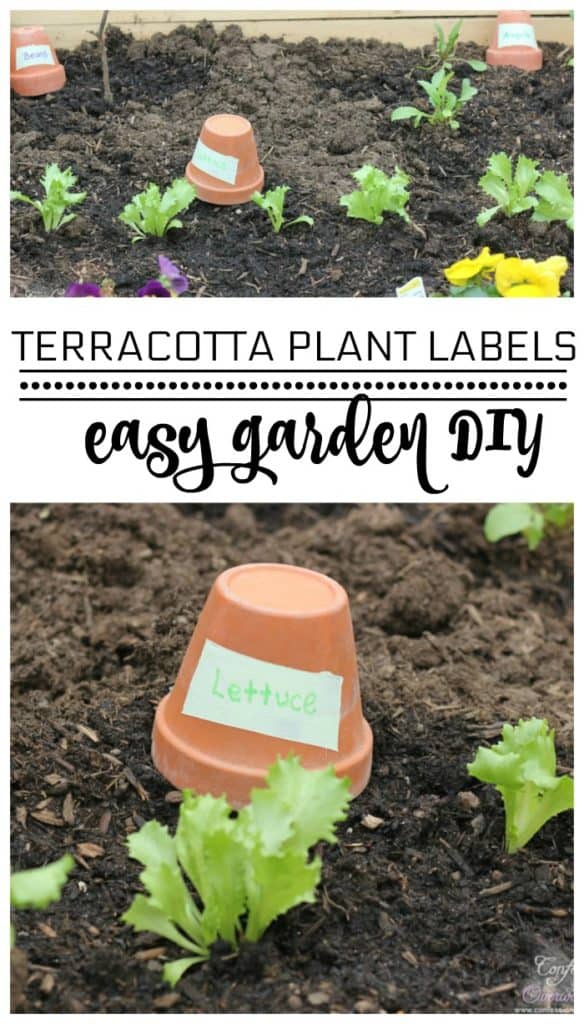
Garden Plant Labels
I like my plant labels to be large enough so that when the plant grows, I can still find the label and identify the plant. These garden plant labels are very easy to make and take only a few minutes.
If you are artistic, you can paint the words and vegetables on the front of your pots. Painting is not one of my skills, so I chose to write the words with permanent markers.
Garden plant labels materials
This is what you need to make these labels. You can find them at your local home and garden store.
- Clay pots. You will need as many as you have types of plants.
- Outdoor paint. You will need a paint like house paint in a light color that will stand up to the outdoor weather.

This product presentation was made with AAWP plugin.
- Permanent markers. To write the words on the front and draw the vegetables. I love this one.
- Frog Tape. To mark off the rectangle space you will be painting. Frog Tape prevents the paint from bleeding underneath the tape.
- Paint Brush. I went with a 1″ brush.

This product presentation was made with AAWP plugin.
DIY garden label instructions
- If you are using used clay pots, brush off all of the dirt or debris from the outside of the clay pot.
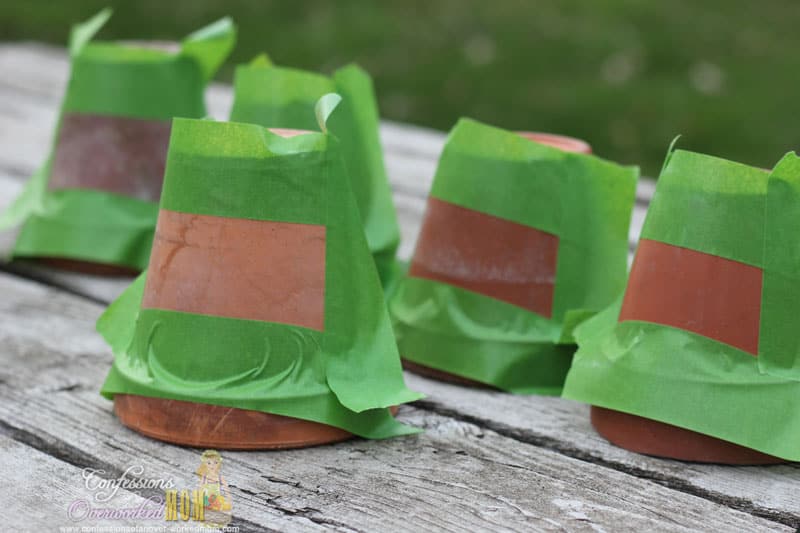
- Using the Frog Tape, mark off a rectangle or square on the front of each pot. Be unique and don’t aim for an exact shape.
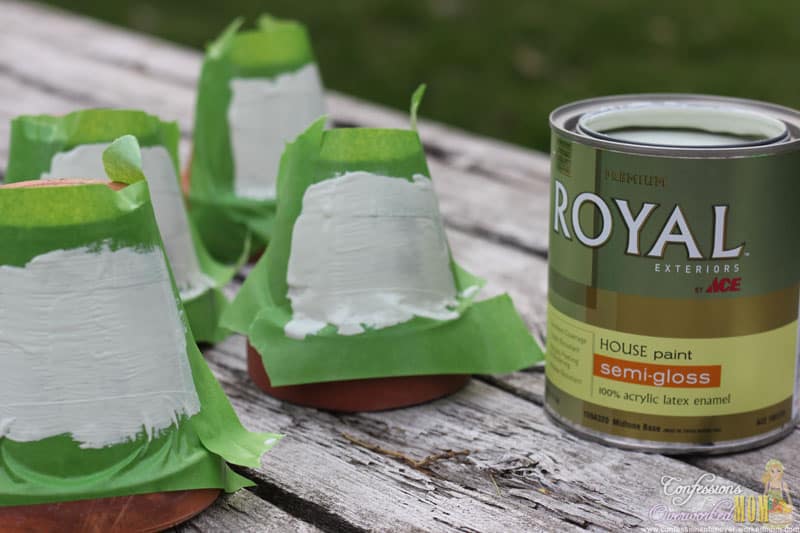
- Paint inside the Frog Tape. You may need more than one coat.
- Let it dry completely.
- Peel off the Frog Tape slowly.
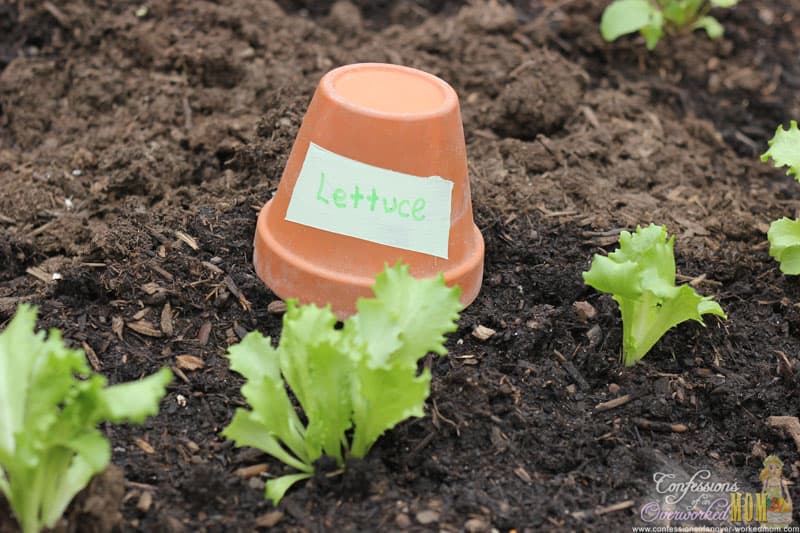
- Using permanent markers, write the name of the plant that you have planted. If you want, you can also draw the food you’re growing on there.
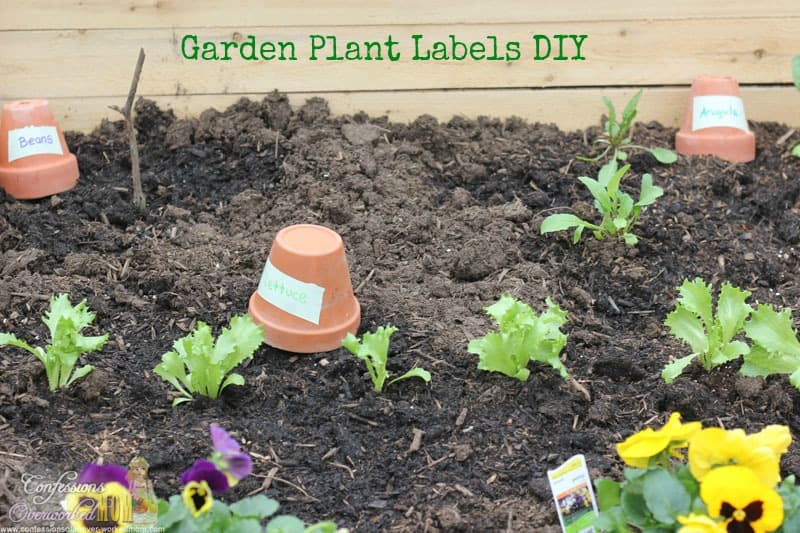
- Place the pots upside down near the plant you want to identify.
That’s all there is to it. You can seal the garden plant labels with outdoor varnish if you want to ensure that they last for several years.
Related reading
If you liked this article, you may enjoy reading a few of these.

Ellen is a busy mom of a 24-year-old son and 29-year-old daughter. She owns six blogs and is addicted to social media. She believes that it doesn’t have to be difficult to lead a healthy life. She shares simple healthy living tips to show busy women how to lead fulfilling lives. If you’d like to work together, email info@confessionsofanover-workedmom.com to chat.
That is super cute! And easy to do! Thanks for sharing.
You’re welcome! It was fun too!
Cute Idea!
Thank you so much for sharing this on Tutorial Thursdays Linky Party.
I look forward to seeing what you share with us all this week 🙂
x
Natalie
Marigolds’ Loft
I appreciate the linky to share!
Ellen, great stuff on your site. I will continue to enjoy all of your topics. The plant markers are a great way of re-using the pots that just stack up year after year. Well, that’s how it is in my house. Please continue to shop local at Gilmore Home Center for any of your crafty needs. I will look forward to our future product searching missions. Have a Great Day!!!!
I appreciate your help in finding just the right supplies!
Very nice creative thought applied, I am sure its easy to read and very good way to track and Reusable too, Very well applied thought !! Great post
Thanks so much. I really enjoyed making them!
It is a great idea, look to recycle the clay pot.
very nice! I would need a lot of these to mark all my plants but at least I could find them after a few months, unlike the popsicle sticks
Very true, Diane! They are easier to read too!
Super cute. You could even paint them all different fun colors!
That would definitely look cute!
I love it- both practical and creative:)
Thank you so much, Sheri!
What a great idea, Ellen. I’m going to do this! I’ve been using those plastic spikes that you write on and then stick in the ground, but they don’t last two minutes! I’m creating a cuttings garden this year, so have a lot of new plants that I’m waiting until the last of the frosts before planting, so this will definitely give me a great way of keeping track of what’s planted where. Thanks for sharing this today.
I had the same problem with those little plastic markers!
Oh, that is clever! Those little plastic markers that come in plants never hold up. I end up digging up the ones from 3-4 years ago when I plant new stuff each year.
I do the same thing, Katie!
What a great idea. These look cute and I bet they’re easy to read. Plus you can reuse them next time. Thanks for sharing.
Thanks so much, Mary! I love that they are reusable too!
This would be a perfect way to reuse the little pots that I start seed in!! Adorable!! Pinned & Tweeted!!
Thanks so much, Jamie! Reusing is the way to go!
How clever. I’m sure they are very easy to read from a distance. I’ve never heard of frog tape. I’ll have to look that up. Thanks for the tip!
Glad to share. I love that they won’t blow away or get lost 🙂