
Last Updated on March 13, 2021 by Ellen Christian
I am the designated DIY person in our home. I am far from an expert but I learn more with each project I do. When I have questions, I ask either my father (who has years of DIY experience), my husband (who is disabled but has the “how to” knowledge of how to do these projects) or I Google the information. Don’t be intimidated by DIY projects around your house. If I can learn how to change your kitchen faucet, you can too. I received a Delta Touch20 faucet is part of a sponsored opportunity with Glam and Delta. You can read all about why I love my Delta Touch20 faucet. No one asked me to share this post with you but I wanted to let you know how to change your kitchen faucet in case you decide to try it yourself.
Posts may be sponsored. This post contains affiliate links, which means I will make a commission at no extra cost to you should you click through and make a purchase. As an Amazon Associate I earn from qualifying purchases.
How to Change Your Kitchen Faucet
This post assumes you have a faucet in your sink currently and want to remove it and put in a new one. It is based on my taking out a standard Delta faucet and replacing it with a Delta Touch20 faucet. My home was built in 1865 and many of the upgrades and repairs that were done before we bought it were not necessarily done the correct way. That can make DIY projects a bit of a challenge but I’m always up for learning something new.
- Turn off the water. There should be two pipes under your sink. Each will have a shut off valve. In an ideal world, one will be red and one will be blue. Red is hot. Blue is cold. In my home, both are red. Turn on the faucet to test that the water flow is really off.
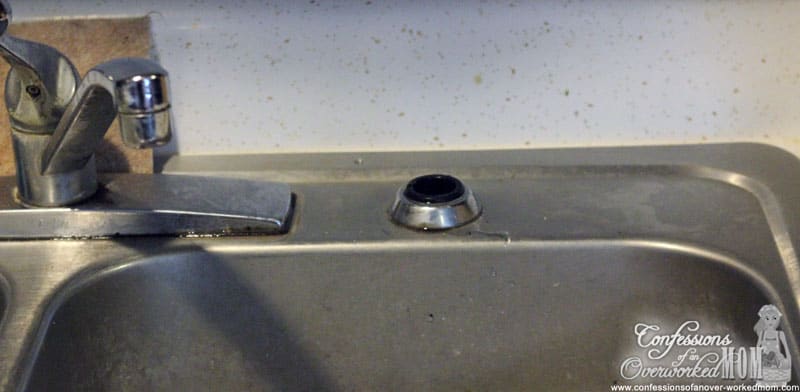
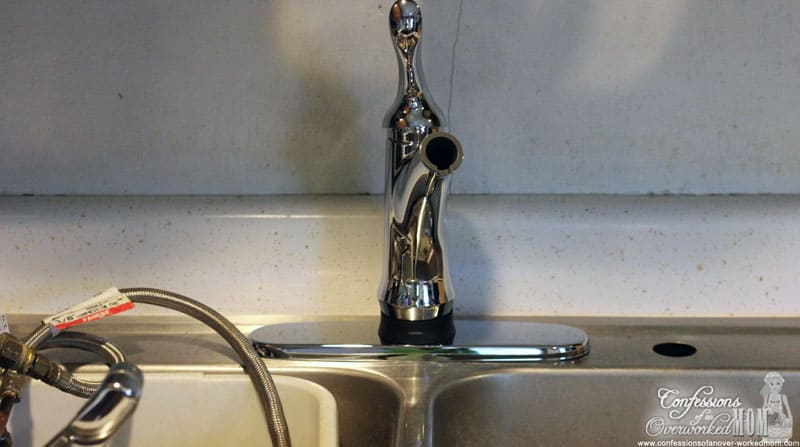
- If you have a separate kitchen sprayer and will be eliminating it to use a faucet like the Delta Touch20 faucet where the sprayer comes out of the spout, you need to remove the sprayer first. Just loosen the nut that connects the sprayer hose under the sink. Drain any water that might be standing in the hose and remove the sprayer from the top of the sink. That will leave the spray base still in the sink. You will need to remove that by tugging gently. Now you have a hole in the sink that can be covered with a snap in faucet hole cover.
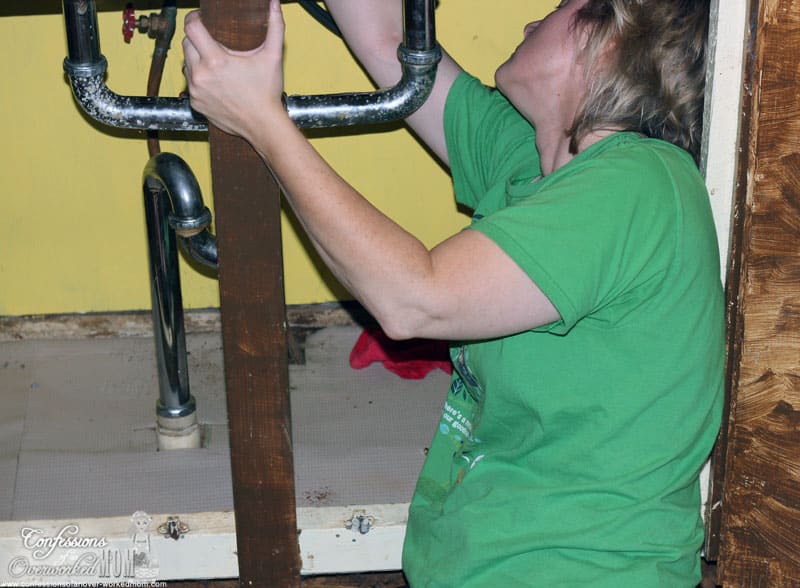
- Under the sink, loosen the nuts that connect the supply hose from your faucet to the hot and cold water pipes that come up from under the sink. You may need to use WD40 to loosen the nuts depending on how long they have been on. NOTE: use one wrench to hold the top of the copper water pipes and the other wrench to loosen the nut. You do not want to break or bend the copper water pipes.
- Drain any water left in the supply hoses into a bucket.
- I have a top mount faucet so in order to remove the faucet from the sink, I need to loosen the nuts that hold it to the sink. These are under the sink to the left and right of the faucet tailpiece. Mine are made of plastic and could be untightened by hand. If yours are stuck, try WD40. Remove the nuts. Gently pull the faucet up and out. Set aside.
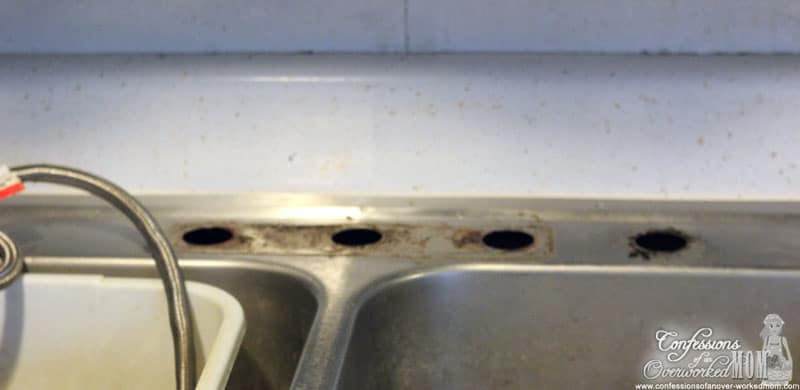
- Clean the area where the faucet attached to the sink well.
- Place the estucheon over the sink holes. That’s the decorative base that the faucet sits on. It should have a rubber or plastic gasket on the bottom but if it doesn’t, apply plumber putty or silicone caulk to make sure you get a good fit.
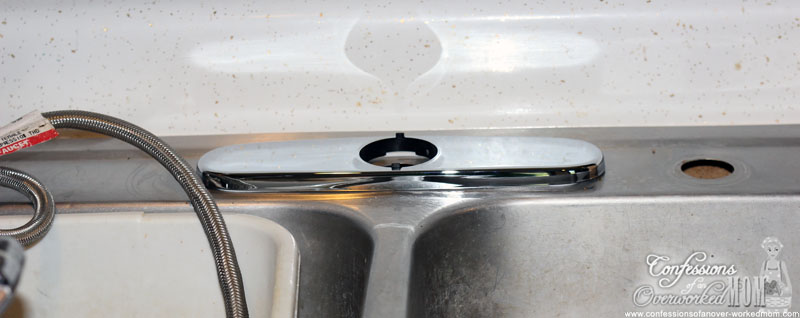
- Carefully lower the new faucet assembly and all the hoses and wires through the center hole of the estucheon. Connect it with the washer, mounting nut and bolts so that it sits firmly in the sink.
- This is a general description of what follows as the specifics will depend on what model faucet you have. Please refer to your specific manual to see what you need to do. Whatever your manual tells you to do, it will involve lots of laying on the ground trying to reach things that are never in the most convenient place. Depending on the set up of your sink, it may involve you saying words your children shouldn’t hear you say. Occupy them with a video game before you start.
- Place the sprayer hose through the top of the faucet. Attach the wand assembly to the sprayer hose.
- The Linden model of the Delta Touch20 faucet has a motor assembly that runs the touch portion of the faucet. This needs to be installed and connected according to the directions at this point.
- Attach the check valves to the water pipes. The connection may be directly on the shut off valve depending on your set up. If you live in an old house, you may need to add in an adapter to get everything to fit properly. Thankfully, the ladies at Aubuchon are amazing and helped me find an adapter that would work. Pick up where you left off and finger tighten the nut. Give one additional turn of the wrench to tighten.
- Attach the hoses to the check valves. Red to the hot water pipe and blue to the cold water pipe. Finger tighten the nuts and finish with one turn with the wrench.
- Turn the water back on. Check for any leaks. If you have leaks, shut the water off. Find the leak and tighten the nuts more if necessary. Depending on how your plumbing is set up, you may need to wrap the threads with Teflon tape to get a good seal. If you’re like me and don’t have any Teflon tape, drive to the hardware store to get some and then resume. Dry everything off. Turn the water back on and try again until you have no leaks at all.
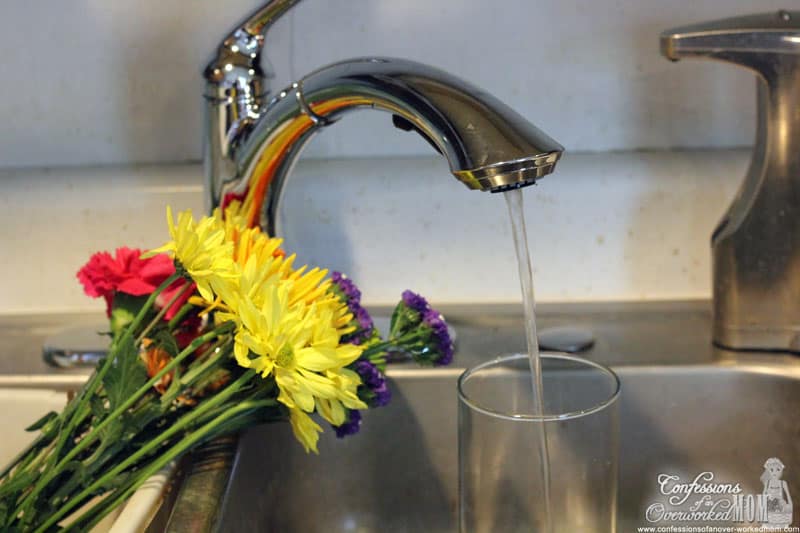
- Remove the wand assembly from the kitchen faucet. Let the water run through the sprayer hose for one minute. Replace the wand assembly and you’re done. Now you can enjoy your new kitchen faucet.

Ellen is a busy mom of a 24-year-old son and 29-year-old daughter. She owns six blogs and is addicted to social media. She believes that it doesn’t have to be difficult to lead a healthy life. She shares simple healthy living tips to show busy women how to lead fulfilling lives. If you’d like to work together, email info@confessionsofanover-workedmom.com to chat.
I like your idea of laying out all the pieces just like the instruction show. Somehow that step always gets overlooked in my house when were doing an install. Your new faucet is beautiful and it looks like it’s going to give you so much more space to work with in your sinks.
Thanks! I still love it!
I wasn’t sure what to enter into the ‘wbsite’ space – so I put Pinterest. Your photos and instructions are the very best ones I’ve found and I’m going to try … What’s the worst that can happen, right? I’m brave, also plus if I can diy, I can save a bundle…. Worse scenario, I call the friendly plumber! Wish me luck…. I’m actually very excited…. My new sink is white and so is the faucet…
Thanks, Jeanie. Glad you found them helpful. It wasn’t as hard as I thought it would be.
I’m replying to your reply to my comment — :):) Good to know that! I enjoyed your blog btw….. I know I spent some time there last evening, obviously… 🙂 as well as your Socialite one, as well. So many useful ideas. Thank you so much. I especially liked the kitty section, especially the feeder…. I can see it now… all of my kitties crowded around one cat retreiving the goodies — well, I may need to get two of them. And, the stress collars – did not know those existed. Also, did not think about how stressful it must be, for the cats, in a multi cat household. I one little girl that goes in the laundry room – not all the time, but once in a while I will find a puddle – and I’m going to work on making her life less stressful. Thanks. Your kitties are lovely. Scout looks like one of mine.
I’m so glad you’re enjoying my blogs! We do love our kitties. They are just like kids to us and each has their own personality and their little quirks. Hope some of my tips are helpful!
You did a great job changing out your faucet. – Great looking faucet too. Thank you for the information on how to change out your faucet. It helps to have a step by step guide as a go-by. I think I will be in need of this information in the foreseeable future.
Wow. I’m amazed (and not because I think women can’t “do” things)…I would be so nervous to try to do something like that without having experience or knowing what I’m doing. Of course, how do you get that knowledge? By doing it. Yet, I always just hand it to my husband. Hmmm…maybe next time I could…try to do it myself. Oh boy. Here’s to the next home project!!
thx 4 this, if ever my husband can’t do it, I know I can now =)
We just got done changing the kitchen faucet, but I know that I can not do this. My sister and nephew helped me change the faucet and no more drips. I just love my new Delta faucet! I really like your new faucet!
I change my kitchen faucet by picking up the phone and calling the plumber 🙂 You are a brave woman…looks like it went smoothly!