
Last Updated on July 21, 2026 by Ellen Christian
Most home butter-makers wreck their first batch not because the cream itself is bad, but because they get the temperature wrong. The fat globules in cream need to reach a specific stage of crystallization before they’ll clump together and form butter. Too warm? You get greasy slop. Too cold, and you’re stuck churning for ages with nothing to show for it.
Posts may be sponsored. This post contains affiliate links, which means I will make a commission at no extra cost to you should you click through and make a purchase. As an Amazon Associate I earn from qualifying purchases.
The target is 60°F to 65°F (15.5°C to 18.3°C). That range gives the fat the right structure to break quickly and cleanly. Here’s what you need to know about why that window matters, how to hit it consistently, and what to do if things go sideways.
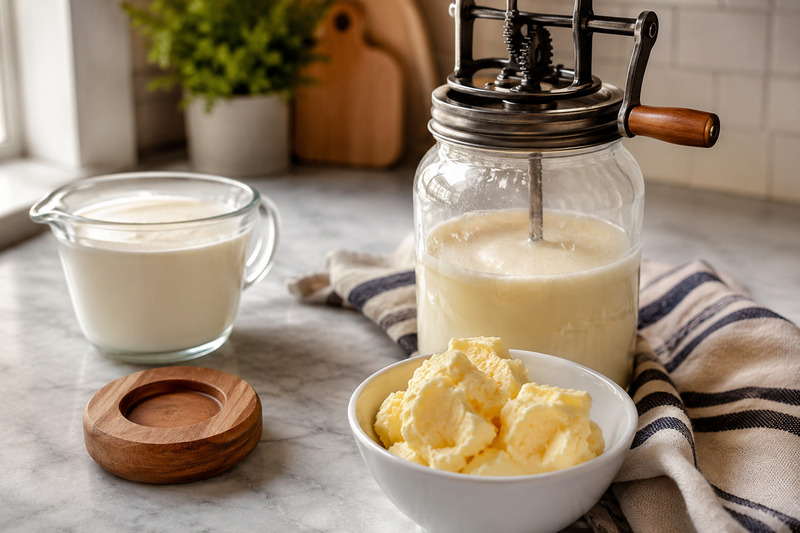
Why Cream Temperature Controls Everything About Churning
The electric butter churn for home use you pick matters, sure. But temperature is what actually decides your results. Fat in cream exists as globules surrounded by a membrane. At the right temperature, those globules collide and stick; step outside that range, and they either stay stubbornly separate or melt into each other before proper butter can form.
The Science Behind Fat Crystallization
Cream fat isn’t one uniform thing. It’s a mix of fatty acids that solidify and melt at different points. Between 60°F and 65°F, part of the fat is solid, and part is liquid. That combination allows globules to fracture their membranes on impact and bond together. Drop below 55°F, and too much fat stays solid; the globules bounce off each other without sticking. Push above 68°F, and everything turns soft; you end up with a greasy, over-emulsified mess instead of distinct butter grains.
Cold Cream vs. Room-Temperature Cream: Real Differences
Cold cream straight from the fridge (around 38°F to 40°F) takes two to three times longer to churn. You might eventually get butter. But the process strains your equipment and produces a softer, wetter product. Room-temperature cream left out too long (above 70°F) often “breaks” in the wrong direction, producing a greasy film rather than clean, firm butter granules. The 60-65°F target isn’t a suggestion; it’s the range where the fat structure does exactly what you need.
RELATED: How to Make Butter Spreadable
Seasonal Variations That Shift the Sweet Spot
Cream from grass-fed cows shifts in fat composition across seasons. Summer cream tends to run slightly softer because cattle eat fresh pasture high in unsaturated fats, which melt at lower temperatures. You might get better results targeting the lower end of the range (60°F to 61°F) in July than in January. Winter cream, denser in saturated fats, sometimes needs the full 65°F to churn properly; pay attention to batch behavior and adjust by a degree or two if churning takes noticeably longer than usual.
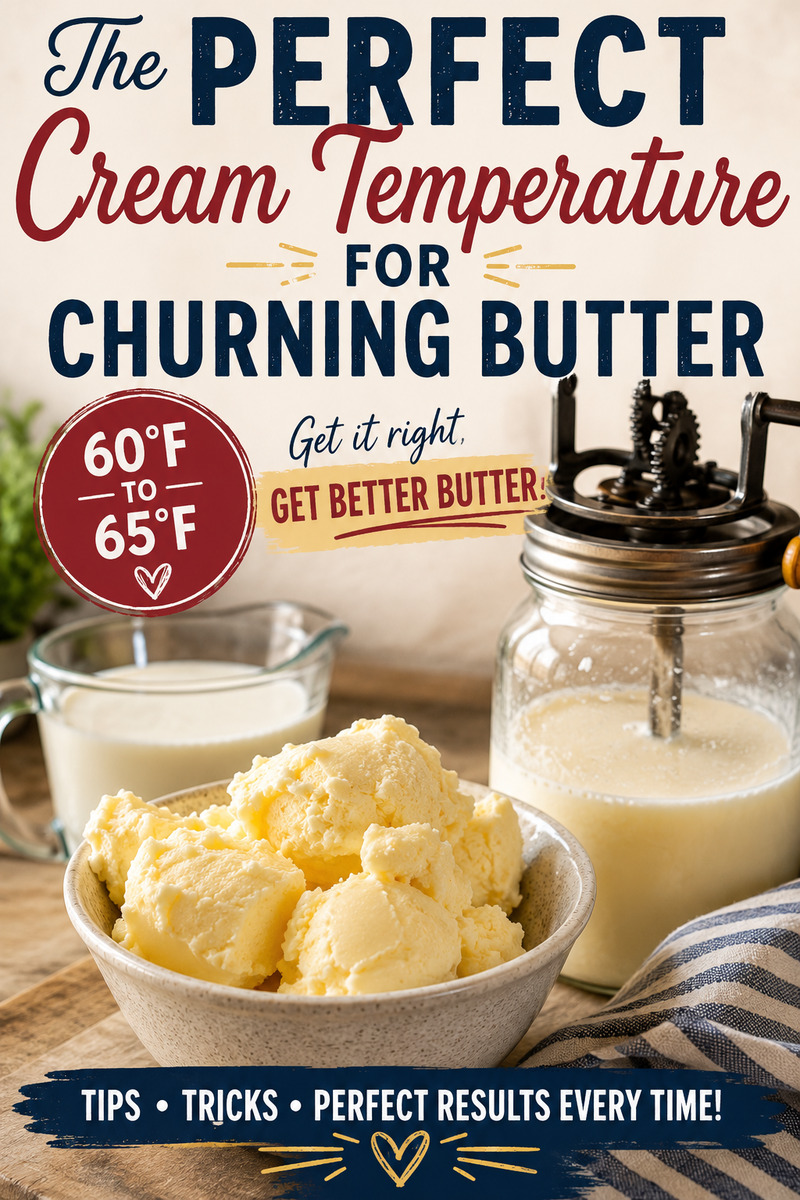
How to Reach and Hold the Right Temperature Before Churning
Getting cream to the ideal temperature before churning isn’t guesswork. A few simple tools and a consistent method make it repeatable every time.
Using a Thermometer the Right Way
An instant-read thermometer is your single most useful piece of equipment. Don’t guess based on how the cream feels; your hand reads ambient temperature poorly, and a few degrees off can mean 10 extra minutes of churning. Insert the probe at least an inch into the cream and wait for the reading to stabilize. Check two spots in the container because cream sitting in a cold bowl can stratify, with cooler cream near the walls and slightly warmer cream in the center.
The Water Bath Method for Quick Temperature Control
Pull your cream from the fridge and set the sealed container in a bowl of cool water. Add warm water gradually, just a small amount at a time, and stir the cream gently every couple of minutes. This brings the temperature up slowly without accidentally overshooting. The whole process takes about 15 to 20 minutes from fridge temperature to 62°F. It’s better than leaving cream on the counter, where the outer edges warm faster than the center and you lose control of the target range.
Keeping Cream Cool in Warm Kitchens
If your kitchen runs above 72°F in summer, cream can overshoot 65°F before you’re ready to churn. Here’s the thing: chill your churning bowl or jar in the freezer for 5 minutes before adding the cream. Or work in the early morning before the kitchen warms up. If the cream does get too warm, put it back in the fridge for 10 minutes and re-check. Don’t try to churn it warm; it won’t fix itself mid-batch.
Conclusion
The ideal cream temperature before churning sits between 60°F and 65°F; that window sets the fat structure in cream so it breaks and bonds correctly. Use a thermometer every time, warm cold cream gently in a water bath, and adjust by a degree or two based on your cream’s season and fat content. Get the temperature right first. Everything else falls into place after that.

Ellen is a busy mom of a 29-year-old son and 33-year-old daughter. She owns nine blogs and is addicted to social media. She believes that it doesn’t have to be difficult to lead a healthy life. She shares simple healthy living tips to show busy women how to lead fulfilling lives. If you’d like to work together, email info@confessionsofanover-workedmom.com to chat.
