
Last Updated on September 23, 2020 by Ellen Christian
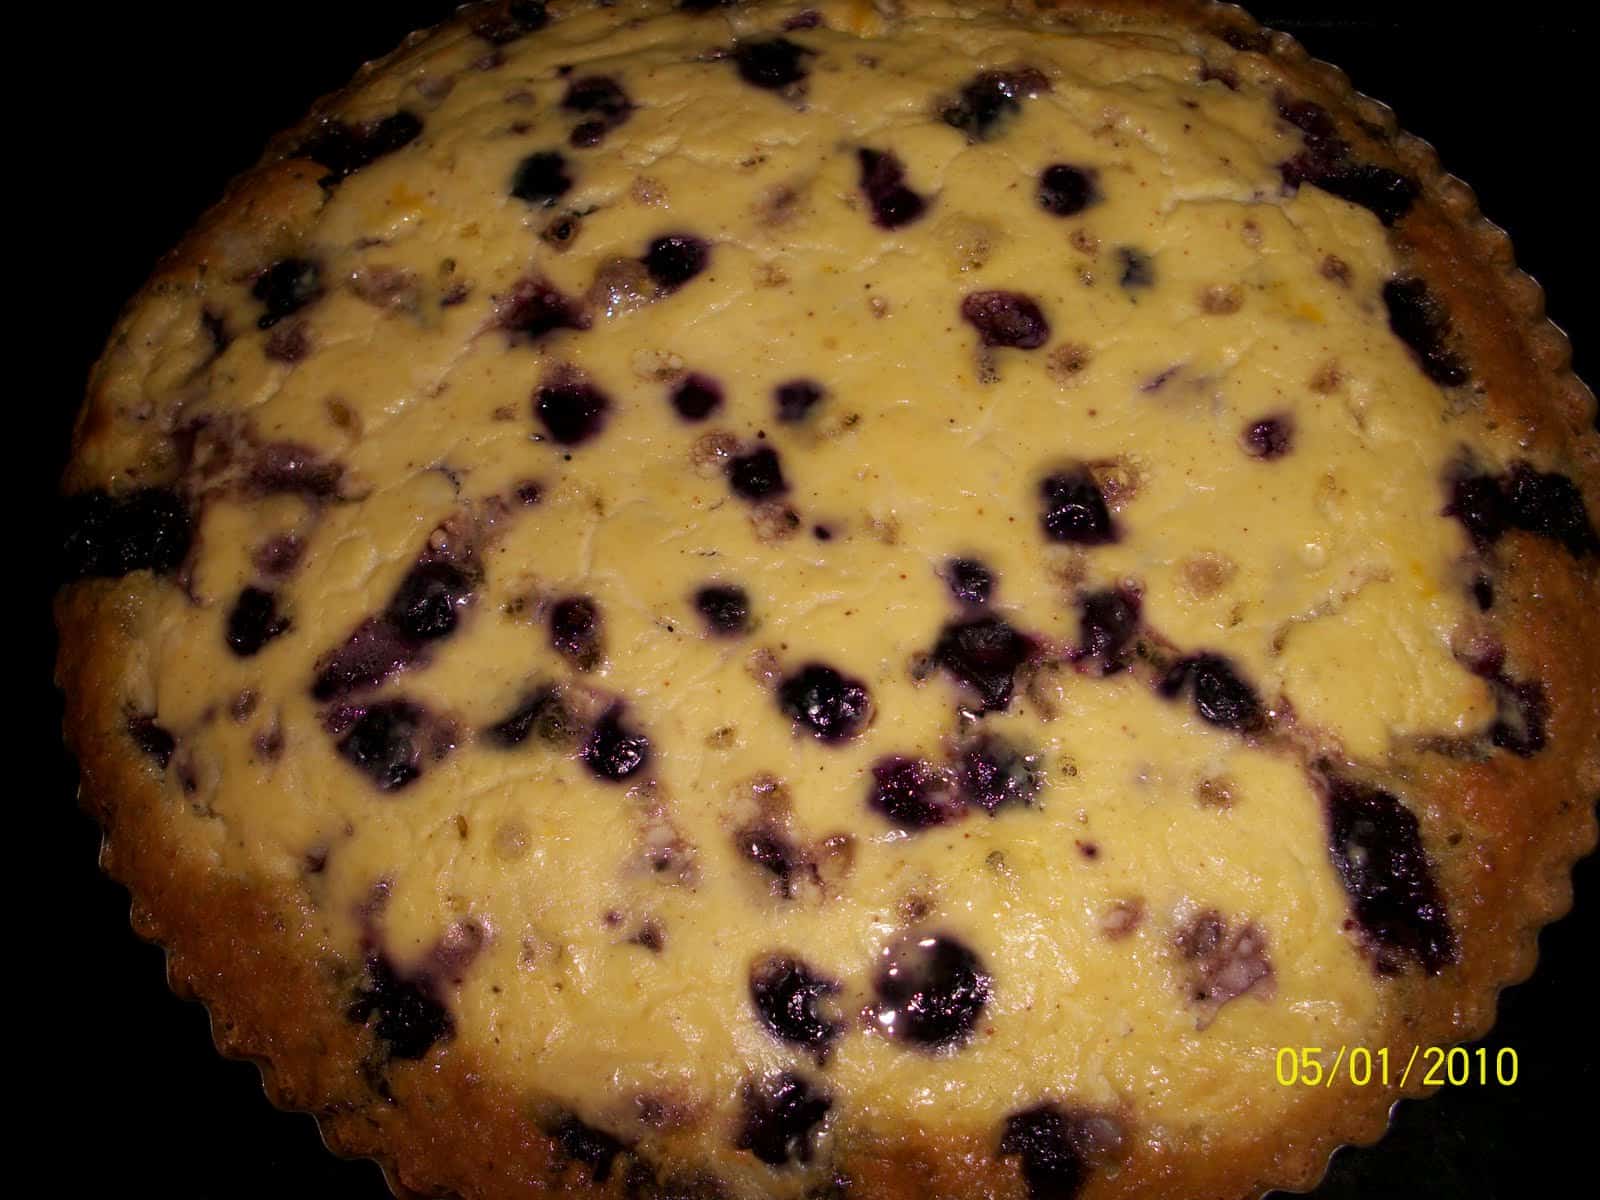
Blueberry Cream Tart
Posts may be sponsored. This post contains affiliate links, which means I will make a commission at no extra cost to you should you click through and make a purchase. As an Amazon Associate I earn from qualifying purchases.
Silky Tart Dough (see below)
2 cups fresh blueberries (I used frozen)
1 1/2 tablespoons flour
3 tablespoons maple sugar (I used regular sugar)
1/8 teaspoon salt
1 teaspoon grated lemon or lime zest (I left this out)
3/4 cup creme fraiche or sour cream
1 small egg
1/2 teaspoon vanilla extract
2 pinches of freshly grated nutmeg (or a few shakes of nutmeg from a jar)
1. Preheat oven to 350F. Lightly butter a 9″ tart pan. Set it on a cookie sheet.
2. Toss blueberries, flour, sugar, salt & lemon zest until mixed.
3. Beat the sour cream or creme fraiche with the egg, vanilla & nutmeg. Scatter the fruit over the batter, then pour the custard mixture over the fruit. Bake until the custard has set, about 30 minutes. Remove & let cool slightly. Serve slightly warm.
*****************
Silk Tart Dough
8 tablespoons unsalted butter
1/3 cup sugar
1/4 teaspoon salt
3 eggs at room temperature
1/2 teaspoon vanilla extract
grated zest of one orange or tangerine (optional)
1 cup flour
1. Butter a 9″ tart pan. Beat the butter with the sugar & salt with an electric mixer (or give it do your husband to beat by hand like I do) until light and fluffy. Add the eggs, one at a time, beating well. Scrape down the sides of the bowl & beat again till smooth. Add flavorings, then flour, mixing just to combine.
2. Scrape the batter into a buttered tart pan. Spread it out. If the batter is very soft, refrigerate 10 minutes & try again making sure to spread it up the rim.
*************
Since I had frozen blueberries left from last season & way too many eggs, I decided this would be dessert. The way I figured it out, it has roughly 6 WW points per serving using no fat sour cream. Hardly low cal but yummmmmy!
I got this recipe from Seasonal Fruit Desserts (as reviewed earlier). I made a few modifications to best suit our family.


Ellen is a busy mom of a 24-year-old son and 29-year-old daughter. She owns six blogs and is addicted to social media. She believes that it doesn’t have to be difficult to lead a healthy life. She shares simple healthy living tips to show busy women how to lead fulfilling lives. If you’d like to work together, email info@confessionsofanover-workedmom.com to chat.