Last Updated on March 29, 2021 by Ellen Christian
Spring decorating tips couldn’t come sooner for me. By this time of the year, I am quite tired of all of the snow and cold weather here in Vermont. I long for flowers, butterflies, green grass and warm breezes through open windows. Unfortunately, we have several more months of snow and cold weather before I can really enjoy spring. Thankfully, these spring decorating tips will allow me to bring a little bit of spring into my home now thanks to the Martha Stewart glass painting program.
Posts may be sponsored. This post contains affiliate links, which means I will make a commission at no extra cost to you should you click through and make a purchase. As an Amazon Associate I earn from qualifying purchases.
Spring Decorating Tips
- Enjoy fresh cut flowers now. If it were spring, I’d pick them myself. Since it’s winter, I’ll buy them at the florist.
- Update your accessories with spring colors. Get rid of those dark pillows, table runners and throw blankets. Add in some bright spring colors.
- The scents of spring. Light a few candles in lilac, rose, or peach scents. Then close your eyes and pretend.
- Add photographs. Create a collage or grouping of your favorite spring and summer photos. Maybe the kids in their Easter dresses or that trip to the beach.
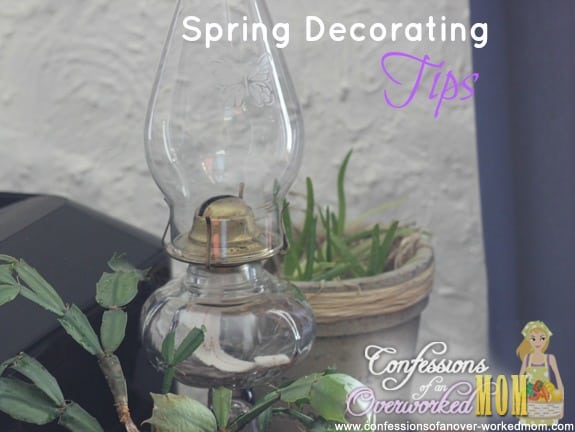
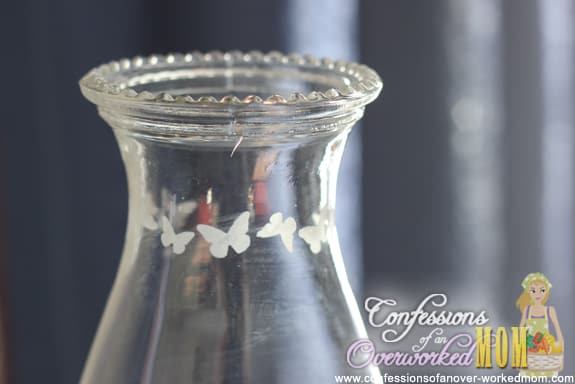
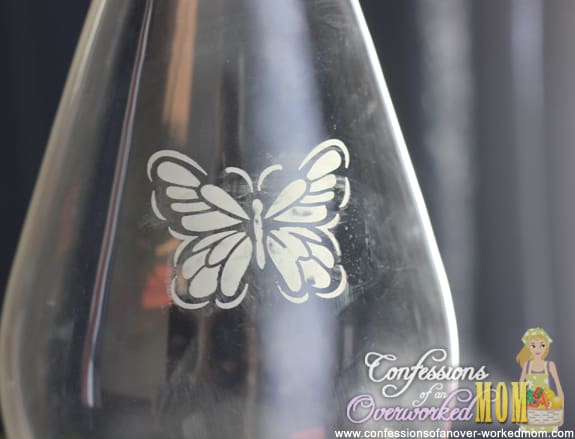
- Upcycle existing decor. You don’t need to go out and buy all new items for spring. Add some spring to items you already have like I did below.
Glass Etching
Materials
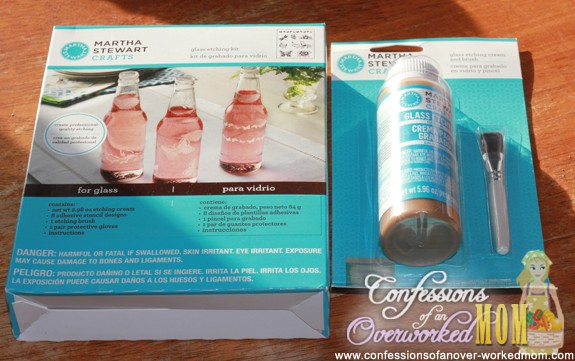
- Martha Stewart Crafts glass etching kit. The one I chose had butterflies, flowers, and birds as design elements.
- Paper towels
- Wash the surface you plan on etching in warm soapy water and let it dry completely. Glass etching works well on glazed ceramic, mirrors or any type of glass from flower vases to drinking glasses.
- Wipe the surface with rubbing alcohol to remove any remaining residue.
- Carefully consider your design before you tape on the stencil. Mark their placement with a wax pencil.
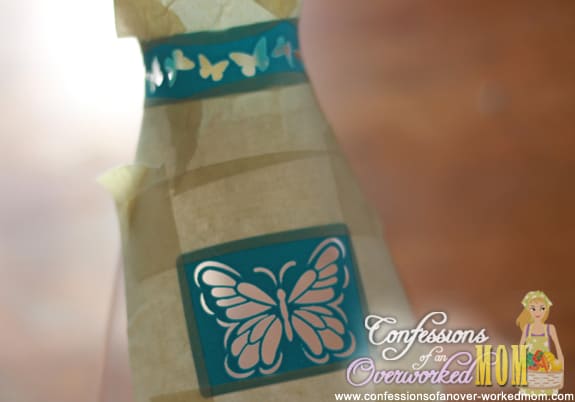
- Place the adhesive stencil on the surface and smooth it firmly. Do not leave gaps or bubbles. Secure the edges with craft tape. Masking tape will work in a pinch.
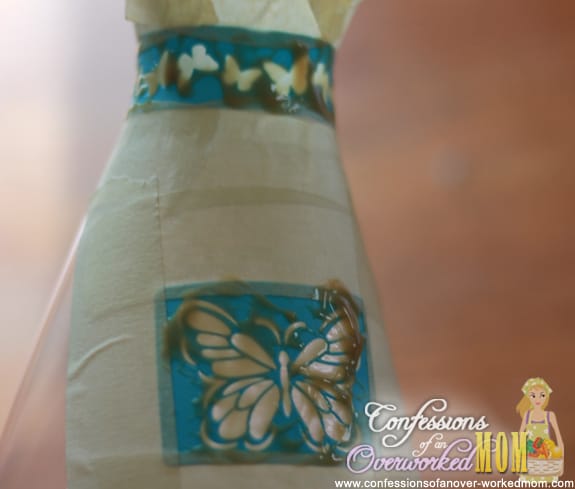
- Wearing gloves, apply a thick layer of etching cream over the design area. Brush the cream in two directions to avoid brush strokes on the final project.
- Let the etching cream sit on the surface for 15 minutes.
- Rinse the piece off under running water to remove the cream. Carefully remove the stencil and any craft tape. Make sure you wear gloves.
- Rinse stencils and brushes under warm running water as soon as you are done etching.
Have you ever tried glass etching or used Martha Stewart Crafts products?
I wrote this post as part of a sponsored campaign with Plaid Enterprises and The Blueprint Social. The opinions in this post are my own.

Ellen is a busy mom of a 24-year-old son and 29-year-old daughter. She owns six blogs and is addicted to social media. She believes that it doesn’t have to be difficult to lead a healthy life. She shares simple healthy living tips to show busy women how to lead fulfilling lives. If you’d like to work together, email info@confessionsofanover-workedmom.com to chat.

So pretty!!
Ellen, your glass etching is so beautiful! Thank you for sharing on Crafty Thursday Obsessions
Super craft!
I haven’t used the Martha Stewart range of products, but at Gonis we have something that looks the same and can be permanent but doesn’t have to be 🙂
Thanks for sharing on Tutorial Thursdays.
x
Natalie
http://www.marigoldsloft.blogspot.com
I have been wanting to try this, but didn’t realize how easy it could be. Thanks so much for sharing. It looks beautiful.
Thanks for sharing at Fluster’s Creative Muster. I’m looking forward to seeing what you link up next week.
Ellen, this is really beautiful, and you make it look so easy. I’d love to try this. Love your decorating tips too. Just this week, I found pillow covers on sale at Hobby Lobby in spring colors, so I kinda brightened up our living room just a bit. Now if the kids can just keep from getting stains on them. LOL Thanks so much for linking up to Inspire Me Wednesday. Definitely featuring this in next week’s issue.:)
Thanks so much, Mel. I had an awful time trying to photograph the glass!
I’d like to try this too. As you well know, our flowers outdoors are buried under feet of snow. I’ve found some beautiful flowers though at the floral shop in Hannaford’s and Shaw’s!
I’ve always been fascinated with glass etching. I remember having this project way back in high school.
I had no idea there were kits for this. I love decorative bottles and I have a few around that could use some stencils. It sounds pretty easy. Thanks!
Ive always wanted to try glass etching. You make it look so easy! 🙂
I have done that when I was in middle school and the art teacher made it a big project. It just brings back my good old memories. Nice to know that there is a kit that can be purchased to make it so easy and nice.
I’ve seen these materials but have never tried etching. Looks like something I actually could do.
What a clever, cute project! I had no idea it was as simple as buying a kit. Now I’m looking around the house trying to decide what I should etch first.
I’d love if you’d come join my How To Tuesday link party, too.
http://housewifehowtos.com/link-party-2/how-to-tuesday-link-party-9/
i’ve been wanting to try this! Love the butterfly. I’m following you via G+. I host Fluster Creative Muster Party on Wednesdays and I would love it if you would come by and party with us. Hope to see you there!
Hugs, Smiles, and Blessings,
Robin
Fluster Buster
I was so impressed with how easy the etching cream is to use but it gives really beautiful results. Nice job!
I never realized you could buy a kit for this! Very cool
Beautiful – I’ve always been scared to try this stuff, but I need to just go buy some cheap thing from a thrift store and get myself used to it. Beautiful job Ellen!! Pinned & Tweeted!