Last Updated on June 11, 2020 by Ellen Christian
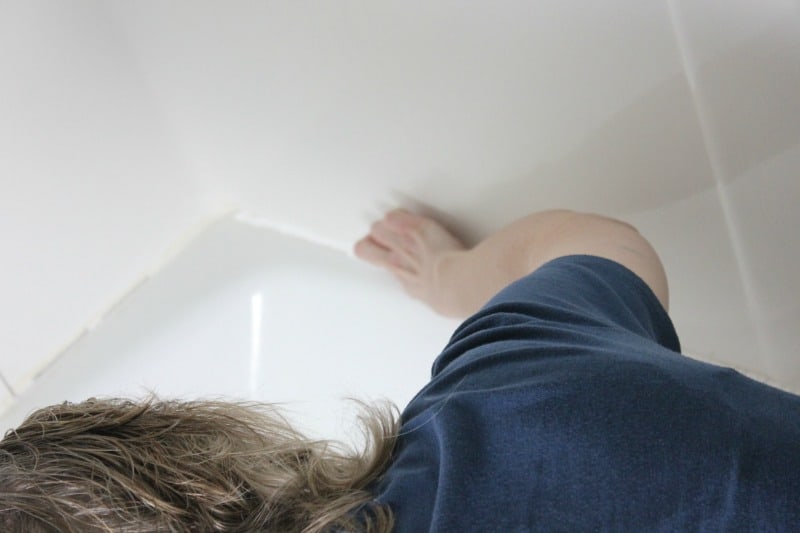
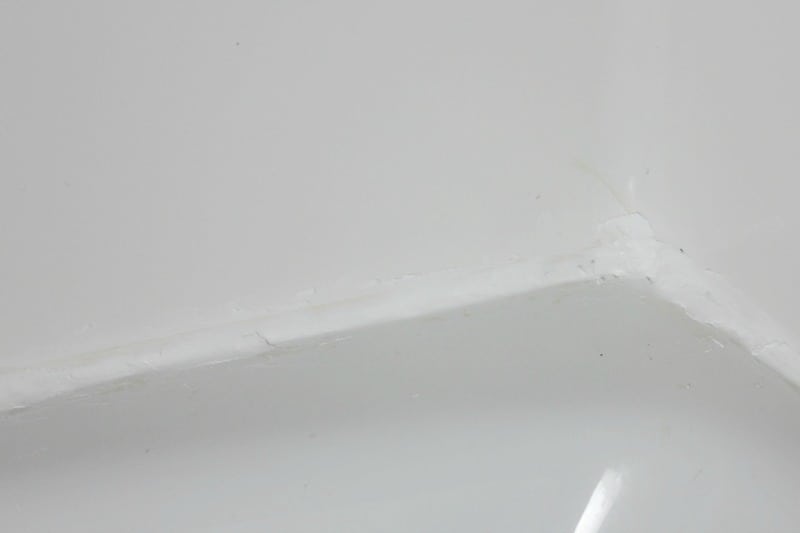
Have you ever wondered how to recaulk your bathtub? We had our bathroom remodeled last year extensively including ripping out the floor all the way to the basement level. At that time, the bathtub was caulked when it was reinstalled. But, for whatever reason, it needs to be caulked again. The caulking that was used is drying out and separating from the surround above it.
Posts may be sponsored. This post contains affiliate links, which means I will make a commission at no extra cost to you should you click through and make a purchase. As an Amazon Associate I earn from qualifying purchases.
How to Recaulk Your Bathtub
You caulk your bathtub to keep the water from damaging the wall and floor around the tub. You typically caulk between the tub and the bath surround. It’s not a difficult job so it’s something I would rather handle myself rather than pay someone else.
Remove the Old Caulk
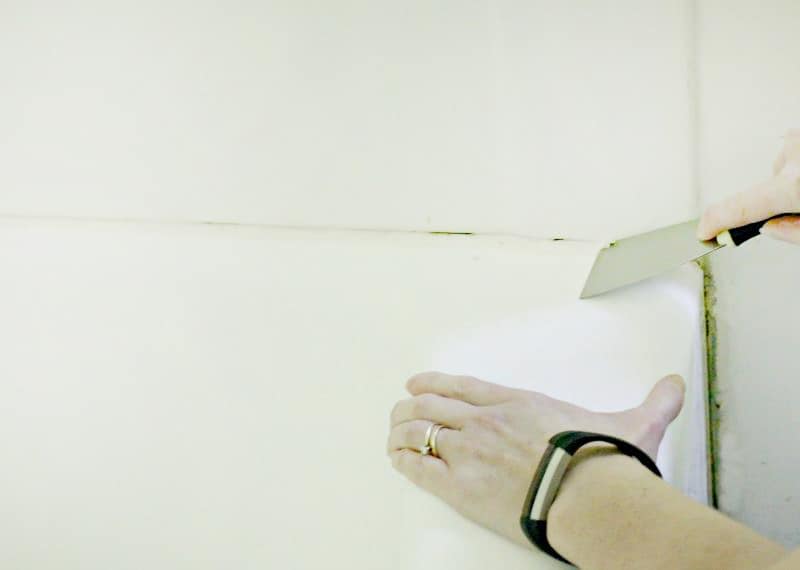
How much time this takes will depend on how long the old caulk has been on your tub. You may simply be able to use a putty knife to peel up the end and then pull the old caulk off in a bead. Or you may need to use denatured alcohol or caulk softener if it’s been on a long time. Since ours is fairly recent, getting it up wasn’t that much of a challenge.
Wash Thoroughly
Wash the area where the caulk was well. Use a cleaning agent that will kill mold and mildew to be sure that the area is completely clean. You can use a bleach and water solution. Or, if you prefer, try a vinegar, tea tree oil, and water solution. Rinse the area well and allow it to dry completely.
Apply New Caulk
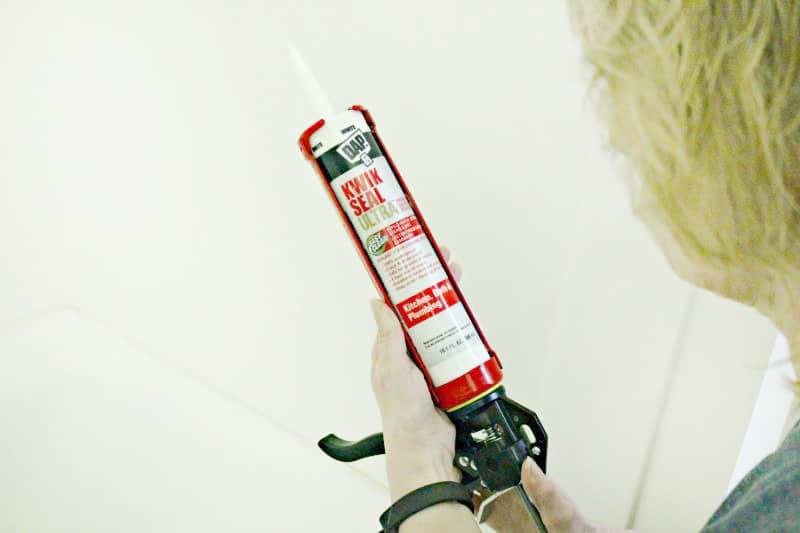
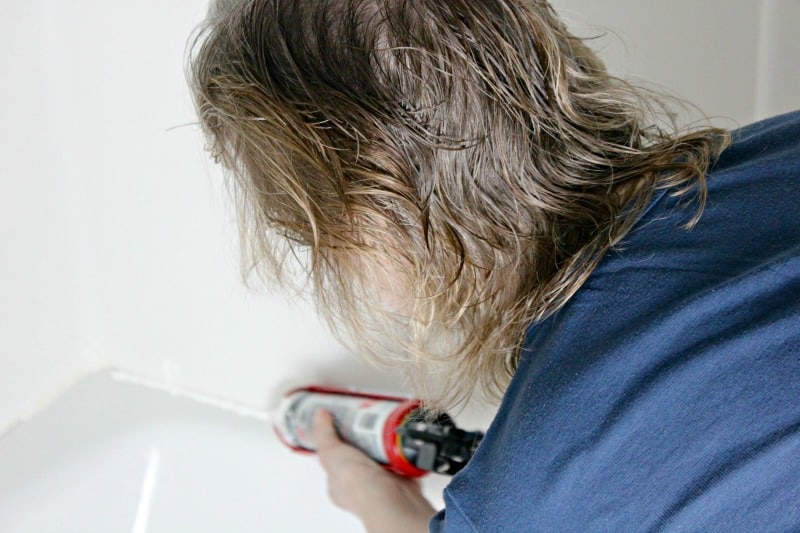
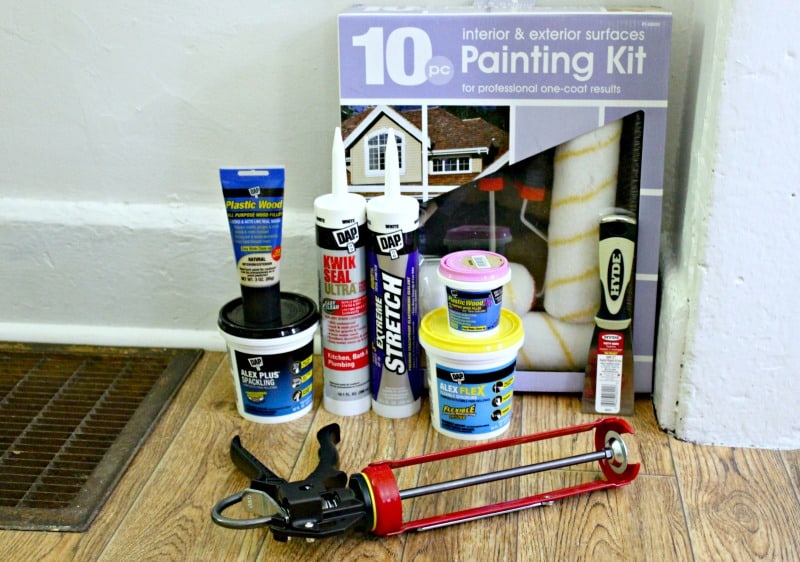
Once the area is completely dry, you will need to apply DAP Kwik Seal Ultra Sealant. Trim the edge of the caulk tube and use a long nail to puncture the foil seal. Use the caulking gun to activate the caulk, following the instructions on the tube of caulk. Move the caulk gun slowly squeezing a bead of caulk out as you move. Work slowly to ensure even distribution. You may need to go over areas more than once. A caulk tool kit will be very handy.
Clean and Smooth
Using your wet fingertip, smooth the bead of caulk carefully and remove any excess. This will force the caulk in between the lines of the tub and the surround which will help seal the area. Allow it to dry completely according to the directions on the caulk tube. Do not use the shower until it is completely dry.
Backed by a lifetime mold and mildew resistance guarantee, this premium siliconized kitchen and bath sealant repels water, liquids, soap scum, stains so the sealant stays looking clean, fresh and new. Plus, it is safe for all surfaces, even granite and marble.
There are a lot of simple DIY upkeep projects that need to be done around the house. Now that you know how to recaulk your bathtub, will you try?
Here are a few Homeowner Touch-up Tips:
Repair and Refresh Walls
Use NEW ALEX Flex Spackling and ALEX Plus Spackling to fill holes and cracks on surfaces before painting. The result is durable, easy to sand and the repaired areas won’t sink or shrink.
Refresh Kitchen and Bath Hardware
Small features like hardware can visually update a room. Keep in mind brushed metals are trendy and widely appealing when selecting options.
Paint the Front Door
Simply clean the current door, protect edges with painter’s tape, and add a few fresh coats of exterior paint.
Keep Drafts at Bay
Checking for gaps around windows and doors is a smart move whether you’re just moving in or have been in your home for years. EXTREME STRETCH and DYNAFLEX 230 help keep drafts at bay.
One of my readers will win a Home Touchup Kit containing:
Painting and spackling:
- NEW ALEX Flex Spackling and ALEX Plus Spackling to fill holes and smooth out surfaces
- ALEX Flex Caulk and ALEX Plus caulk for a professional finish on trim and molding
- Plastic Wood and Plastic Wood-X to fill and repair wood
- Plus a painting kit to help finish the job with a paint tray, rollers, and brushes.
Seal gaps around windows and doors:
- EXTREME STRETCH and DYNAFLEX 230
- Plus a caulk removal tool and caulk gun
Bathroom and kitchen:
- DAP Kwik Seal Ultra Sealant to keep moisture out
$50 VISA gift card

Ellen is a busy mom of a 24-year-old son and 29-year-old daughter. She owns six blogs and is addicted to social media. She believes that it doesn’t have to be difficult to lead a healthy life. She shares simple healthy living tips to show busy women how to lead fulfilling lives. If you’d like to work together, email info@confessionsofanover-workedmom.com to chat.

I learned how to use a ceiling fan to feel warmer in winter.
Mold won’t grow on it!!!
I learned they offer a variety of products for any home project
I learned that they have a DAPS Tips section on their web site.
I learned that you can find remodeling, renovation, hints and tips at dap.com to help with all my projects.
DAP was first produced in 1865 as a sealing wax for food canning. It proved to be a popular product and has been growing ever since.
I learned that DAP® DRYDEX® spreads smoothly and sands easily, delivering quality results every time.
They have putty, plastic wood brands and more! Through innovation and acquisition, the company continued to expand its product line. DAP entered into an exclusive marketing agreement with the worldwide leader in silicone technology in 1980 to market a full line of silicone sealants. In the mid 1980’s, Weldwood® branded adhesives came into the fold.
Plastic Wood® brand was intregrated into the DAP portfolio of products in the 90’s.
I learned that DAP Rapid Fuse Fast Curing All Purpose bonds virtually everything, including Wood, Rubber, Plastics, Ceramics & Porcelain, Glass, Fabric, concrete, tile and more. It’s great for so many DIY projexts. The possibilities are endless.
I learned that it goes back to 1865 when Wiggim was producing sealing wax for food canning.
I learned that DAP makes an all purpose adhesive. Thanks for the chance.
I learned the roots go back to 1865 when Dicks and Wiggens started out in Dick’s garage. I also learned my bathtub could look new again with this product.
After visiting the sponsors website, I learned that in the 1970’s DAP pioneered the development of latex caulking products. It’s amazing how long and far this company has come.
I learned that DAP traces its roots back to 1865, when Robert H. Dicks and Elmer Wiggim began producing sealing wax for food-canning out of Dicks’ garage in Dayton, Ohio
Plastic Wood® brand was intregrated into the DAP portfolio of products in the 90’s
I learned it seals out moisture and bonds with just about every surface.
I have left comments on the following blog posts:
Where to Place Cat Trees For Your Large Cats?
5 Blog Productivity Resources You Really DO Need
Fun Water Balloon Games Using Water Wubble
How to Use the Styled by Trendage App for Virtual Looks
How a Discount Prime Membership Can Help You Eat Healthy
I learned that DAP® Presto Patch will help you make an easy drywall repair.
It absolutely will not crack!
I learned that I can “Ask the Expert” online! How helpful.
I learned that they are located in MD.
I learned there are two ways to ask them questions about the products. One online, the other by phone
I learned its always important to have plan and Permits are very important! Also know local requirements
I learned that they’re located in Baltimore MD and traces back to 1865!!
I learned that it is an economical way to seal out moisture.
I learned that The Spec Line is the first line of sealants and adhesives designed for specific jobs.
THAT THEIR PRODUCTS ARE INEXPENSIVE.
I learned that DAP traces its roots back to 1865.
I learned that it can bond virtually anything.
I learned that the company has been around for a long time, which is great!
to understand and know the importance of permits
I learned that the website offers DAP tips. Those will come in handy in the future.
I learned that Dap actually established its roots back in 1865 when they began making sealing-wax for canning food.
i learned to make sure to use materials that can handle high humidity situations when remodeling a bathroom.
I learned that it is mold and mildew resistant, which is an absolute must in our Pacific northwest bathrooms!
I enjoyed looking at the timeline of the company. I feel very comfortable using products that have been around since 1865! That tells me they are quality.
I learned that DAP Presto Patch is great for drywall repair.
DAP started in a garage back in 1865. Thanks!
I learned that this would work for my outside project HVAC Professional 100% RTV Silicone Sealant. 🙂
I learned that they carry a huge selection of products!
I learned DAP traces its roots back to 1865. That is some serious history!
I learned that In 1964, DAP pioneered the development of latex caulking compounds. Thanks.
partymix25(at)hotmail(dot)com
They are based out of Maryland.
It’s Crack proof!
I learned some tips.
I learned they make a high temp caulk
I learned that DAP traces its roots back to 1865
I leaner you can paint 2 hours after application.
I learned that their products are not that expensive and have fairly good reviews
It is located in Baltimore Maryland.
I learned dap roots back to 1865
2 hour paint ready!
I learned you have to recaulk bathtubs. I honestly didn’t know this!
I learned that if you have questions, you can “ask the expert”
I learned they have way more products then i thought
I learned that ALEX PLUS is mold and mildew resistant.
They also sell patch products
I love that there are Bathroom Remodeling Tips on the website–very helpful.
I learned they have a great tips section covering everything from kitchen and bath to weatherization.
I learned that DAP traces its roots back to 1865, when Robert H. Dicks and Elmer Wiggim began producing sealing wax for food-canning out of Dicks’ garage in Dayton, Ohio.
I learned that you can visit the “Ask an Expert” page to submit any questions you may have!
I learned that they have a great Bathroom Remodeling Tips section on their site!
The extreme stretch sealant is crackproof.
I learned that DAP traces its roots back to 1865
I learned that Why is DAP DRAFTSTOP 812 Foam such a Time Saver? Very useful info!
I learned that they began producing sealing wax for food-canning out of Dicks’ garage in Dayton, Ohio.
I learned that both DIY’ers like myself and professionals use DAP because it bonds many things, is affordable and works well.
there in Baltimore MD and been since 1865 now that is a long business
I have used DAP for years, but they have a ton of products I wasn’t even aware existed, like the foam that doesn’t have to be used all at once.
Whenever I caulk our tub I put masking tape down to leave nice crisp lines.
I learned that DAP traces its roots back to 1865.
I learned that mildew won’t grow! That is awesome!
I learned that It bonds virtually anything
I learned they are located in Baltimore, MD .
I learned that their dry wall repair presto patch can repair holes up to 3 7/8″ or 6 7/8″
I never knew there were so many different kinds of caulk. I’m most excited for the KWIK SEAL ULTRA. It can repel water, dirt, stains and soap scum, to prevent mildew and stains.
I learned that DAP makes products for building green and living green too.
DAP was created in 1865
It bonds virtually anything
I learned that some of their products are antimicrobial.
I learned they are located in Baltimore, MD .
I learned that DAP has a team of experts who will respond to written questions in a number of different areas.
DAP traces its roots back to 1865. Wow that’s a long time!!
I learned that DAP began back in 1865 producing sealing wax for food canning. They worked from a garage in Dayton, Ohio.
I like that its not expensive & that it seals out moisture.
I can so use this kit. My spackling is so old in the can and would love to try their flexible type. I have a door than I am currently shoving newspapers into at places to keep out drafts! I have wood to repair too (I’m a procrastinator, I admit) so could use wood filler as well! Great kit and I learned on one of their YouTube vids about one of their products that may work for me their DAP DRAFTSTOP 812 Foam since you can take your time using it.
I learned basic bathroom remodeling tips, like a smaller vanity is more appropriate for a smaller bathroom.