Last Updated on March 26, 2023 by Ellen Christian
Wondering how to make your own sprouting jar? Learn how to sprout alfalfa seeds in a Mason jar. Works with most seeds!
Posts may be sponsored. This post contains affiliate links, which means I will make a commission at no extra cost to you should you click through and make a purchase. As an Amazon Associate I earn from qualifying purchases.
How to Make your Own Sprouting Jar
I am not able to grow anything in the garden from October through early May. I do use a cold frame to extend our growing season a few weeks longer, but even with that, there’s a long time that I don’t have vegetables in the garden to pick.
Learning how to make your own sprouting jar will provide very low-cost fresh greens throughout the year, even when it’s below zero outside.
You can buy a variety of different pre-made sprouting kits or sprouting bags at many local food co-ops. I checked out the prices last time I was there and realized that I could make one for much less money.
You can sprout many different types of seeds in sprouting jars. Each has a different taste so experiment a bit to find out which one you most prefer.
Depending on the size of the seed you are sprouting, you may need a different size mesh on the top of your jar. You can choose a coffee filter, cheesecloth or cotton for small seeds, screen for medium, or plastic canvas mesh for larger seeds.
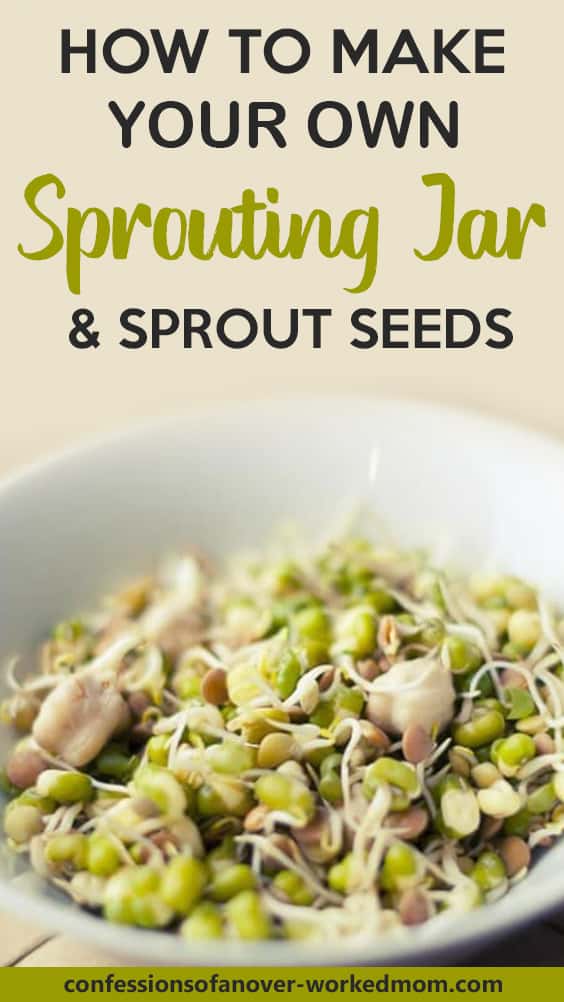
How do I start sprouting at home?
I use a Mason jar to sprout my seeds. In the past, I have sprouted mung beans and used a quart-sized Mason jar.
This time, I am sprouting alfalfa seeds and chose a pint-size Mason jar because they are smaller. Make your choice based on the size of the seed and how many seeds you want to sprout at once. You can use standard or wide-mouth Mason jars.
How to make sprouts
Materials
- One Mason jar
- One Mason jar lid with ring
- Cheesecloth, screen, or plastic canvas mesh depending on the size seed you are sprouting
- Organic alfalfa seeds (or other seeds or beans)
Directions
Wondering how to make your own sprouting jar? Follow these steps.
- Wash and dry the Mason jar and jar ring
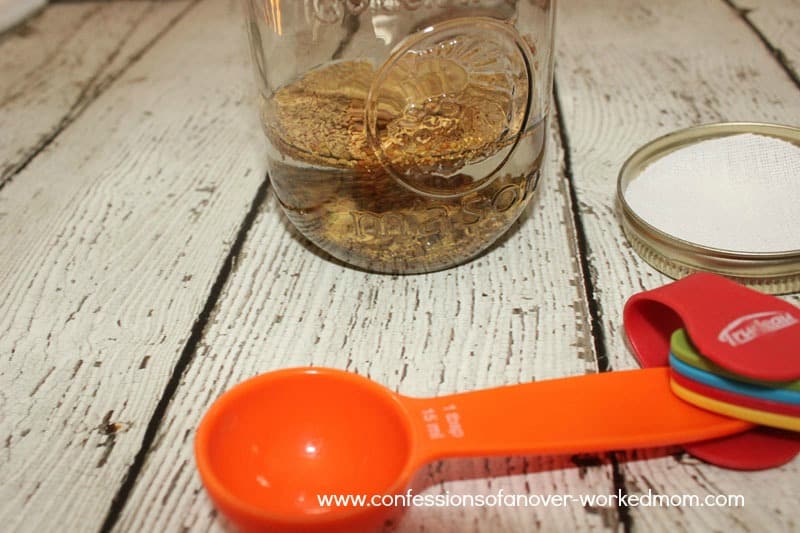
- Turn the Mason jar lid upside down and trace around the outside on your coffee filter, cheesecloth, screen or mesh.
- Carefully cut the circle of material out and fit it inside your jar.
When you sprout seeds, PLEASE choose organic seeds or beans for health reasons. Sprouting seeds that may have been treated or sourced from plants that have been treated takes away any health benefits of eating them.
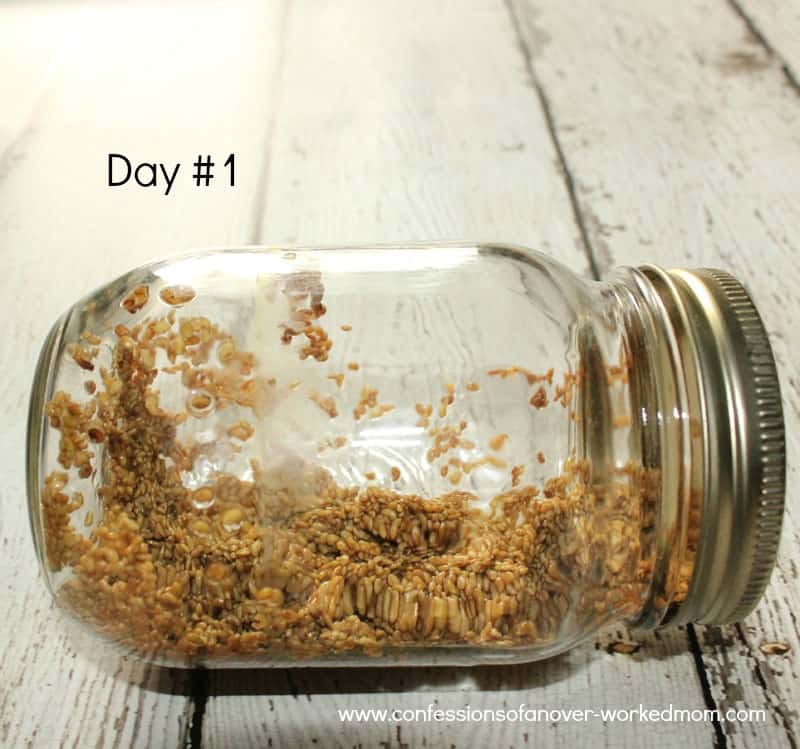
Once the jar has been created, place about two tablespoons of seeds in the jar. The amount you use will vary based on the size of the seed. Leave enough room for them to grow.
Fill the with water to about one inch higher than your seeds. Put the ring and top on and place it in a cool spot that isn’t in direct sunlight overnight.
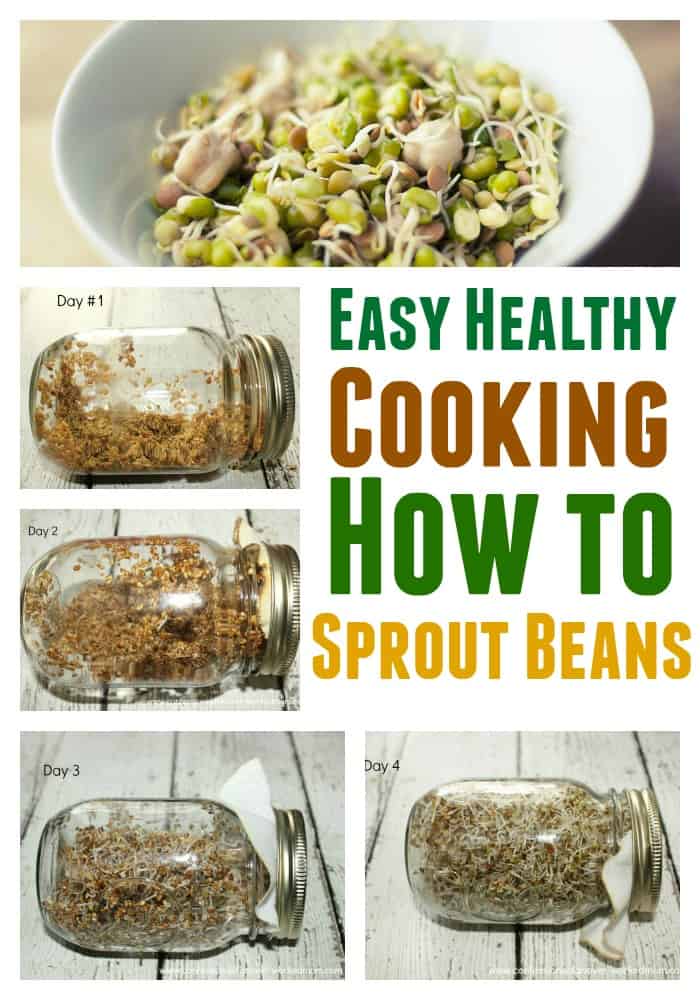
Now that you know how to make your own sprouting jar, you need to wait for them to sprout.
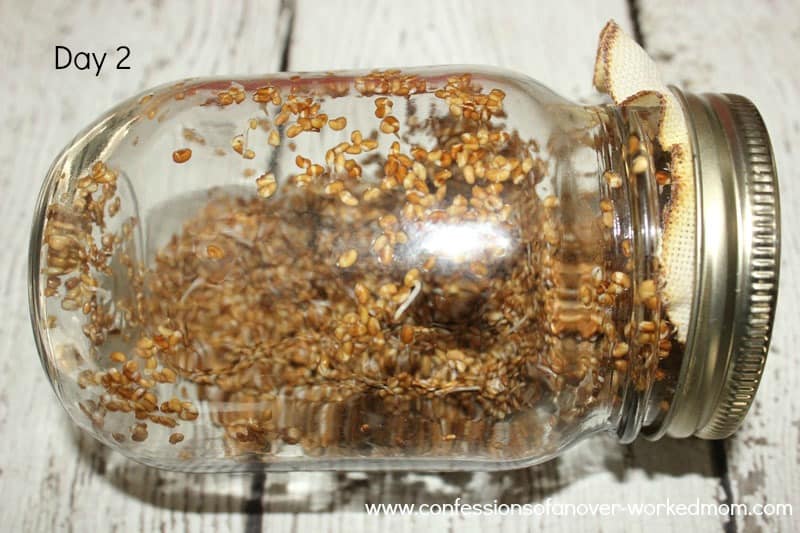
The next day, carefully drain out the water in the jar through the screen top. Set the jar on its side in a cool spot that isn’t in direct sunlight again.
Two or three times a day, you will need to rinse the seeds with water. Just put water in, swish the water around, and then drain the water out.
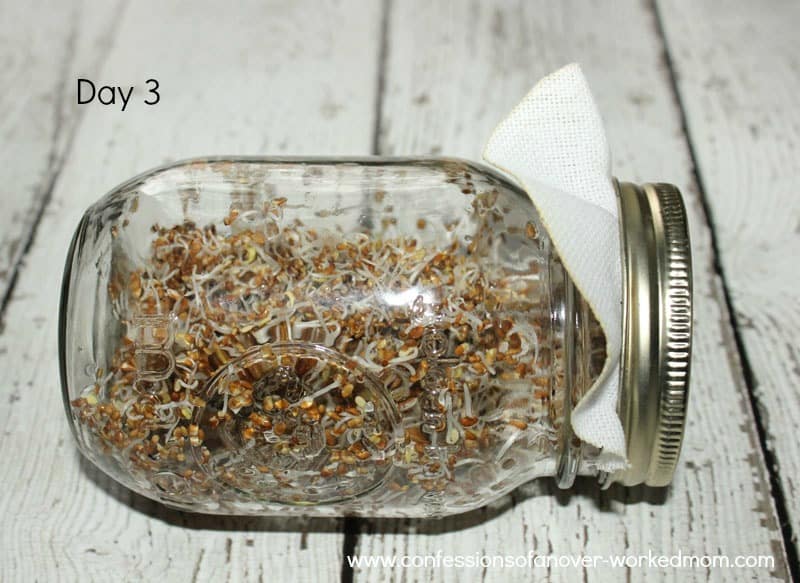
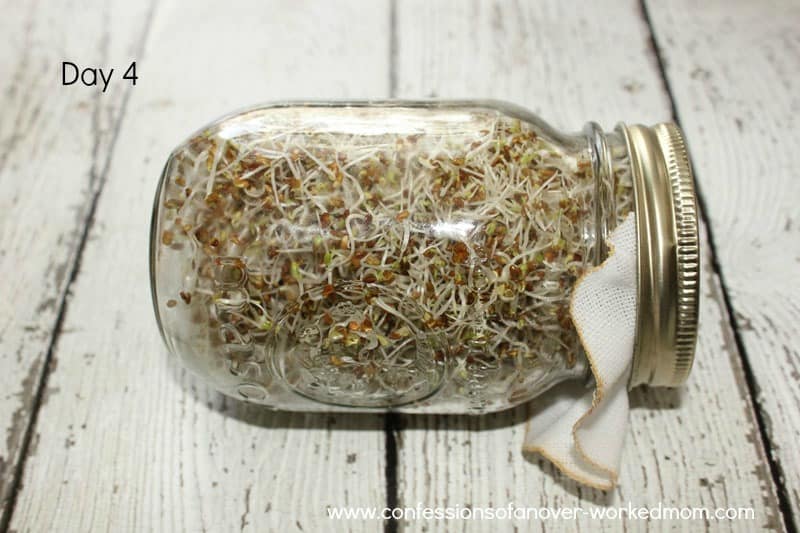
Set the jar on its side again in between each rinsing. Continue the process until the seeds are grown to the size you want them.
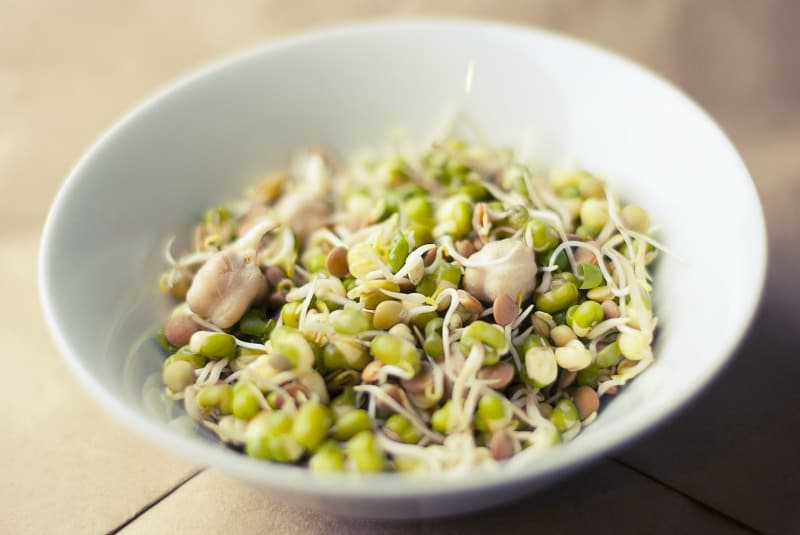
If you’re wondering how to make your own sprouting jar, this is what the seeds will look like.
Repeat the process to make your own sprouting jar
Now that you know how to make your own sprouting jar, remove the seeds from the jar and store it in a plastic container with a lid. Wash the jar and the screen. Add more seeds to the jar and start the process again. Seeds should take about four or five days to sprout so plan your next crop accordingly.
Will you give this a try now that you know how to make your own sprouting jar? Check out these twenty uses for sprouts.

Ellen is a busy mom of a 24-year-old son and 29-year-old daughter. She owns six blogs and is addicted to social media. She believes that it doesn’t have to be difficult to lead a healthy life. She shares simple healthy living tips to show busy women how to lead fulfilling lives. If you’d like to work together, email info@confessionsofanover-workedmom.com to chat.

Someone gave me sprout jars as a gift. I love them, and I make sprouts all the time. I love making Asian dishes, and I like to add lots of sprouts! It is great if you can make your own sprouting jars- nice instructions!
Thanks, Rosie! I think it works well this way but I’d definitely use a pre-made one if I had one too!
I have done something similar when I was a kid. Teachers taught us to grow sprouts in a cup using some water and water but a jar is even neater!
It’s definitely fun to watch!
I cant wait to see how they progress and what you use them for.
Make sure you stop back for more photos!
Such a great idea. Gosh. I can’t wait to try it out with the kids!!!
Let me know how it works!
what a wonderful idea, sprouting is supposed to be so healthy for you too. I have sunflower seeds to sprout myself.
That sounds delicious!
I have been wanting to learn more about growing food, plants, etc. This looks like something that I could handle. Thanks. 🙂
You certainly can, Dawn! Give it a try & let me know how it works.
Great tutorial and I’m really looking forward to the pics. I want to see if it really sprouted 🙂
It definitely does! I’ll have pics up later today for day 2.
ellen have you ever done broccoli sprouts? those are what my hubby and kids like in sandwiches but i’m nervous to try
I haven’t but that sounds good! You should definitely try!
This is a great lesson for kids. Being able to see them sprout is a good thing for them to see how growth starts.
Great idea, Stacie!
Love this! Very cute. I would try it, but I seem to kill anything – including air plants. I can’t wait to see the sprouts. Please share when they start.
LOL give it a try. It’s not hard at all!
I love sprouts and have never thought to grow them myself. This is such a great idea, the only thing I worry about is do they get smelly? We had an herb garden awhile back and it got smelling so bad we had to throw them out. If this is a way to grow these without all the hassle I’m so in!
Hi Amanda – They should not get smelly at all ever or they aren’t any good 🙂 You are only sprouting for about 4 days and then cleaning the jar and starting over again.
I can’t wait to see more pictures and see how they grow!
I’ll have more each day! Stay tuned!
This is a really cool idea. My kids and I have always enjoyed sprouts on salads or on a sandwich.
Same here, Pam! Delicious!
I don’t eat sprouts but this is such a cool idea! Maybe I’ll give it a try and find that I like them!
Definitely! Try a different type of seed. They all have a different taste.
This is so neat and your pictures are brilliant!
Thank you so much, Mel!
Well that is just cool! I am going to share this with my mom, she will love that she can do this herself! Thanks for sharing Ellen! Pinned and Tweeted!
Thanks, Dawn! Hope she enjoys it.
I love it!! Here in the mountains, we only have a few months of growing season, so I’m going to one up Mother Nature with this one!! Thanks Ellen! Pinned & Tweeted!
Definitely give it a try, Jamie! Thanks for sharing.
I want to try this. I wonder if you can grow bean sprouts, the kind in egg fu young?
Sure you definitely can, Tara. Try starting with Mung beans and that should get you the variety you want.
When the kids were little, they grew sprouts at school but I couldn’t remember what kind or how. I’ve tried some on sandwiches at restaurants and LOVE it but have never purchased them or made anything myself. If it’s easy, maybe I will.
Definitely give them a try, Nicole. It’s super easy & fun to do!
Sprouting seeds looks like something my kids would enjoy helping out so they can watch. I have a dumb question – but what do you do with the sprouts once they are growing? Are these like the sprouts you put on sandwiches?
Hi Nicole – You can add them to sandwiches or on top of garden salads or even just snack on them as is!
I am amazed at how you manage everything, the longer I read your blog and “follow” you, you’re just impressive. This is so cool! Can’t wait to see them grow.
Thank you so much, Rose! I’ll be sure to add more photos!