
Last Updated on August 17, 2026 by Ellen Christian
Inflatable arches are among the very first things guests lay eyes on when they show up to an event. Get it right, and the tone’s set before anyone says a word. Get it wrong, and you’ve burned money on something that deflates – literally and figuratively – your brand’s presence.
Posts may be sponsored. This post contains affiliate links, which means I will make a commission at no extra cost to you should you click through and make a purchase. As an Amazon Associate I earn from qualifying purchases.
Most people underestimate how many decisions go into an inflatable arch before a single piece of vinyl gets cut. Here are seven things you should work through before you commit to a design.
Size and Dimensions
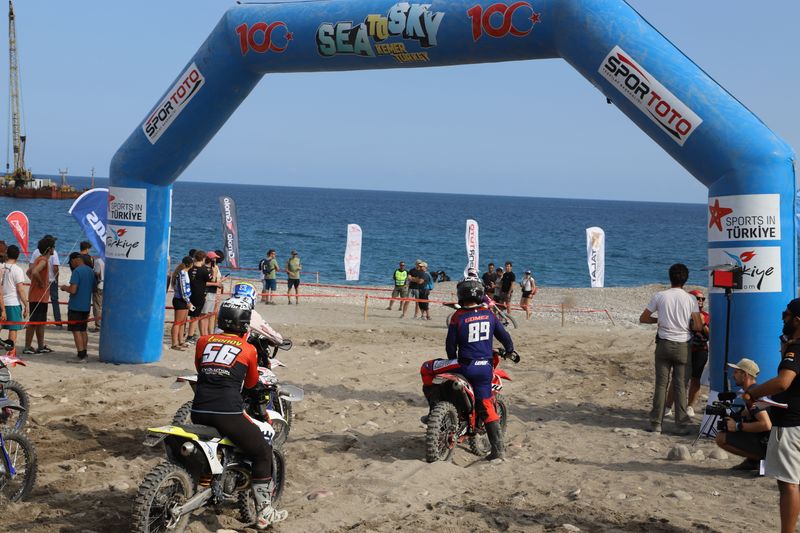
Before anything else, nail down your exact measurements. An arch that’s too small disappears against a busy backdrop; one that’s too big creates clearance headaches and looks wildly out of proportion. Measure the span of the area you’re planning to cover – whether that’s a finish line, an entrance, or a stage gateway – then work out the height from there. Most event arches run somewhere between 15 and 30 feet wide, but the right call depends entirely on your specific venue. When you’re ready to move from concept to specs, you can design an inflatable event arch here and get a much clearer picture of what actually fits your dimensions. Arches anchored with stakes or water weights also need extra horizontal clearance on each side, so don’t forget to account for that. A vendor who asks for venue measurements upfront is a good sign; one who skips that conversation isn’t.
Shape and Structure
Not all arches share the same silhouette. The classic tunnel arch builds a fully framed walkway people pass straight through, while a single-leg or half-arch works better against a wall or as a backdrop element. Spiral arches – constructed from twisted color columns – suit races and outdoor festivals well. Straight-leg arches with a flat top read cleaner at corporate events where legibility is a priority. The shape you choose affects structural integrity, wind resistance, and how much visual real estate the arch actually eats up; so think hard about the event type and where your audience is standing before you commit to a profile. A race spectator views the arch head-on from a distance. A trade show attendee walks directly underneath it. Those two contexts demand very different structures.
Color and Branding
Color is where inflatable arches earn their keep, or become an eyesore. If you’re working with a brand, pull your exact Pantone or CMYK values before you brief the manufacturer, because “close enough” in print rarely looks close enough in real life. Digital printing on modern vinyl can hit a wide gamut, but gradients and photographic imagery require higher-resolution source files than most people expect. For branded arches, keep logos large enough to read at distance: a logo that looks fine on a desktop screen will disappear on a 20-foot structure if it’s scaled proportionally from a small reference file. And don’t underestimate a simple two-color design. A bold contrast, say navy and white, often photographs better and reads more clearly than a multi-color treatment that competes with itself.
Material Quality and Durability
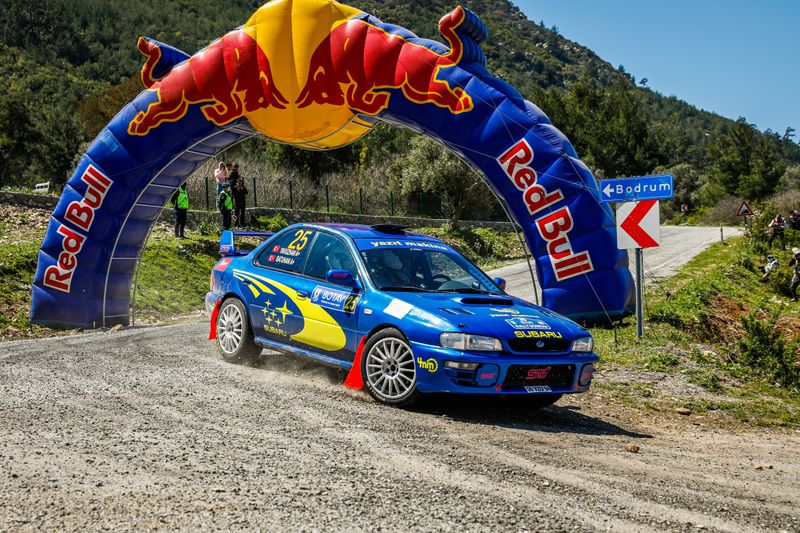
The vinyl weight and fabric construction of an inflatable arch dictate how it holds up outdoors, how well it survives transport, and how many events it can endure before showing real wear. Standard event arches use between 18 oz and 22 oz Oxford fabric or reinforced nylon, with welded seams rather than glued ones. Welded seams resist splitting under sustained inflation pressure; glued seams don’t. If your event runs more than six hours in direct sunlight, ask about UV-resistant coatings on the outer surface; standard vinyl yellows and fades faster than you’d expect under intense sun. For a one-time event, you might favor cost over longevity. But for a traveling promotional tour or a recurring sponsorship activation, spending more on heavier-gauge material pays off quickly when you’re not replacing the arch after three uses.
Inflation Method and Setup Requirements
There are two main ways to keep an inflatable arch inflated: a continuous-air blower or sealed chambers with a one-time air fill. Blower-inflated arches need a power source running throughout the event, which matters if you’re in an outdoor field without convenient outlets. Sealed-chamber arches hold their shape without a constant power connection, making them easier to position anywhere – but they require careful monitoring because a slow leak in the field means manual re-inflation. Setup time also varies significantly. A well-engineered arch with labeled connection points can go up in under 30 minutes with two people. A complicated multi-section design without clear assembly instructions can eat an hour. Ask your manufacturer for a setup video or step-by-step guide before the day of the event, not after.
Location, Weather, and Safety
Outdoor events carry risks that indoor activations simply don’t. Wind is the biggest concern – even a moderate gust can topple or shift an unsecured arch, which turns into a serious safety issue in a crowd. Most arches specify a maximum wind rating, typically somewhere around 20 to 30 mph, and come with anchor options including sandbags, ground stakes, or water-filled bases. Pick your anchoring method based on the surface type at your venue. A concrete plaza rules out ground stakes; a grass field rules out water-weight bags that might sink unevenly. If rain’s a realistic possibility, confirm that the printed surface uses waterproof ink and that the blower motor has proper weather protection. Some manufacturers offer event insurance or recommend coverage thresholds – worth asking about, especially for high-traffic public activations.
RELATED: How to plan a stress free outdoor celebration
Lead Time and Budget
Inflatable arches aren’t off-the-shelf items; they’re custom manufactured, and that takes time. Standard lead times across the industry run from three to six weeks, though some manufacturers offer expedited production for tighter deadlines. If you need an arch for a specific date, work backward from it and build in at least a week for shipping plus one day for a test inflation before the event. On budget, the price range for a custom event arch is wide – driven by size, material weight, print complexity, and production speed. A simple branded arch for a local 5K costs far less than a multi-section sponsorship structure for a national road race. Get itemized quotes so you can see exactly what you’re paying for, and factor in accessories – blowers, repair kits, carry bags, that won’t always appear in the base price.
Conclusion
Designing an inflatable arch takes more planning than most people expect, but the decisions are manageable once you break them into clear categories. Know your dimensions, pick the right structure for your venue, get your brand colors exactly right, and match the material to how many events the arch needs to survive. Sort out your setup and anchoring logistics before the day arrives. Work backward from your event date so production and shipping don’t leave you scrambling. Do all of that, and the arch will do exactly what it’s supposed to: make an impression the moment people walk up.

Ellen is a busy mom of a 29-year-old son and 33-year-old daughter. She owns nine blogs and is addicted to social media. She believes that it doesn’t have to be difficult to lead a healthy life. She shares simple healthy living tips to show busy women how to lead fulfilling lives. If you’d like to work together, email info@confessionsofanover-workedmom.com to chat.
