Last Updated on June 29, 2023 by Ellen Christian
If you’re looking for a DIY bee feeder, try this homemade bee feeder project to attract more pollinators to your yard or your garden.
Posts may be sponsored. This post contains affiliate links, which means I will make a commission at no extra cost to you should you click through and make a purchase. As an Amazon Associate I earn from qualifying purchases.
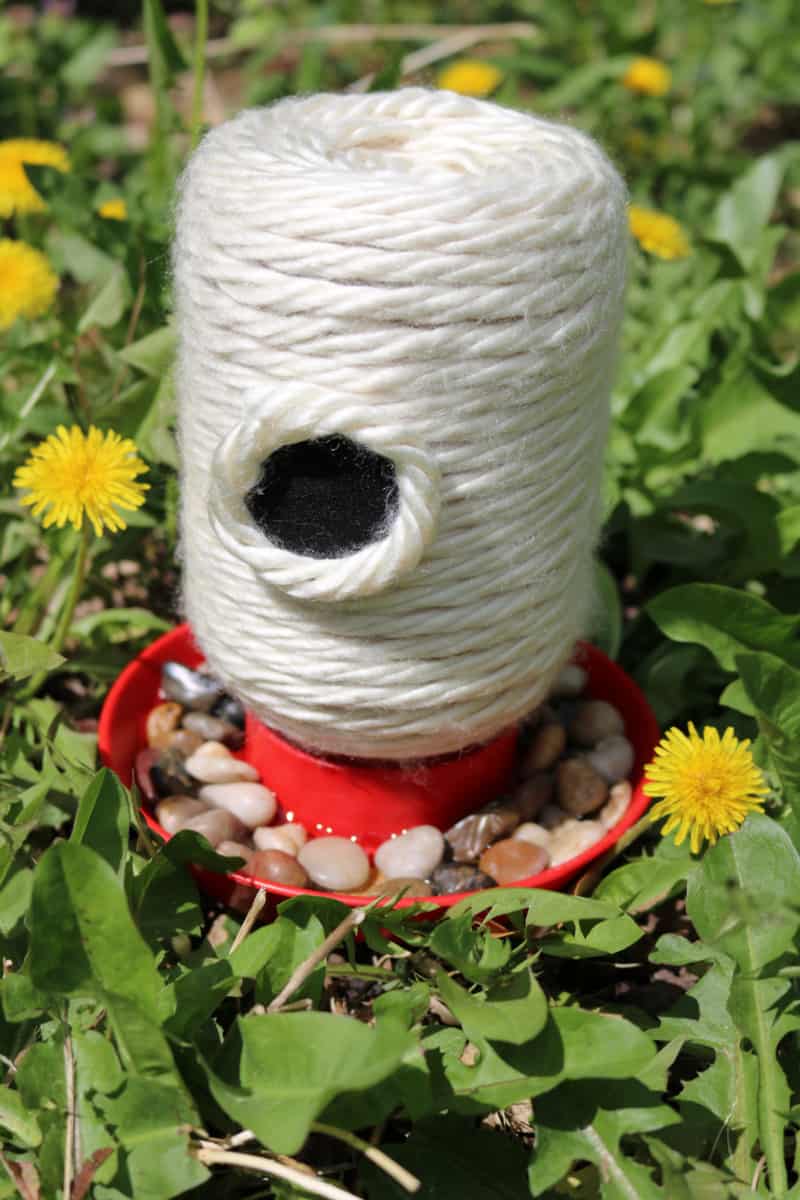
DIY Bee Feeder
Attracting birds and bees to my garden helps ensure that my plants will be pollinated. Check out these tips to attract native pollinators.
Of course, you can also add plants for bees and butterflies to your garden. There are lots of things you can do to help.
Bees will be attracted to your yard if there are flowers with nectar in your garden. But, it’s always nice to supplement that nectar with a DIY bee feeder with bee food.
Bees are attracted to a bee feeder because it contains sugar water. Once they find the bee feeder, they will return again to pollinate your flowers.
It’s important to not give them too much sugar water. They need to collect the nectar to make honey. Sugar water will not make quality honey.
Sometimes I put up a DIY bee feeder early in the year before my flowers are all in bloom. Then, once my flowers open up, I put the feeder away until next year.
Can you feed bees too much sugar water?
Yes, some beekeepers think you can. It may disrupt the pH balance of the hive. As with all things, do this in moderation. And, be sure that your yard contains lots of flowers.
But, if your hive is struggling some beekeepers feel that feeding them sugar water is a wonderful way to boost their health.
You will need to make that decision for yourself.
Where should I place this?
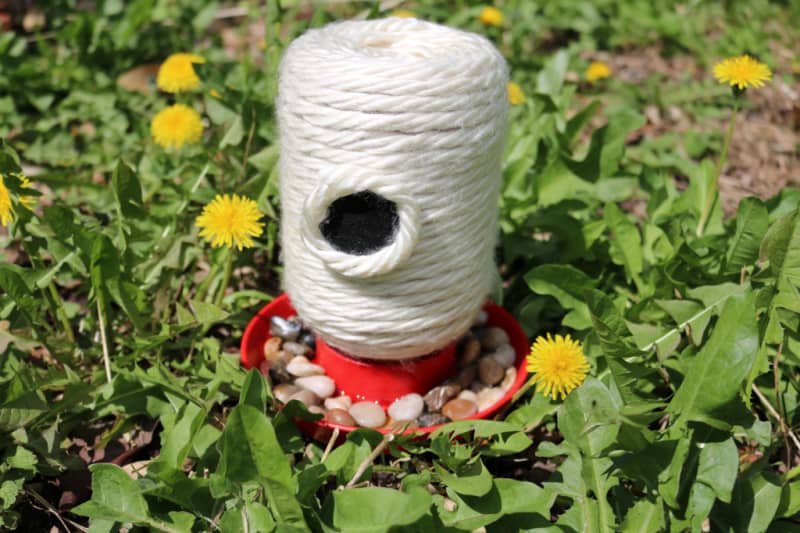
You can hang this DIY bee feeder in your garden if you want to attach a hook or place it on a picnic table or near your flowers. The bees should smell the sugar water and be attracted to it rather quickly.
What do I need to make this craft?
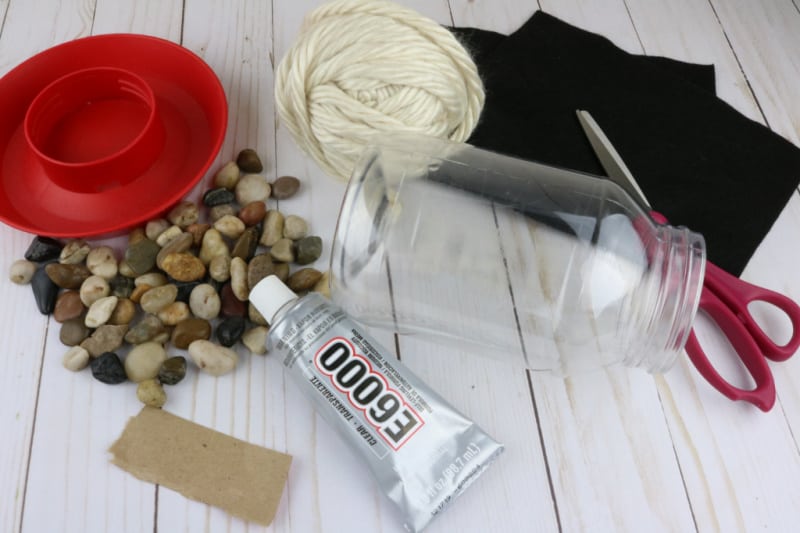
This is what you need to make a DIY bee feeder.
- Chunky Yarn (or thick rope)
- Scissors
- Black Felt
- 30 oz Mayo Jar (washed and label removed)
- Small Pebbles
- Small piece of cardboard (to smear glue with)
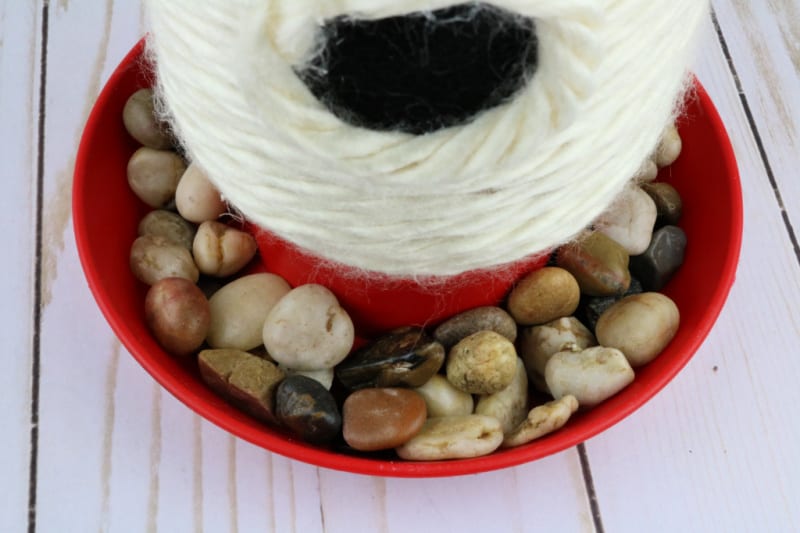
Why do I need to add pebbles?
The bees will need to land on the pebbles to drink the sugar water. They need somewhere close enough to the sugar water to land without the worry of landing in the water and drowning.
Bee feeder recipe
- In the spring, you will need to make a 1:1 syrup using one pound of water (2 cups) to one pound of sugar.
- In the fall, you will need to make a 2:1 syrup using one pound of water (2 cups) to two pounds of sugar.
Combine the mixture on the stove and heat to dissolve the sugar. Let it cool and add it to your DIY bee feeder.
Be sure to change the sugar water regularly. It will go bad if you leave it out for too long. And, it will attract ants.
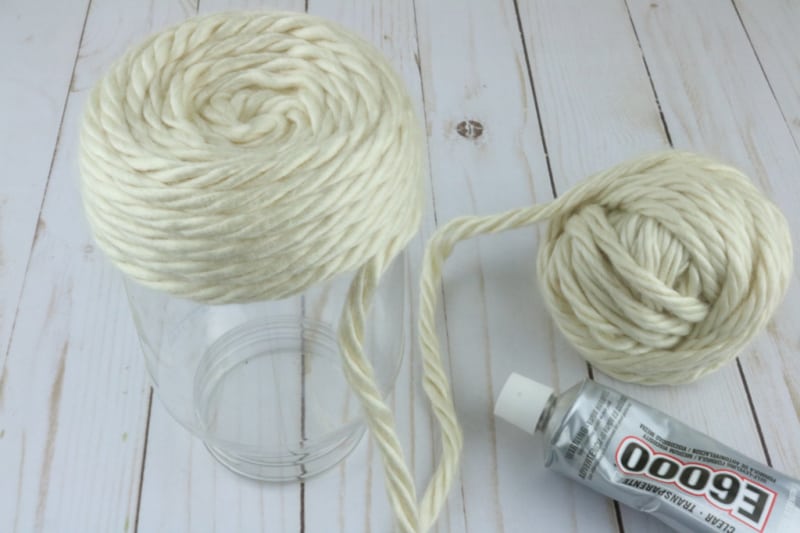
How to make a DIY bee feeder
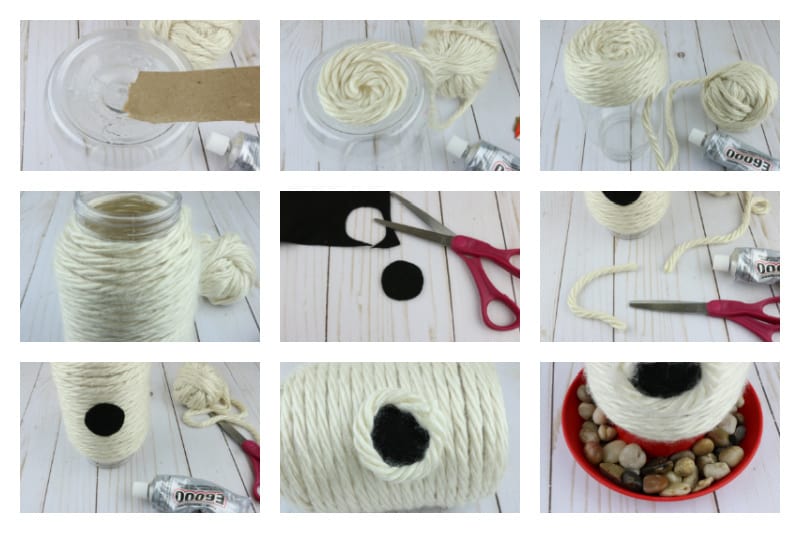
- Smear glue all over the bottom of the jar.
- Start wrapping yarn around in a circle over glue covering the bottom of the jar.
- When the bottom of the jar is done start working your way down the jar. Wrap it tightly over glue adding small sections of glue at a time until you get to the bottom threaded area then stop.
- Cut a black piece of felt into about a 1.5 to 2-inch circle.
- Place the circle about the middle way on one side of the jar gluing it in place.
- Cut a piece of yarn that is just big enough to go around black felt. Then glue that piece of yarn around the circle to finish it off.
- Allow the glue to fully dry.
- Fill the jar with sugar water.
- Place feeder lid on the jar and then turn the jar over.
- Place small pebbles all around the DIY bee feeder in the lid and place the feeder in the yard where you want it.
DIY Bee Feeder

If you're looking for a DIY bee feeder, try this homemade bee feeder project to attract more pollinators to your yard or your garden.
Materials
- Chunky Yarn (or thick rope)
- E6000 Glue
- Scissors
- Black Felt
- Waterer Tray
- 30 oz Mayo Jar (washed and label removed)
- Small Pebbles
- Small piece of cardboard (to smear glue with)
Tools
- scissors
Instructions
- Smear glue all over the bottom of the jar.
- Start wrapping yarn around in a circle over glue covering the bottom of the jar.
- When the bottom of the jar is done start working your way down the jar. Wrap it tightly over glue adding small sections of glue at a time until you get to the bottom threaded area then stop.
- Cut a black piece of felt into about a 1.5 to 2-inch circle.
- Place the circle about the middle way on one side of the jar gluing it in place.
- Cut a piece of yarn that is just big enough to go around black felt. Then glue that piece of yarn around the circle to finish it off.
- Allow the glue to fully dry.
- Fill the jar with sugar water.

Ellen is a busy mom of a 24-year-old son and 29-year-old daughter. She owns six blogs and is addicted to social media. She believes that it doesn’t have to be difficult to lead a healthy life. She shares simple healthy living tips to show busy women how to lead fulfilling lives. If you’d like to work together, email info@confessionsofanover-workedmom.com to chat.

Thanks so much for sharing this post at my very late blog party last week. It is one of my featured picks for this week! Come on over and take a look?
I’ve never felt compelled to invite bees to come to my yard but this bee feeder is such a cool idea, I am tempted!
Sinea
Ducks ‘n a Row
Thank you so much!