Last Updated on December 13, 2023 by Ellen Christian
Wondering how to do a monogram on Silhouette Cameo? Check out these Silhouette monogram ideas. Make this easy monogram photo tray.
Posts may be sponsored. This post contains affiliate links, which means I will make a commission at no extra cost to you should you click through and make a purchase. As an Amazon Associate I earn from qualifying purchases.
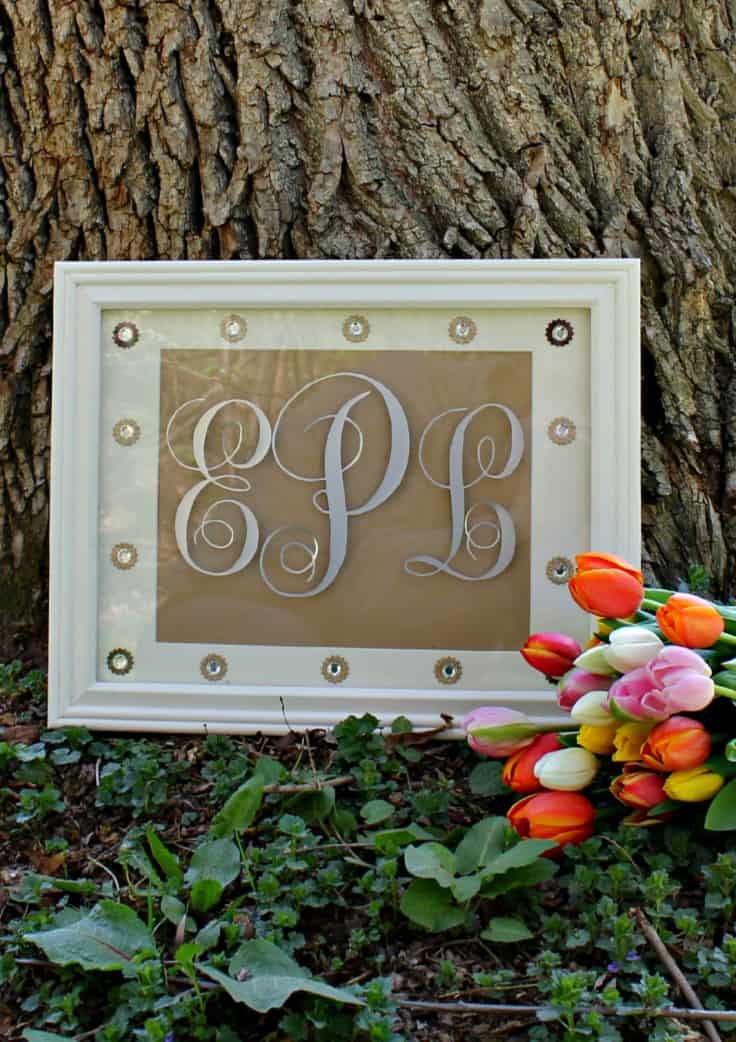
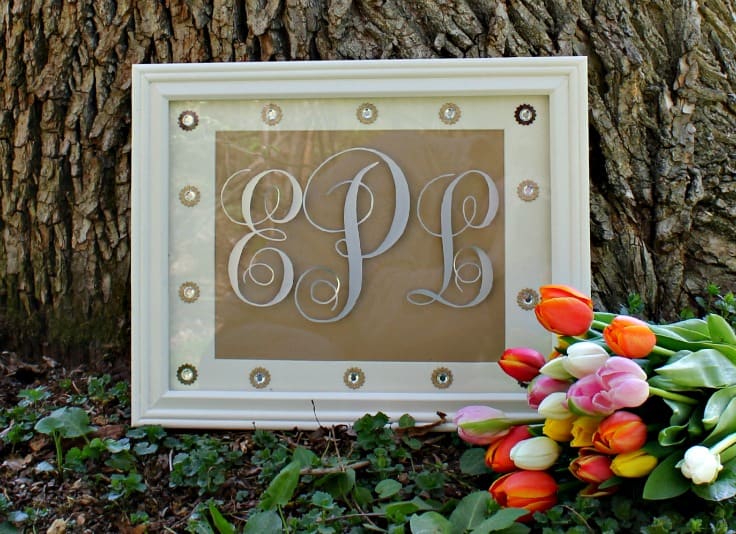
Silhouette Monogram Ideas – Easy Monogram Photo
A while ago, I created a vanity tray out of a picture frame, some scrapbook paper and some “jewels” from the craft store. I recently replaced the vanity tray with a different one but didn’t want to get rid of the one I made.
I really love the colors and accents and it goes well in the room. So, I was trying to find some Silhouette monogram ideas and I realized that I could make an easy monogram photo with the vanity tray.
If you don’t have a spare vanity tray laying around, no worries, you can recreate this project without one. I made my original vanity for just a few dollars and you could easily do the same.
This would make a wonderful DIY Gift for your mom, sister or friend. Who doesn’t love something pretty hanging over the bed or dresser?
Materials
- Photo frame with glass
- Picture frame mat
- Scrapbook paper
- Various gems and jewels with tacky glue
- Silhouette Cameo
- Silhouette printable silver foil
Directions
- Decorate the front side of the photo mat with the gems and jewels. Allow to dry.
- Take the back off the photo frame. Place the photo mat decorated side down on the glass.
- Then apply the scrapbook paper and place the back on the photo frame again.
- Turn the frame over so the glass front is up.
- Download your chosen font. I downloaded the monogram kk font but you could use any font you like.
- Open Silhouette Studio and create the 3 initials that you’ll use. I made the middle initial slightly larger. For my size frame, they were 5″ tall.
- Load the Silhouette printable silver foil and cut the letters. Remember you’ll need to change the setting on the cutter to account for thicker media.
- Carefully peel the letters off the adhesive back and attach to the front of the glass.
That’s all there is to it. You’re done. It can now be hung on the wall or presented as an easy DIY gift. This is my first time using the Silhouette printable silver foil and I really like the way it turned out. The foil allows for some adjusting after you stick it on the glass. Just be very, very careful when you apply it and move it around.
What’s your favorite way to use your Silhouette Cameo?
Want to Check Out More Silhouette Projects?
Here are some more Silhouette craft projects you can try.

Ellen is a busy mom of a 24-year-old son and 29-year-old daughter. She owns six blogs and is addicted to social media. She believes that it doesn’t have to be difficult to lead a healthy life. She shares simple healthy living tips to show busy women how to lead fulfilling lives. If you’d like to work together, email info@confessionsofanover-workedmom.com to chat.


This is so simple yet still stunning! I don’t think you can ever go wrong with a pretty, swirly monogram either! Thanks for sharing!!
Thanks, Christine! Glad to share!
Beautiful job! I love a great monogram.
Thank you, Michelle!
Ellen, this is just lovely. Great idea to use foil and the added jewells finish it off perfectly.
Thanks, Pam. I do like the way it came out.
This is so cool looking. This would make a great gift.
Thank you, Tara!
This is so cute! I love monograms and you have come up with an adorable way to display one!
I love that you used foil instead of vinyl…very clever and the effect is so cool.
–Brittany
Thanks so much, Brittany. I like the way it turned out.
Ellen,
I love the elegance of this project. And who doesn’t love a monogram! I have a frame in the garage just begging to be finished. I might have to go and get it out now.
Leah
Thank you, Leah. I may need to do another one myself!