
Last Updated on July 10, 2023 by Ellen Christian
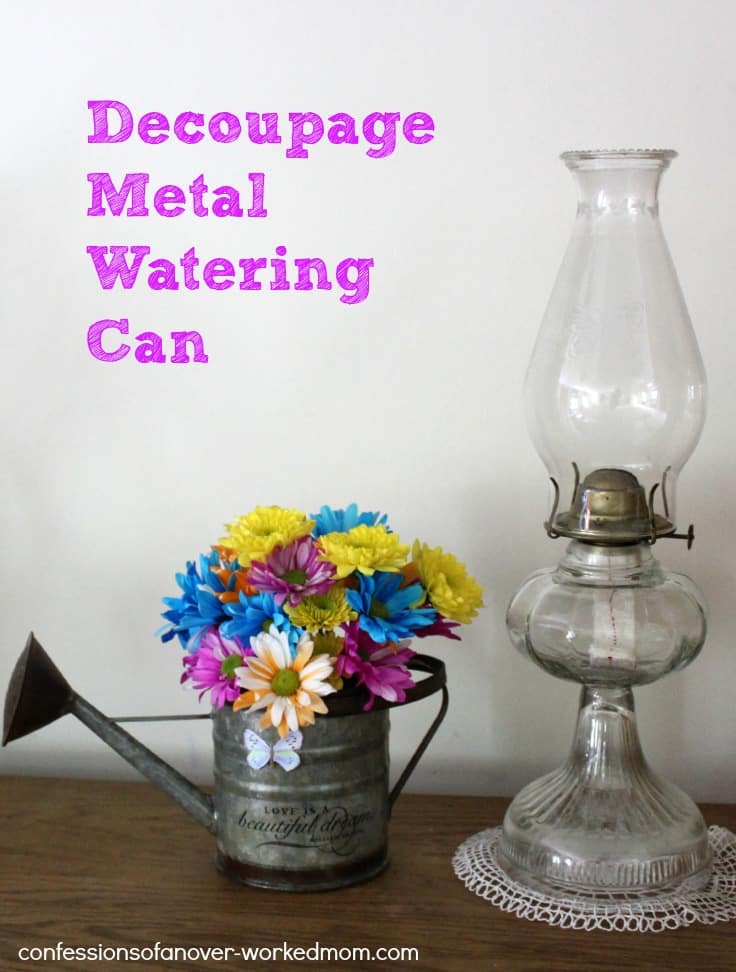
Check out this decoupaged metal watering can! I picked up this metal watering can a few years ago at a tag sale and it has been sitting around collecting dust since then. It didn’t really have a purpose so I just stuck it on a shelf until I could think of what to do with it.
Posts may be sponsored. This post contains affiliate links, which means I will make a commission at no extra cost to you should you click through and make a purchase. As an Amazon Associate I earn from qualifying purchases.
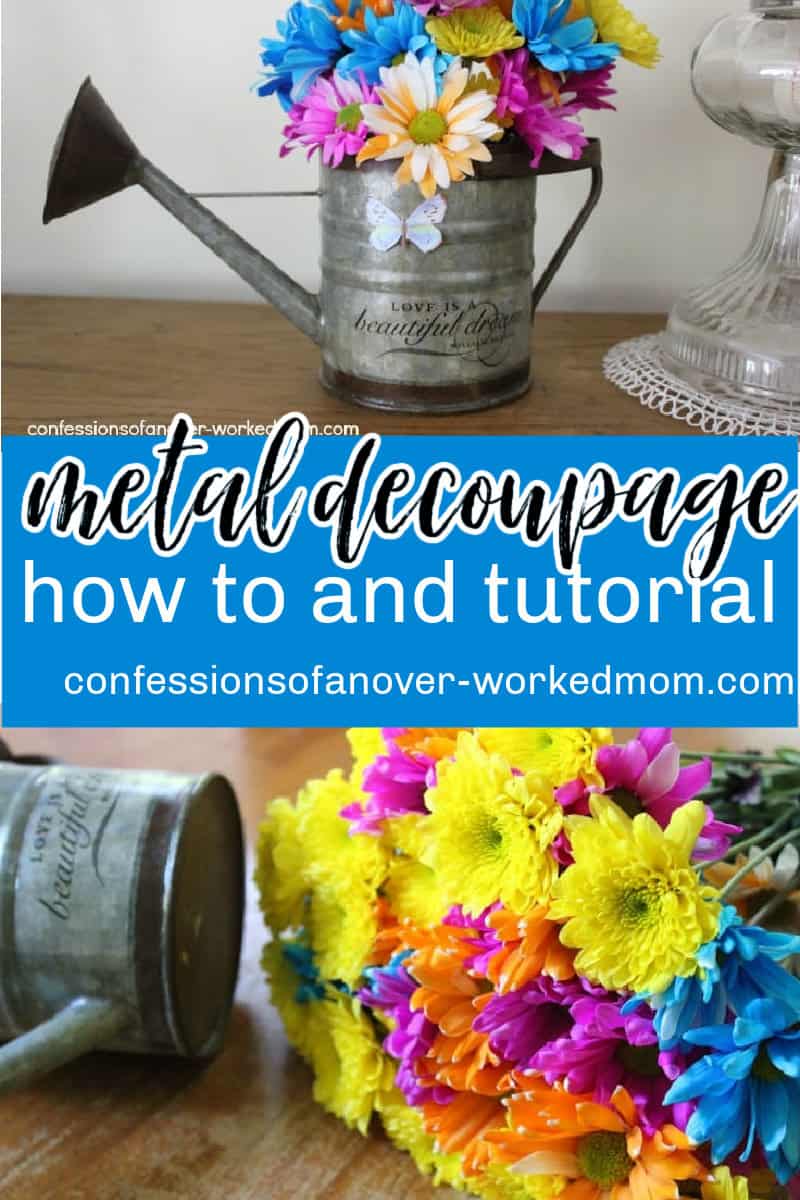
Decoupaged Metal Watering Can
I decided it was time to either use the watering can or pass it on to someone else. It’s really too small to serve as a watering can for the garden and I already have a small watering can for my house plants.
Check out how easy it is to make this decoupaged metal watering can! I decided that I would decoupage a small floral-themed design on the front of the watering can and place a glass Mason jar inside to hold flowers.
If you don’t have a metal watering can, I have seen them in several dollar stores or you can get one on Amazon. You can decoupage directly on the metal or the same process works on painted metal as well.
Decoupage on metal surfaces
So, it’s just as easy to decoupage on metal surfaces as it is on wood or glass. You simply need to start with a clean, dry surface. Make sure that you carefully clean and dry your metal watering can before you begin.
Finally, if you’re wondering how to decoupage metal tins, the process is exactly the same.
Yes, you can use Mod Podge on metal. I used the Mod Podge Gloss for this decoupaged metal watering can. But, you can use the matte Mod Podge if you prefer.
It’s up to personal preference and the type of decoupage cutouts you’ll be using. If you’re looking for an upscale look, a glossy shine will help draw attention.
But, if you want a simpler look or one that is more shabby chic, you may want to use matte decoupage. So, experiment and see which you like best.
Materials
- Metal watering can
- Cutouts from magazines or decoupage paper
- Mod Podge Gloss Decoupage
- Small paintbrush or painting sponge

This product presentation was made with AAWP plugin.
Directions
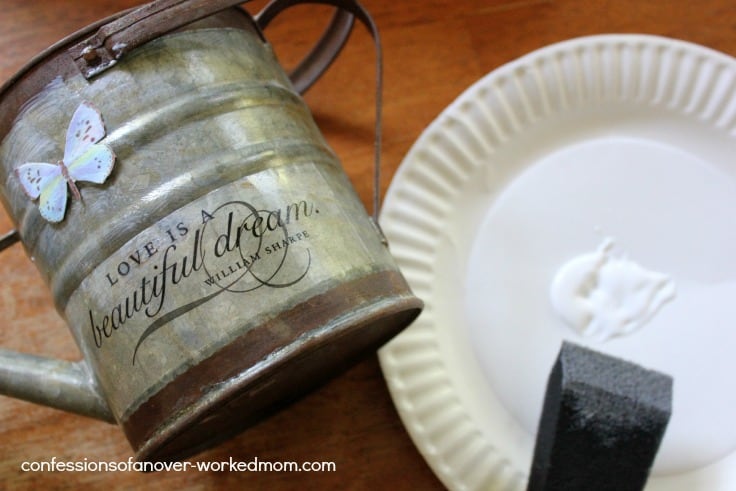
- Clean the surface of the metal watering can well and dry it completely.
- Trim your cut-outs carefully
- Brush on a layer of Mod Podge Gloss Decoupage
- Carefully add the cutouts on top of the first layer of Mod Podge Gloss Decoupage
- Brush on another layer of Mod Podge Gloss Decoupage
- Allow the Mod Podge to dry completely.
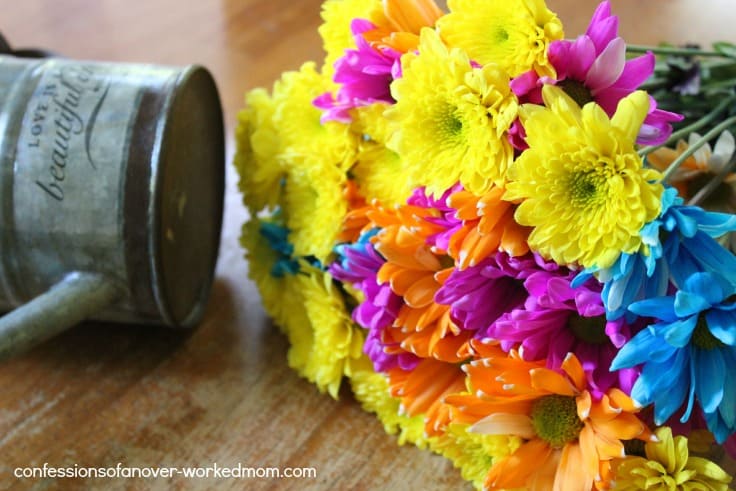
- Place a small Mason jar of water inside the decoupaged metal watering can and fill with flowers.
Tips for making a decoupaged metal watering can
It’s very easy to make a decoupaged metal watering can. The important things to remember are to start with a clean, dry watering can and to avoid the raised areas when applying your cutouts.
If I were purchasing a metal watering can, I would have chosen one with a completely flat surface. That would have made decoupaging a little bit easier.
But, I was trying to use a can that I already had. And, my metal watering can has several raised areas on it.

Have you ever tried decoupage before? Remember that if you’re going to put this decoupaged metal watering can outside, you will need to use the outdoor version of Mod Podge.
You could then put a potted plant in the center of the metal watering can instead of flowers in a glass jar.
Other decoupage ideas
So, there are lots of different things that you can decoupage on including wood, glass, mirrors, plastic and of course metal. Decoupage is a wonderful way to take something old and give it an entirely new purpose.
Instead of tossing that old jar, learn how to decoupage a glass jar. Or, try this simple Easter craft: decoupage plastic eggs. One of my favorite Christmas project ideas using decoupage is this easy votive candle.
Or, have the kids learn how to make your own magnets for Father’s Day.
Finally, check out the Napkin Decoupage book to learn how to decoupage with paper napkins. I love the way the projects in this book look.
I never would have believed that they started with something as simple as a paper napkin. So, this is definitely on my list of decoupage crafts to try soon. I hope you’ll try this decoupaged metal watering can soon!
Check out this amazing decoupaged chair from Mod Podge Rocks!
Decoupaged Metal Watering Can Tutorial DIY
Check out this easy decoupaged metal watering can
Materials
- Metal watering can
- Cutouts from magazines or decoupage paper
- Mod Podge Gloss Decoupage
- Small paintbrush or painting sponge
Tools
- paint brush
Instructions
- Clean the surface of the metal watering can well and dry it completely.
- Trim your cut-outs carefully
- Brush on a layer of Mod Podge Gloss Decoupage
- Carefully add the cutouts on top of the first layer of Mod Podge Gloss Decoupage

- Brush on another layer of Mod Podge Gloss Decoupage
- Allow the Mod Podge to dry completely.
- Place a small Mason jar of water inside the decoupaged metal watering can and fill with flowers.

Ellen is a busy mom of a 24-year-old son and 29-year-old daughter. She owns six blogs and is addicted to social media. She believes that it doesn’t have to be difficult to lead a healthy life. She shares simple healthy living tips to show busy women how to lead fulfilling lives. If you’d like to work together, email info@confessionsofanover-workedmom.com to chat.
22 thoughts on “Decoupaged Metal Watering Can Tutorial DIY”